

Start with a plug-and-play CANbus decoder or a load adapter matched to your bulb’s socket and wattage. That solves most flicker, fast-flash, and false bulb-out warnings on its own. Try a sealed combination decoder for headlights, a Philips 5W or 21W adapter for signal bulbs, or a basic inline resistor for simple load emulation, and run a diagnostic check only if the error sticks around after installation.
TL;DR:
- Compatibility depends on your vehicle’s sensitivity to load changes; many modern cars do not require a decoder for LED retrofits.
- Using the correct wattage and socket part number is crucial, with 5W for small bulbs and marker lights, and 21W for larger sockets like brake lights.
- Combining a decoder with a purpose-built harness offers a more reliable long-term fix for persistent errors caused by wiring or moisture issues.
- Decode errors caused by fast turn signal flashes typically result from load emulation problems, which can often be fixed with a resistor of proper rating.
- A vehicle-specific wiring harness reduces connector fatigue and sealing issues, especially on aging factory wiring that generic adapters cannot effectively accommodate.
Table of Contents
- What Does a CANbus Decoder Actually Fix?
- Which CANbus Decoders And Harnesses Actually Work?
- How Do You Pick The Right CANbus Decoder?
- Plug-and-Play Harness vs. Parallel Adapter: Which Installation Fits?
- When Is It a Real CAN-Bus Fault, Not Just a Bulb Issue?
- Why Fit-First Wiring Matters More Than a Generic Decoder
- When Should You Just Swap a Decoder vs. Chase a Real Fault?
- A Longer-Term Fix: Vehicle-Specific Harnesses From Wheellightexpress
- Where to Verify Compatibility and Dig Deeper
- Sources
What Does a CANbus Decoder Actually Fix?
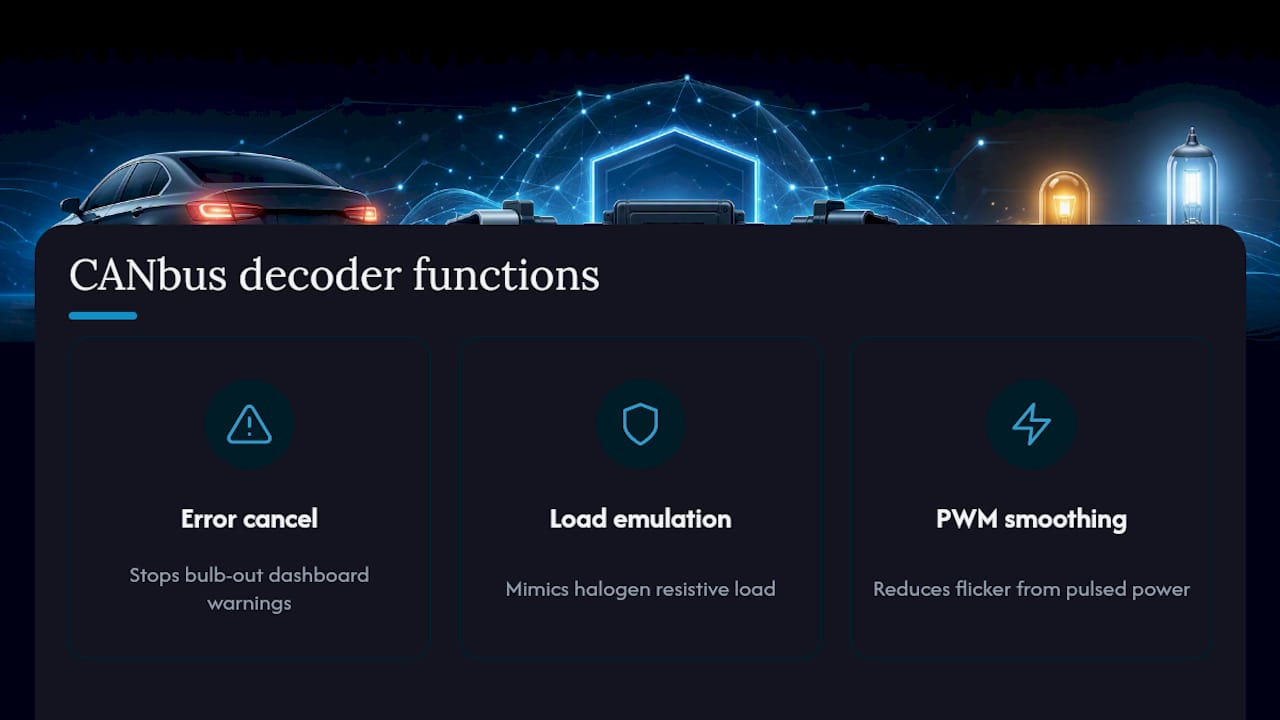
A CANbus decoder solves three distinct problems, and knowing which one you have determines which product actually works. The first is error cancellation: your dashboard reads the low current draw of an LED bulb as a burned-out filament and throws a bulb-out warning. The second is load emulation: the decoder or adapter presents a fake resistive load so the car’s computer sees the same electrical signature it expects from a halogen bulb. The third is PWM smoothing, which addresses flicker caused by the vehicle pulsing power to the bulb circuit rather than supplying it constantly.
Most factory dashboards were never built to expect LED-level current draw. We’ve found that the fix almost never requires touching the car’s actual wiring. Manufacturer documentation from Philips shows that adapters install in parallel with the LED circuit, sitting between the factory socket and the bulb. They intercept and correct the electrical reading before it reaches the body control module, according to Philips’s CANbus adapter flyer.
Here’s the part a lot of installers miss: not every vehicle needs one of these at all. Compatibility depends on how sensitive your specific model’s onboard computer is to load changes, and Philips’s own compatibility overview confirms that many modern vehicles run clean LED retrofits with zero adapter, while others throw errors within seconds of the swap. Check your vehicle’s fit list before you assume you need extra hardware.
Which CANbus Decoders And Harnesses Actually Work?
Retail listings are flooded with “anti-flicker” and “error-free” claims, but the products behind those labels fall into a handful of real categories. Here’s how the common options actually compare.
| Product | Socket/Fit | Main Function | Load/Wattage | Installation | Waterproofing | Compatibility Notes |
|---|---|---|---|---|---|---|
| Philips LED CANbus Adapter (5W / 21W) | H7, H11, 9005, signal sockets (1156/1157) | Error cancel + load emulation | 5W or 21W, matched to bulb type | Parallel/inline | Standard enclosure | Manufacturer fit chart by part number |
| OSRAM LEDriving Smart Canbus | Common headlight and signal sockets | Error cancel, tuned for OSRAM bulbs | Fixed per model | Parallel/inline | Standard enclosure | Best paired with OSRAM LED products |
| NILIGHT anti-flicker harness / CANbus decoder | H4, H7, H11, HB3/HB4 | Anti-flicker + error cancel | Fixed per kit | Plug-and-play harness | Sealed housing | Broad ecommerce fit lists |
| Generic sealed combo decoder (resistor + capacitor + detection) | Most common headlight sockets | Error cancel + PWM smoothing | Simulated load, model dependent | Plug-and-play | Sealed/potted | Best for PWM-controlled circuits |
| Inline resistor harness | Signal and marker sockets | Basic load emulation only | Fixed resistance value | Parallel, requires metal mount | None (needs heat management) | Simple systems without PWM |
A few things stand out once you line these up side by side.
- The Philips adapter wins on documentation. Its fit charts map specific part numbers to the correct wattage, which removes the guesswork that causes half of all “it didn’t work” complaints.
- NILIGHT’s sealed harnesses show up constantly in headlight conversion kits because the plug-and-play format skips wiring entirely.
- Combination decoders cost more, but manufacturers position them as the fix for the trickiest PWM flicker cases where a plain resistor falls short, per Philips’s own accessory guidance.
- Plain inline resistors remain the cheapest option, but they generate real heat and need a metal mounting surface, not a plastic clip.
Pro Tip: If your dashboard error only shows up as a fast turn signal flash rather than a bulb-out warning, that’s almost always a load emulation issue, not a wiring fault. A correctly rated resistor or adapter usually clears it in minutes.
The OSRAM LEDriving Smart Canbus line targets a narrower audience: owners already running OSRAM LED bulbs who want a matched accessory rather than a universal fix. It doesn’t out-perform the Philips or generic combo options on raw compatibility. It just simplifies sourcing if you’re already brand-loyal to OSRAM’s bulb catalog.
How Do You Pick The Right CANbus Decoder?
Buying the wrong wattage or the wrong socket type is the single most common reason a decoder “doesn’t work.” Walk through this before you order anything.
- Match the socket and part number first. Confirm whether your car uses 1156, 1157, H7, H11, 9005, or another footprint, and check that number against the manufacturer’s fit chart rather than guessing from photos.
- Identify PWM vs. resistance-based detection. Some vehicles pulse the bulb circuit (PWM); others just check static resistance. A basic resistor handles the second case but often fails on the first, where you need a combination decoder with detection circuitry.
- Pick 5W or 21W based on bulb type. Small signal and marker bulbs generally pair with 5W adapters; brake lights and larger sockets typically call for 21W, according to Philips’s adapter documentation.
- Choose sealed harnesses for headlights. Anything living in an engine bay exposed to moisture should be a potted or sealed module, not an open resistor.
- Give resistors a metal home. They run hot enough to melt plastic clips or scorch wiring insulation if mounted incorrectly.
- Favor decoders with real fit charts. A product listing that names your specific vehicle or bulb part number is far more trustworthy than one that just says “universal.”
A combination decoder costs more than a plain resistor, but it earns that premium on vehicles with mixed symptoms, flicker plus a warning light, where a single-function part won’t clear both at once.
Plug-and-Play Harness vs. Parallel Adapter: Which Installation Fits?
Installation splits into two patterns, and picking the right one saves you a return trip to the parts store.
Plug-and-play harness (headlights, most modern kits):
- Unplug the factory connector from the bulb socket.
- Insert the decoder harness between the factory plug and the new LED bulb.
- Secure the wiring away from moving parts and heat sources.
- Cycle the lights and confirm the dashboard clears.
Parallel adapter (signal and marker sockets):
- Wire the adapter in parallel with the LED circuit, following the polarity markings.
- If the bulb doesn’t light, flip the connector. Many signal sockets are polarity sensitive.
- Mount any resistor component to a metal surface, never bare plastic or rubber trim.
- Reseal any opened dust covers before closing the housing.
After either install, cycle every affected circuit, watch the dashboard for cleared warnings, and take a short road test to confirm the fix holds under vibration and heat.
- Test turn signals at idle and while driving.
- Recheck the dash after a full ignition cycle, not just immediately after install.
- Listen for the old “fast flash” pattern returning after a few minutes of driving.
When Is It a Real CAN-Bus Fault, Not Just a Bulb Issue?
Before you add another decoder, rule out an actual network problem. A decoder can’t fix a physical wiring fault, and stacking hardware on top of one just hides it longer.
- Swap the LED back to the original bulb. If the error disappears completely, the issue is isolated to that circuit.
- Inspect connectors for corrosion, bent pins, or a loose mate at the socket.
- With power off, measure resistance across CAN H and CAN L. Expect roughly 60Ω on a healthy network, according to NZ Wiring’s troubleshooting guide.
- With power on, check CAN H and CAN L voltages against the deep-dive network reference for expected idle ranges.
- Escalate to a shop if you see repeated “Bus Off” messages, faults across multiple unrelated systems, or resistance readings far outside the expected range.
A decoder addresses a mismatched electrical signature. It does nothing for a short, an open circuit, or a failing module, and Rick’s Free Auto Repair Advice notes that those faults need direct electrical diagnosis, not more hardware layered on top. A multimeter handles the resistance and voltage checks above; an OBD-II scanner pulls the actual module fault codes if the dash throws something beyond a simple bulb warning.
Why Fit-First Wiring Matters More Than a Generic Decoder
A fit-first approach to designing harnesses and lighting kits shows up most when a generic decoder keeps failing on the same vehicle. A universal adapter can only approximate your factory wiring. A harness built for your specific application seals correctly, routes cleanly, and avoids the loose-connector issues that cause repeat errors.
- Generic decoders solve load emulation; they don’t solve a harness that’s aging, exposed, or simply the wrong shape for your mounting point.
- A model-specific or purpose-built harness improves sealing against moisture and reduces the connector fatigue that shows up after a season of vibration.
- For deeper diagnostic photos and model-specific notes, the CANbus LED diagnostics guide walks through cases a basic decoder can’t touch.
When Should You Just Swap a Decoder vs. Chase a Real Fault?
My rule of thumb: if the error is isolated to one lamp and disappears the moment you reinstall the original bulb, a matched decoder almost always clears it. If you’re seeing faults across multiple systems, or the same warning returns after a decoder install, stop and troubleshoot the network itself. And whenever a resistor is involved, mount it on metal and keep it away from anything that melts. Warranty coverage on most factory electrical systems doesn’t extend to aftermarket wiring taps done carelessly.
— Christopher
A Longer-Term Fix: Vehicle-Specific Harnesses From Wheellightexpress
A generic decoder is a fine first move, but it’s still a workaround sitting on top of factory wiring that may already be aging or a loose fit for your setup. If you’ve swapped decoders more than once on the same circuit, the actual gain isn’t another adapter. It’s wiring built to match your install from the start, so you stop chasing the same error every few months.

Wheellightexpress’s wire harness leads give you a clean replacement point when factory connectors are worn or corroded, rather than patching a decoder onto a failing plug. The replacement wire harness for all lighting covers broader lighting upgrades that need a sealed, purpose-built run instead of a spliced-in adapter, and the wheel light ring and strip lineup pairs with harnesses designed for the load they’ll actually carry. If your headlight or signal circuit keeps throwing the same warning no matter what decoder you try, check your fit against available harness options and reach out for installation guidance before you buy another generic part.
Where to Verify Compatibility and Dig Deeper
- Philips CANbus compatibility overview: confirms which vehicles need an adapter at all.
- Enovation Controls troubleshooting guide: installation and wattage matching basics.
- NZ Wiring CANbus guide: resistance and voltage test specs.
- Tuningbot’s harness modification guide: advanced wiring diagnostics for persistent faults.
- Wheellightexpress diagnostics blog: model-specific photos and deeper troubleshooting steps.
Sources
- Philips LED canbus compatibility overview
- CAN BUS Troubleshooting Guide (Enovation Controls)
- Philips LED CANbus adapters product flyer
- CANbus troubleshooting guide (NZ Wiring)
- Can Bus communication troubleshooting guide (Rick’s Free Auto Repair Advice)