

Most Ford owners should go with a plug-and-play LED sidemarker assembly whenever their model offers one, since it delivers uniform brightness and skips wiring guesswork entirely. If your Ford still uses a serviceable bulb holder, a direct-fit LED bulb is the simpler fix. The one catch: newer sealed factory assemblies can’t be bulb-swapped at all, so check your setup first. Wheel Light Express builds direct-fit options worth comparing before you buy.
TL;DR:
- If your Ford has a serviceable bulb holder, replacing the side marker with an LED bulb is quick and inexpensive, but sealed assemblies require full housing replacement.
- Upgraded LEDs offer instant illumination, longer lifespan, and a more uniform glow compared to aging incandescent bulbs, but smoked or tinted lenses may reduce visibility.
- Confirming whether your Ford has a bulb or sealed housing takes five minutes with a flashlight and screwdriver, using access panels and checking for seams or removable sockets.
- Compatibility checks should include verifying fitment for your model year, ensuring transient protection and weather resistance, and matching factory connectors before purchase.
- DIY installation suits older models with accessible sockets, while modern sealed units often require professional help to avoid damage and electrical issues.
Table of Contents
- What Upgrading Side Markers Actually Changes
- How Do You Know If Your Ford Needs a Bulb or a Full Housing?
- Choosing Between LED Bulbs, Plug-and-Play Kits, and Sealed Housings
- What to Expect During Installation
- Why LEDs Sometimes Flicker or Trigger Dash Warnings
- When DIY Makes Sense and When It Doesn’t
- Get a Direct-Fit Upgrade Built for Your Ford
- Where to Go for More Detail
- Sources
What Upgrading Side Markers Actually Changes
An LED sidemarker upgrade changes more than just how your Ford looks at a stoplight. LEDs light up instantly, run cooler than halogen bulbs, and typically outlast them by years rather than months. Uniform LED strips also fix the uneven, yellowish glow that stock incandescent markers tend to produce as they age.
There are tradeoffs worth weighing before you order anything:
- Smoked lenses look aggressive but cut down the amount of light that actually reaches other drivers.
- Sealed LED housings can’t be opened for a quick bulb swap if one LED segment fails later.
- Some heavily tinted aftermarket lenses reduce side visibility enough to work against you at night or in bad weather.
Side markers exist to help other motorists judge your vehicle’s position and direction. A marker that’s dim, cracked, or tinted past the point of usefulness puts that job at risk, so restoring real visibility should outrank chasing a darker look every time.
How Do You Know If Your Ford Needs a Bulb or a Full Housing?
Two setups exist on Ford trucks and cars, and figuring out which one you have takes about five minutes with a flashlight and a screwdriver.
Case one: serviceable bulb holder. Older Fords, and even some newer trims, use a twist-lock bulb holder you can access from behind the housing or after removing a small trim panel. If you can rotate the socket and pull it free, you’re dealing with a bulb swap.
Case two: sealed factory LED assembly. Many current Ford trucks and cars integrate the marker LEDs directly into a molded housing with no serviceable bulb inside. If there’s no access panel and no visible bulb base, plan on replacing the whole unit.
Quick inspection steps:
- Locate any trim panel or access door near the marker housing.
- Try rotating the bulb holder counterclockwise; if it turns and releases, it’s serviceable.
- Check your owner’s manual or dealer parts diagram for your exact model and year.
- If nothing moves and there’s no seam, treat it as sealed.
Ford’s own service content on side marker bulb changes notes that some front marker bulbs require pulling the headlamp assembly first, which is a good reminder to check procedure before you start pulling trim. For a hands-on walkthrough, iFixit’s Ford Focus side marker guide illustrates exactly what a serviceable bulb holder looks like versus a sealed unit.
Choosing Between LED Bulbs, Plug-and-Play Kits, and Sealed Housings
Three product categories cover almost every Ford side marker upgrade, and picking the right one depends entirely on what your inspection turned up.
LED replacement bulbs work only if your Ford has a serviceable socket. They’re the cheapest option and the fastest install, but they can’t help you if your marker is a sealed unit.
Plug-and-play LED assemblies replace the entire housing and connect to your factory harness without any splicing. These are the safest bet for modern trucks and cars, especially when the assembly includes built-in transient protection to prevent electrical conflicts.
Sealed aftermarket housings with custom styling (smoked lenses, sequential turn function, tinted output) fall into the same physical category as plug-and-play kits but focus more on appearance than a stock-matching look.
Before buying anything, run through this checklist:
- Confirm exact fitment for your model year, not just your model.
- Look for stated transient protection or voltage-spike resistance.
- Check the IP or weather rating, since side markers sit exposed to road spray.
- Compare lumen output between listings; brighter isn’t always better if the beam pattern is wrong.
- Ask sellers directly about CAN-bus compatibility if you drive a newer Ford.
Some listings, like Form Lighting’s smoked LED sidemarkers for the Ford Ranger, spell out plug-and-play connectors and transient protection right in the spec sheet. Others, like fitment tables for Mustang sidemarkers, list measured current draw and lumens so you’re not guessing at brightness.
Pro Tip: Photograph your factory connector before you shop. Matching the plug shape to product photos saves you from ordering a kit that needs splicing you didn’t plan for.
What to Expect During Installation
Installing a bulb is a different job than swapping a full housing, so knowing which one you’re doing changes how much time to set aside.
For a serviceable bulb swap:
- Turn off the ignition and let the old bulb cool if it’s been running.
- Access the socket, either directly or after removing a small trim clip.
- Rotate the bulb holder counterclockwise and pull it free.
- Insert the new LED bulb, matching polarity if your bulb is directional.
- Twist the holder back into place and test the marker.
For a full assembly swap:
- Remove any trim panels or, on some models, the headlamp assembly itself.
- Disconnect the factory wiring harness at the plug.
- Remove the old marker housing, usually held by clips or small bolts.
- Connect the new assembly’s harness and seat it into place.
- Test the marker before fully reinstalling trim.
Basic tools cover most jobs: a trim panel tool, a small socket set, and gloves to avoid touching bulb glass with bare skin. The most common headaches are stuck plastic clips that snap if forced, and a handful of models where you genuinely need to pull the headlamp assembly to reach the marker bulb at all, exactly what Ford’s own procedure warns about. 1A Auto’s guide for older F-150 and F-250 trucks covers the fastener pattern you’ll run into on classic Ford trucks.
Why LEDs Sometimes Flicker or Trigger Dash Warnings
LED bulbs draw far less current than the incandescent bulbs they replace, and that lower load is exactly what causes trouble on newer Fords. Your truck’s computer monitors bulb current to detect burned-out lamps, so a sudden drop in draw can read as a failure even though the new LED is working fine. That’s what causes hyper-flash on turn signals or a “lamp out” dash message on markers wired into the same circuit.
The fix isn’t complicated. Premium assemblies often build in transient protection specifically to smooth out voltage spikes that trigger these false errors, and pairing a quality LED harness with proper grounding solves most of the rest. A cheap universal harness with a loose ground is a common source of intermittent flicker that has nothing to do with the LED itself.
After installation, run through this check:
- Test both turn signals for normal flash rate, not rapid hyper-flash.
- Watch the dashboard for any lamp-out or bulb-check warnings.
- Check marker visibility at night from the front, side, and rear angles.
When DIY Makes Sense and When It Doesn’t
Older Fords with simple, serviceable bulb holders are ideal DIY territory. If you can rotate a socket and pull it free, you don’t need a shop for that. Once you’re dealing with a modern truck’s sealed assembly, though, a plug-and-play kit removes the electrical guesswork that trips up otherwise capable DIYers. I’d only send someone to a professional installer when the job involves pulling a headlamp assembly, fighting stubborn clips on unfamiliar trim, or chasing a dash error that won’t clear after a clean install.
— Christopher
Get a Direct-Fit Upgrade Built for Your Ford
Skip the trial-and-error of matching random connectors, and go with harnesses designed to plug in the first time. Some companies design kits domestically rather than sourcing overseas, so fitment and wiring get built around real Ford connectors instead of generic templates. Our lineup includes wire harness leads for straightforward upgrades and full replacement wire harnesses for installs that need a complete factory-style connection, both backed by our satisfaction guarantee.

If your F-150 needs a marker or parking light harness upgrade, our F-150 parking lights adapter is built to plug into factory wiring without splicing. Financing is available if you’d rather spread out the cost than pay everything upfront. Check our wheel light ring and strip options or reach out to our support team to confirm compatibility with your exact model year before you order.
Where to Go for More Detail
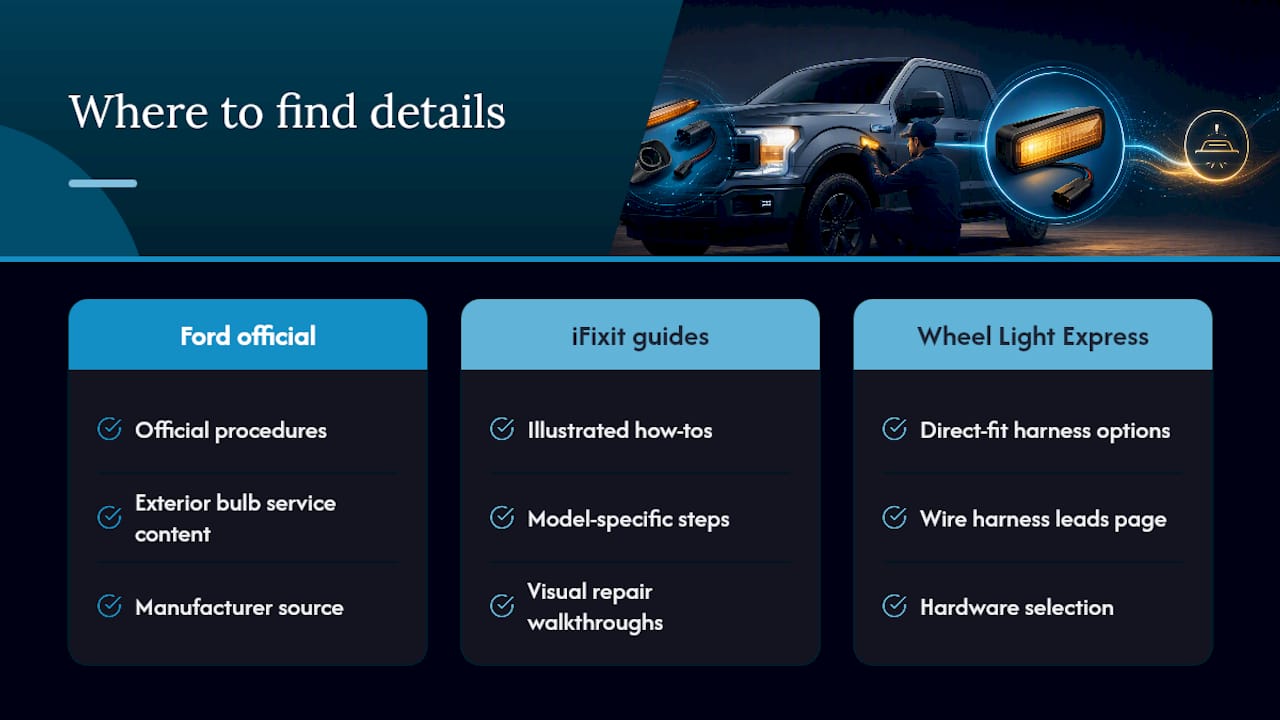
For official procedures, check Ford’s exterior bulb service content. For illustrated, model-specific steps, iFixit’s guides fill in the visual gaps. For direct-fit harness options, browse Wheel Light Express’s wire harness leads page.
Sources
- Exterior Bulbs - Changing a Front Side Marker Lamp Bulb
- 2012-2018 Ford Focus Side Marker Light Replacement - iFixit
- Form Lighting LED Sidemarkers - Clear (Set) (2024-2026 Mustang) - FL0092
- How To Replace Front Side Marker Light 1992-96 Ford F-150 F-250 F-350 | 1A Auto