
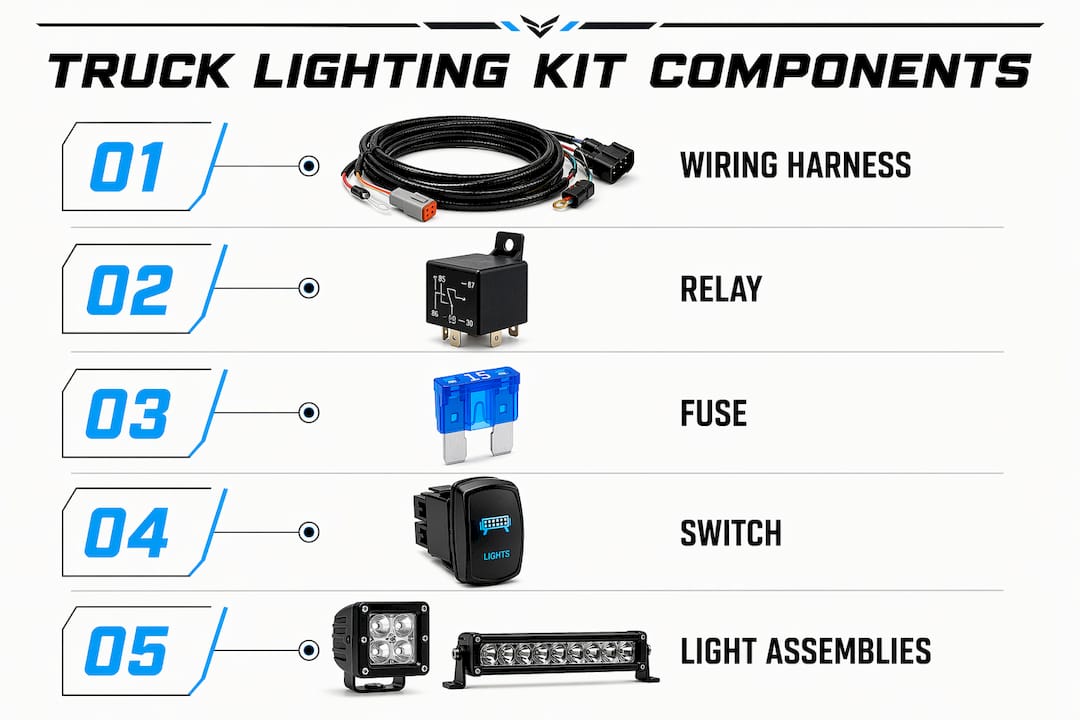
A truck lighting kit is defined as a collection of electrical and hardware components, including wiring harnesses, relays, fuses, switches, and light assemblies, that work together as a system to customize and improve vehicle illumination. Understanding each part before you buy or install saves time, money, and the frustration of a failed circuit. The core truck lighting kit components explained in this guide cover everything from wire gauge selection to federal color standards under FMVSS 108. Whether you are planning a basic LED upgrade or a full off-road lighting build, knowing how these parts interact is the difference between a reliable system and a fire hazard.
What are the essential electrical components in truck lighting kits?
The wiring harness is the backbone of any truck lighting system. It connects every light assembly to the power source, relay, fuse, and switch in a single organized circuit. Pre-terminated kits like Nirider’s relay harness simplify the process because all connections are labeled and sized correctly from the factory, reducing wiring errors significantly. You can find a quality replacement wire harness that covers most auxiliary and primary lighting installations without custom fabrication.
The relay is the component most beginners overlook, and skipping it is a serious mistake. A relay controls up to 40 amps for light circuits while drawing less than 0.5 amps through the coil, which means your dashboard switch never carries the full load of the lights. Without a relay, a small toggle switch handles high current directly, which causes melted wiring and potential fires. Relay wiring harnesses must use an ignition-switched trigger wire at Pin 86 to prevent battery drain when the engine is off.
Wire gauge is equally critical and directly tied to safety. 14 AWG wire handles runs under 15 feet at up to 15 amps, but longer runs or higher-load lights require 12 or 10 AWG to prevent voltage drop and overheating. Undersized wire produces heat, dims your lights, and creates a fire risk over time. Always measure your run length before purchasing wire.
The fuse protects the entire circuit from shorts. Fuse placement within 6 inches of the battery is the standard because a short downstream of the fuse will blow the fuse before the wiring sustains damage. The relay should be mounted within 12 inches of the battery for the same reason. These two placement rules alone prevent the majority of wiring failures in aftermarket lighting installs.
Pro Tip: Never tap into your truck’s existing headlight circuit to power auxiliary lights. Tapping into existing circuits risks blown fuses or fires and voids most vehicle warranties. Always run a dedicated circuit from the battery through a relay and fuse.
What types of lights come in truck lighting kits?
Truck lighting kits include several distinct light categories, and each one serves a specific function. Mixing them up during installation leads to compliance violations and poor performance. Here is how the main types break down:
- Headlights (low and high beam): The primary forward illumination source. LED headlight upgrades offer longer lifespan and better color temperature than halogen, typically in the 5000K to 6000K range.
- Tail and brake lights: Red rear-facing lights required by law. Brake lamps must be red, not amber. Amber brake lamps are a direct FMVSS 108 violation.
- Turn signals: Amber front and rear, required to flash at a specific rate. Some LED conversions require a load resistor to prevent hyper-flash.
- Marker and clearance lights: Amber at the front and sides, red at the rear. Required on vehicles wider than 80 inches.
- Auxiliary lights: Fog lights, ditch lights, and light bars added for off-road or work use. These are not required by law but must comply with color and placement rules when used on public roads.
- Rock and undercarriage lights: Low-mounted LEDs that illuminate wheel wells and the ground beneath the truck. Primarily aesthetic but useful for underbody visibility on lifted trucks navigating obstacles.
Beam pattern is the most misunderstood specification in auxiliary LED lighting. Beam pattern control matters more than lumen output because optical engineering determines where light actually lands on the road. A well-designed combo beam delivers usable illumination across both distance and width without blinding oncoming drivers. Spot beams concentrate light forward for high-speed driving, flood beams spread light wide for slow technical terrain, and combo beams split the difference for general use.
| Light Type | Beam Pattern | Best Application |
|---|---|---|
| Spot beam | Narrow, long-range | Highway driving, high-speed trails |
| Flood beam | Wide, short-range | Camp setup, slow rock crawling |
| Combo beam | Mixed spot and flood | General off-road, daily driving |
| Ditch lights | Angled peripheral | Cornering, road edge visibility |
How are lighting zones used in truck lighting placement?
Truck lighting is segmented into five functional zones including driving, peripheral, fog, scene, and undercarriage to cover all visibility needs on and off road. Each zone addresses a specific blind spot or coverage gap that a single light bar cannot fill on its own. Combining zones is what separates a purpose-built lighting system from a random collection of lights bolted to a bumper.
The forward driving zone uses a light bar or driving lights mounted on the bumper or roof rack to project light straight ahead at distance. The peripheral zone uses ditch lights or A-pillar-mounted pods angled outward at roughly 30 degrees to illuminate road edges and corners. Fog lights sit low on the bumper to cut under dust, rain, and fog rather than reflecting it back at the driver. Scene lights face rearward or sideways from the bed or cab for camp use and work lighting. Rock lights mount inside the wheel wells and along the frame rails for undercarriage illumination on lifted trucks.
Mounting location affects beam aim, and beam aim determines whether a light actually helps or creates glare. Roof-mounted lights aim farther down the road but create more cab reflection on dusty trails. Bumper-mounted lights sit lower and throw light closer to the truck, which works better in fog and dust. A-pillar mounts offer the best angle for ditch lights because they sit at eye level and can be aimed precisely without affecting forward beam alignment.
Pro Tip: When building out multiple zones, start with your forward driving zone first and test it fully before adding peripheral or fog lights. Adding too many lights at once makes it impossible to diagnose which circuit is causing a problem if something fails.
How to install truck lights correctly and avoid common mistakes
A proper truck lighting installation follows a clear sequence. Skipping steps or changing the order creates safety risks and troubleshooting headaches later. Here is the correct process:
- Plan your circuit before buying wire. Measure the run from battery to relay, relay to switch, and relay to each light. Add 20% to your measurement for routing around obstacles.
- Mount the relay within 12 inches of the battery. Short power leads reduce resistance and protect the relay from voltage spikes.
- Install the inline fuse within 6 inches of the battery positive terminal. This is the single most important safety step in the entire install.
- Run the trigger wire from Pin 86 on the relay to an ignition-switched source. This prevents lights from staying on and draining the battery when the engine is off.
- Ground the relay and lights to clean, paint-free metal chassis points. Poor grounding causes intermittent failures and is the most common cause of flickering lights after installation.
- Protect all wiring with split-loom conduit or braided sleeve. Secure with zip ties every 6 to 8 inches, keeping wire away from heat sources and moving parts.
- Test each circuit individually before buttoning up the install. Check for voltage at the light connector, confirm the relay clicks when the switch is activated, and verify the fuse is the correct amperage for the load.
Each relay-based circuit takes 1 to 2 hours to install properly. Rushing the process leads to loose connections that fail on the trail. If your install involves more than two auxiliary circuits or requires routing wire through the firewall, consider having a professional handle the wiring.
Pro Tip: Use a wire harness kit with pre-terminated connectors whenever possible. Pre-built harnesses eliminate the most common wiring mistakes and cut installation time significantly.
What federal standards apply to truck lighting kit components?
FMVSS 108 and 49 CFR 393.11 govern required lighting categories, colors, and placement on commercial vehicles in the United States. These regulations define exactly which lights are required, where they must be mounted, and what colors they must display. Non-compliance results in failed DOT inspections and potential fines.
The key color rules every truck owner needs to know:
- Clearance and marker lights must be amber at the front and sides, and red at the rear.
- Brake lamps must be red only. Amber brake lights are a direct violation.
- Reflectors follow the same color pattern as marker lights.
- Side marker lamps must be amber front and sides, red rear on vehicles wider than 80 inches. This standard helps other drivers judge vehicle width at night.
The 2026 regulatory updates reinforced requirements for conspicuity tape and reflector placement on trailers and large trucks. Before installing any aftermarket lighting, verify that your chosen lights carry SAE or DOT certification markings. Uncertified lights may not meet photometric output standards even if they look compliant. The Ford Super Duty center marker light is one example of a DOT-compliant LED replacement that meets placement and color requirements out of the box.
Key takeaways
A complete truck lighting system requires correctly sized wiring, relay-protected circuits, compliant light types, and strategic zone placement to perform reliably and legally.
| Point | Details |
|---|---|
| Relay protection is non-negotiable | A relay handles up to 40 amps so your switch and wiring stay safe from high current loads. |
| Fuse placement determines safety | Place the inline fuse within 6 inches of the battery to protect wiring from shorts. |
| Beam pattern beats raw lumens | A combo beam with quality optics delivers better real-world visibility than a high-lumen flood. |
| Zone-based placement eliminates blind spots | Five lighting zones cover forward, peripheral, fog, scene, and undercarriage for full coverage. |
| Legal color standards are strict | Amber front and sides, red rear. Amber brake lamps are a federal violation under FMVSS 108. |
Why I always start with the relay, not the lights
After working through dozens of truck lighting builds, the pattern is consistent. Enthusiasts spend hours researching light bars and LED pods, then wire everything directly to a toggle switch and wonder why the switch melts or the fuse blows on the first trail run. The relay is the unglamorous part of the kit that nobody photographs, but it is the component that determines whether the whole system works safely.
My honest recommendation is to treat the electrical side of your build with the same seriousness as the lights themselves. Buy quality wire in the correct gauge. Mount your relay and fuse close to the battery. Ground to bare metal. These three steps cost almost nothing extra and prevent the failures that send people back to the parts store.
On beam patterns, I have seen trucks running 50,000-lumen light bars that illuminate less usable road than a well-aimed 10,000-lumen combo beam. The optics matter more than the spec sheet number. When you are evaluating LED lighting for trucks, ask for the beam pattern diagram, not just the lumen count.
Finally, do not skip the compliance check. A set of amber brake lights or improperly colored clearance lamps will fail a DOT inspection and can create liability in an accident. Compliance is not a bureaucratic inconvenience. It is part of building a system you can actually use on public roads without risk.
— Christopher
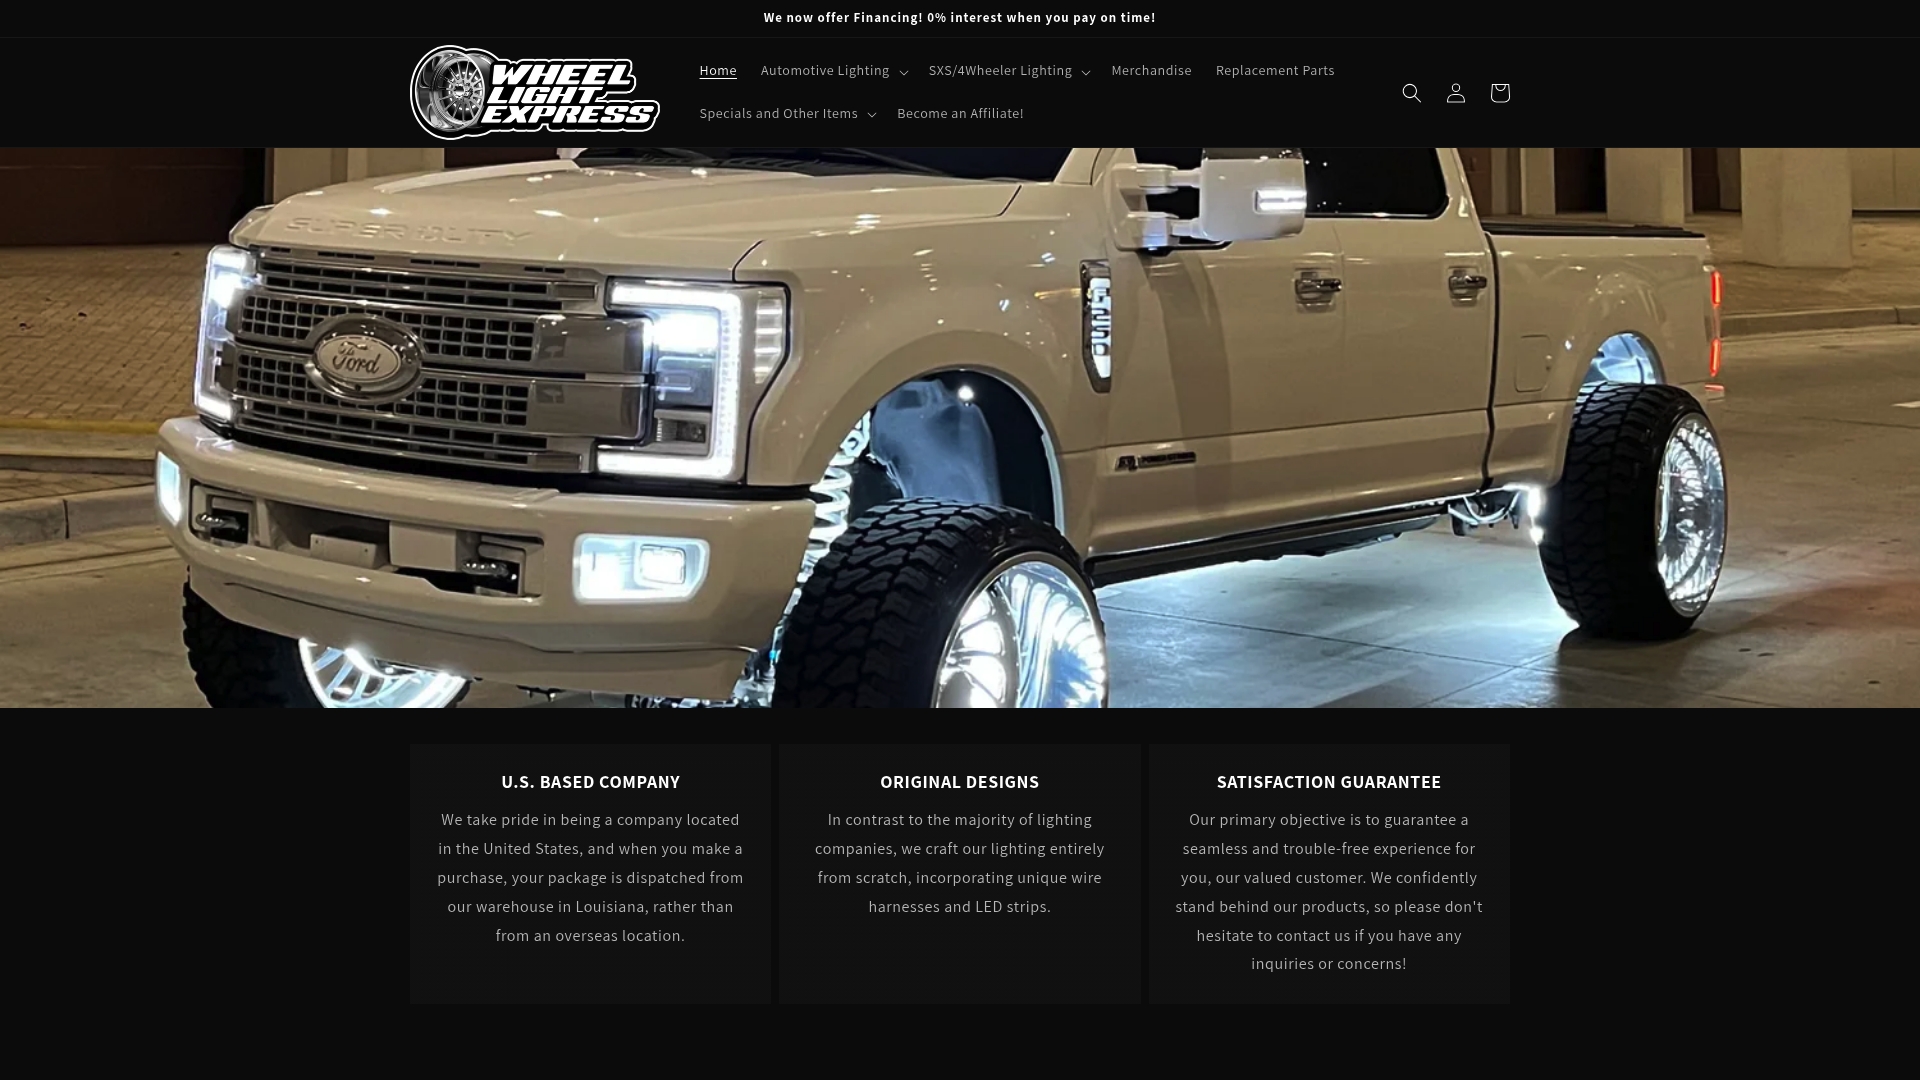
Upgrade your truck lighting with Wheellightexpress
Wheellightexpress designs all of its lighting solutions in Louisiana, which means every product is built with U.S. truck owners in mind rather than adapted from generic overseas stock. If you are ready to put what you have learned into practice, the place to start is the full aftermarket lighting catalog where you will find LED kits, wire harnesses, marker lights, and auxiliary lighting components that match the system architecture described in this guide.
We also offer financing options so you can build your lighting system the right way without cutting corners on components. Every order comes with our satisfaction guarantee, and our team is available to help you match the right harness and light combination to your specific truck and use case. Quality lighting starts with quality parts, and we have both.
FAQ
What components are in a standard truck lighting kit?
A standard truck lighting kit includes a wiring harness, relay, inline fuse, switch, light assemblies such as headlights or auxiliary pods, mounting hardware, and connectors. Higher-quality kits include pre-terminated wiring and a relay harness for safer, faster installation.
How do I choose the right wire gauge for truck lights?
Use 14 AWG wire for runs under 15 feet at up to 15 amps, and upgrade to 12 or 10 AWG for longer runs or higher-load lights. Undersized wire causes voltage drop, dim output, and overheating.
What is the difference between spot, flood, and combo beam patterns?
Spot beams project light far ahead in a narrow cone, flood beams spread light wide at close range, and combo beams combine both for general off-road and driving use. Beam pattern quality matters more than lumen count for real-world visibility.
Are there legal color requirements for truck lighting?
Yes. Under FMVSS 108, clearance and marker lights must be amber at the front and sides and red at the rear. Brake lamps must be red only. Vehicles wider than 80 inches are required to carry side marker lamps in the correct colors.
Can I tap into my existing headlight circuit for auxiliary lights?
No. Tapping into existing circuits risks blown fuses and wiring fires. Always run a dedicated circuit from the battery through a relay and correctly sized inline fuse for each auxiliary lighting circuit.