
Most LED strips fail outdoors not because LEDs are fragile, but because the strip around them is not built for real conditions. Trail riding puts your lighting through temperature swings, mud, water, vibration, and direct sun, often all in the same afternoon. Understanding why flexible LED strips survive trails comes down to four things: materials, sealing, heat management, and mechanical design. Get all four right and you have lighting that lasts. Miss one, and you will be replacing strips after your second season.
Table of Contents
- Key Takeaways
- Why flexible LED strips survive trails: the material science
- Waterproofing that actually works in the field
- Thermal management on trail vehicles
- Mechanical design and vibration resistance
- My take on what actually makes or breaks trail LED strips
- Get trail-ready LED lighting from Wheellightexpress
- FAQ
Key Takeaways
| Point | Details |
|---|---|
| Silicone beats epoxy outdoors | Silicone encapsulation stays flexible and clear across extreme temperatures, while epoxy cracks and yellows. |
| Sealing at connectors matters most | Moisture enters through end caps and connectors far more often than through the strip body itself. |
| Heat is the top lifespan killer | Every 10°C rise in junction temperature can cut LED lifespan in half, making mounting location critical. |
| Vibration needs distributed support | Repeated flexing at the same bend point causes micro-cracks; mounting clips spread mechanical stress evenly. |
| System design determines survival | No single feature guarantees durability. Materials, sealing, thermal, and electrical design must all work together. |
Why flexible LED strips survive trails: the material science
The strip body is your first line of defense, and the encapsulant material makes or breaks everything else. Most budget strips use epoxy resin because it is cheap and easy to apply. The problem is that epoxy becomes brittle below freezing and starts to yellow and crack after extended UV exposure. On a trail rig that sits in the sun between runs, that degradation happens faster than you expect.
Quality outdoor strips use silicone encapsulation instead. Silicone stays flexible and does not crack or yellow across a temperature range from negative 40°C to 150°C. That range covers everything from a winter morning in the Rockies to the heat radiating off a desert rock face in July. The material also resists UV without additives breaking down over time.
The best strips take this further with dual-extrusion technology: a hard, gas-impermeable inner layer that blocks moisture vapor, plus a soft UV-resistant silicone outer layer that absorbs impacts and flex. This two-layer approach protects against threats that a single coating cannot handle alone.
Here is what to check when evaluating any strip for trail use:
- Encapsulant type: Silicone for outdoor use, not epoxy or basic polyurethane
- UV rating: Look for explicit UV resistance claims, not just waterproof ratings
- Temperature range: The spec sheet should list both low and high operating temperatures
- Clarity over time: Quality silicone maintains light transmission; epoxy goes amber within a year outdoors
- Flexibility at cold temps: Bend the strip in a cold environment. Epoxy strips crack. Silicone strips flex.
Pro Tip: Ask the supplier for the encapsulant material spec, not just the IP rating. Two strips can share the same IP67 rating but use completely different encapsulants with very different outdoor lifespans.
Waterproofing that actually works in the field
Waterproof ratings on packaging tell you the strip passed a lab test. What they do not always tell you is how the strip handles the repeated thermal cycling that happens on a trail vehicle. Every time your rig heats up and cools down, air inside the strip expands and contracts. If there are air pockets trapped in the encapsulant, that pumping action pulls moisture in through any small gap.
Trapped air pockets cause moisture pumping, leading to fogging inside the strip and eventual corrosion of the PCB and LED contacts. Eliminating those air pockets requires either vacuum filling during manufacturing or secondary extrusion that leaves no voids. This is a process detail you cannot see from the outside, which is why buying from a reputable source matters.
The other failure point is the connectors and end caps. Moisture infiltration commonly happens at connectors and end caps through capillary action, where water wicks along the cable jacket even when the main strip body is fully sealed. Here is how to address this in your installation:
- Use waterproof connectors rated for outdoor use. Standard push-in connectors are not sealed and will allow moisture entry at the junction.
- Re-seal any cut ends immediately. Cutting a strip exposes the PCB edge. Apply silicone sealant or use heat-shrink end caps rated for outdoor use before mounting.
- Route cables to avoid water pooling at connectors. Gravity works against you. Position connectors where water drains away, not where it collects.
- Use a junction box for multi-strip connections. An IP-rated junction box keeps splices dry even when the strip itself is fully submerged.
- Check professional strips for salt mist and UV weathering test certifications. High ingress protection ratings like IP67 and IP68 combined with salt mist testing confirm real-world outdoor performance, not just bench results.
Thermal management on trail vehicles
Heat is the quiet killer of LED strips. The relationship is straightforward and unforgiving. Every 10°C increase in junction temperature can cut LED lifespan in half. Run your strips hot enough for long enough and you will see output drop, color shift, and eventually early failure, all before the strip ever gets wet.
On a trail vehicle, thermal conditions are harder to control than in a fixed installation. Dirt and mud coat the strip surface and block heat from escaping. Airflow varies depending on speed and terrain. The strip might be in full sun for hours, then get splashed with cold water, creating thermal shock.
| Mounting method | Heat dissipation | Trail suitability |
|---|---|---|
| Direct adhesive to plastic | Poor | Not recommended |
| Aluminum channel mount | Excellent | Highly recommended |
| Metal body panel mount | Good | Recommended |
| Exposed adhesive to metal | Moderate | Acceptable short-term |
Aluminum channels are the right answer for most trail applications. The channel conducts heat away from the strip and spreads it across a larger surface area. Good heat sinking nearly doubles usable life and maintains brightness stability over time. That is not a marginal improvement. It is the difference between strips that last two seasons and strips that last five or more.
Electrical design plays into thermal management too. Voltage drop over long runs causes uneven brightness and creates hot spots where the strip works harder to compensate. For longer runs on a vehicle, a 24V system lowers current draw and reduces resistive losses across the length of the strip. Thicker copper layers on the PCB, specifically 3oz or 4oz copper, reduce resistance further and help distribute heat more evenly.
Pro Tip: Mount your strips on the aluminum frame or body panels of your rig whenever possible. The vehicle’s own metal structure acts as a heat sink and costs you nothing extra.
Mechanical design and vibration resistance
Trails shake everything. Rocks, ruts, and washboard roads create constant vibration that works on every connection point in your lighting system. Flexible LED strips handle this better than rigid bars, but only if they are installed correctly.
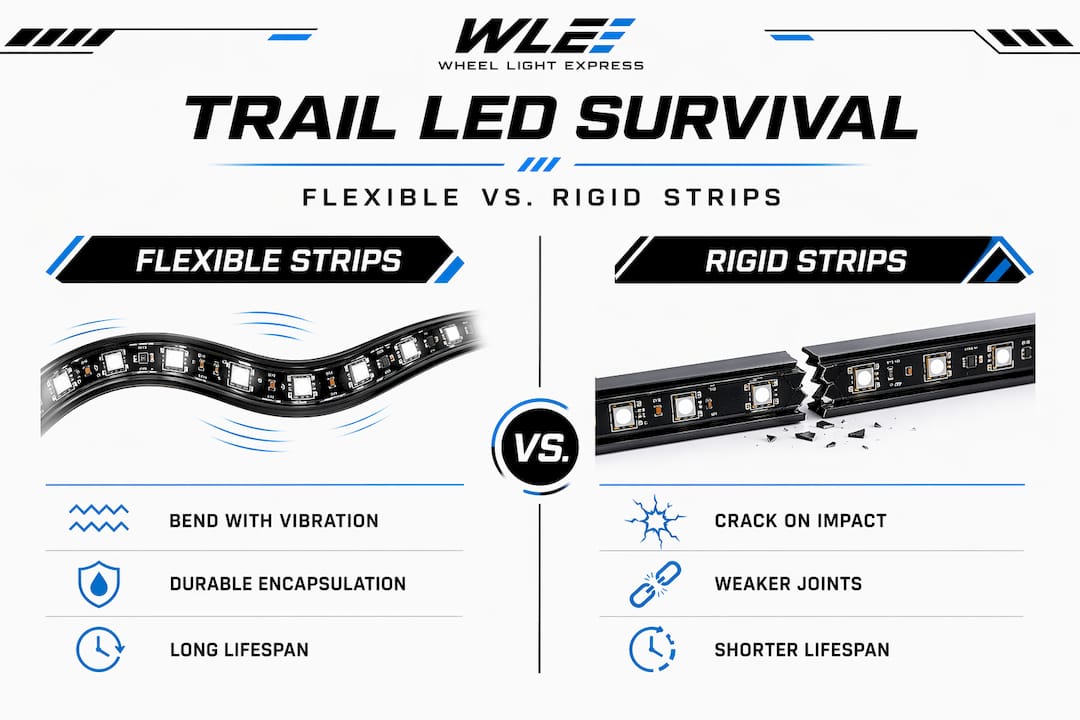
The key failure mode is repeated flexing at the same point. Mechanical fatigue from repeated flexing at a single bend spot accelerates failure by stressing solder joints and cracking the encapsulant. The strip itself is designed to flex, but it is not designed to act as a hinge at one fixed location for thousands of vibration cycles.
Here is how to prevent mechanical failure in trail installations:
- Distribute the strip along its full length. Use mounting clips every 6 to 8 inches so vibration load spreads across the strip rather than concentrating at one point.
- Add strain relief at connection points. Where the strip meets a wire or connector, secure both the strip and the wire independently so the connector does not carry mechanical load.
- Avoid sharp bends. Route strips with gradual curves. The flexible PCB design supports strain cycles without micro-cracking, but sharp angles create stress concentrations.
- Use protective channels in exposed areas. An aluminum or plastic channel protects the strip from direct rock strikes and debris impact while also managing heat.
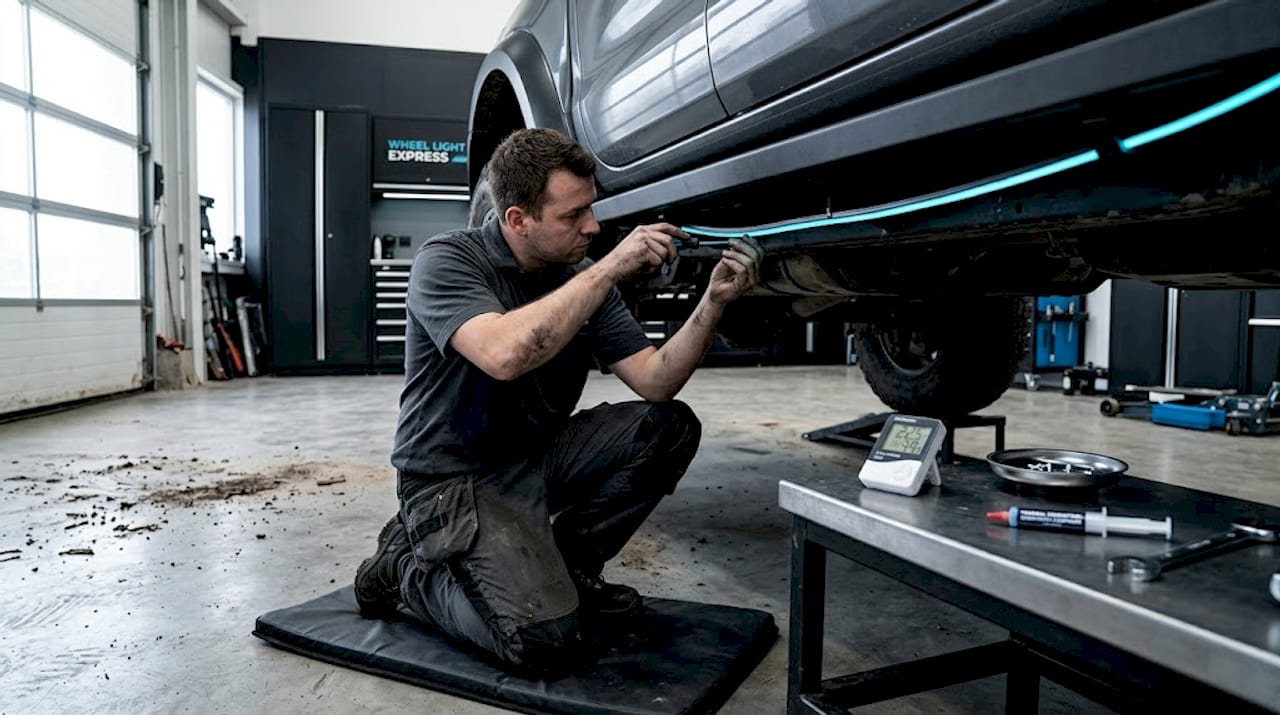
- Check moisture at connectors after the first few trail runs. Vibration can loosen connections that seemed tight at installation. A quick inspection after breaking in the setup catches problems early.
The flexible PCB itself is engineered to handle vibration strain cycles without micro-cracking, but that engineering only holds up when the installation supports the strip properly. Many field failures that look like strip failures are actually installation failures. The strip gave out where it was unsupported, not where it was weak.
My take on what actually makes or breaks trail LED strips
I have seen a lot of LED strip installations on trail vehicles, and the pattern in failures is consistent. People spend real money on a quality strip and then use the cheapest connectors they can find, or they mount the strip on plastic with double-sided tape and wonder why it fails after one muddy season.
Durability is a combined system property. No single design aspect, whether it is the material, the sealing, the thermal management, or the electrical design, guarantees survival on its own. A weakness in any one area is a failure point for the whole system. I have traced more field failures to connectors and installation choices than to the strip PCB itself. Many field failures originate from connectors and splices rather than the strip body, and that is something most buyers never consider when they are comparing strip specs online.
My advice is to treat the wire harness and connectors as seriously as the strip itself. A quality wire harness with proper gauge wire and sealed connectors is not optional on a trail rig. It is the part of the system that gets the most mechanical stress and the most moisture exposure. If you want your lighting to last, plan the full electrical path, not just the strip.
— Christopher
Get trail-ready LED lighting from Wheellightexpress
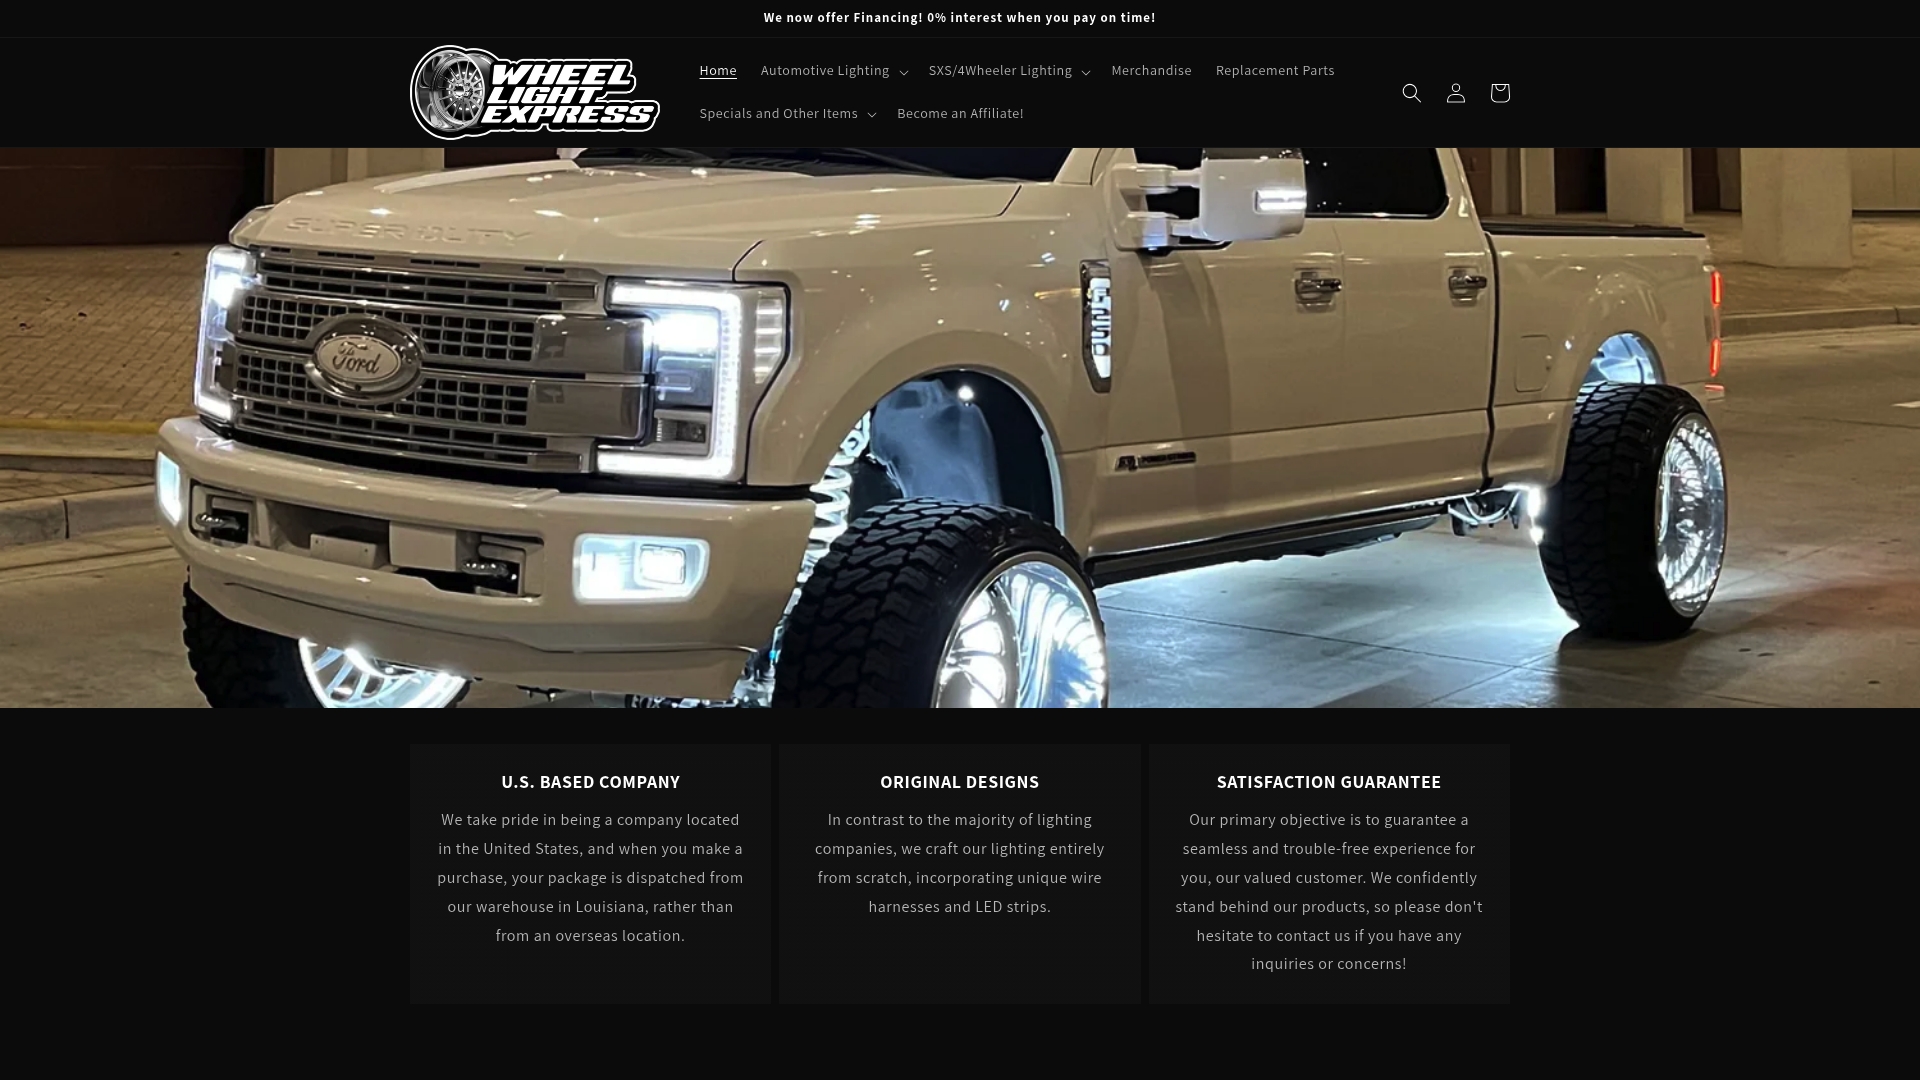
At Wheellightexpress, we design all of our lighting solutions in Louisiana specifically for automotive enthusiasts who need lighting that holds up under real conditions. Our products are not sourced overseas and rebranded. They are original designs built with the durability factors covered in this article in mind. If you are outfitting a trail rig and want lighting that survives the conditions you actually drive in, our aftermarket LED lighting collection is the right place to start.
We also carry the wiring components that make the difference between a lighting system that lasts and one that fails at the connector. Our replacement wire harness is built to handle the vibration and moisture exposure that trail use demands. For wheel-specific lighting, our wheel light ring and strip is designed with flexibility and mechanical endurance in mind. We back everything with a satisfaction guarantee, and financing options are available so you can build out your setup without paying everything upfront.
FAQ
Why do flexible LED strips outlast rigid ones on trails?
Flexible LED strips bend with the vehicle’s vibration rather than resisting it, which reduces stress on solder joints and the PCB. Rigid strips crack at fixed points under the same vibration cycles.
What IP rating do I need for trail-use LED strips?
IP67 or IP68 is the standard for serious outdoor and off-road use. IP67 and IP68 rated strips also undergo salt mist and UV weathering tests that confirm real-world durability beyond basic water resistance.
How does heat affect LED strip lifespan on a vehicle?
Junction temperature directly controls lifespan. A 10°C increase can cut lifespan in half, so mounting strips on aluminum channels and managing voltage drop are both critical for trail installations.
Where do most trail LED strip failures actually happen?
Most failures happen at connectors, end caps, and unsupported bend points, not in the strip body itself. Proper sealing at every connection and distributed mounting clips prevent the majority of field failures.
Is 12V or 24V better for LED strips on a trail vehicle?
For longer runs, 24V systems reduce current draw and minimize voltage drop, which prevents hot spots and uneven brightness. Most trail vehicles run 12V systems, so check compatibility before selecting your strip voltage.