

Run white as your primary light and amber for fog, dust, and ditch pods. Amber wavelengths (2,700 to 3,000K) scatter less off airborne particles than white, so it cuts backscatter in dust and rain while white keeps more raw range for open, clear-night driving. We build hybrid-capable kits at Wheellightexpress specifically because most rigs face both conditions on the same trip.
TL;DR:
- Amber lights perform better in dusty, foggy, and rainy conditions by reducing backscatter and gaining up to 30 extra feet of visibility in dust.
- White lights offer 10 to 15% more range and superior color rendering for fast, high-speed, clear-air or technical obstacle detection trips.
- Mount amber lights lower and angled outward for shoulders and underbody, while white primary bars should be placed front and center for maximum distance.
- Using dedicated wiring harnesses with fused circuits and IP-rated, durable housings prolongs the lifespan of all-off-road lighting systems.
- A hybrid setup with separate zones for white and amber, controlled by a switch or remote, provides optimal flexibility for mixed conditions.
Table of Contents
- Amber vs White Rock Lights: The Technical Breakdown
- How Each Color Performs in Dust, Fog, Rain, and Snow
- Where to Mount Amber and White Lights on Your Rig
- Wiring, Harnesses, and Durability That Actually Hold Up
- What to Check Before You Buy Amber or White Rock Lights
- My Take After Running Both Colors on the Same Rig
- Get Your Rig Set Up With Wheellightexpress
- Sources
Amber vs White Rock Lights: The Technical Breakdown
The difference between amber and white rock lights comes down to wavelength, and that number drives everything else. Amber LEDs sit in the 590 to 625 nanometer range and produce a color temperature between 2,700K and 3,000K. White LEDs concentrate their output in the 450 to 495 nanometer blue band, running at 5,000K to 6,500K.
Shorter wavelengths, like the blue end of the white spectrum, bounce off small particles far more easily than longer amber wavelengths do. This is Rayleigh scattering in action, the same physics that makes the sky blue: tiny particles scatter blue light more aggressively than red or amber light. Point a white bar into a dust cloud and a chunk of that blue output bounces straight back at your eyes instead of reaching the trail ahead.
That physics comes at a cost. Amber lenses filter out blue and green wavelengths, which means the same LED emitter running behind an amber lens outputs roughly 15% fewer lumens than it would in white. You’re trading raw brightness for cleaner light in bad air.
| Spec | Amber | White |
|---|---|---|
| Color temperature | 2,700 to 3,000K | 5,000 to 6,500K |
| Wavelength | 590 to 625nm | 450 to 495nm |
| Relative lumen output | ~15% lower | Baseline (highest) |
| Best clear-air range | Shorter | 10 to 15% more range |
That lumen loss isn’t wasted, though. In heavy dust, amber can add 15 to 30 feet of usable visibility compared to white, because so much less of the light scatters back into your eyes. Fewer raw lumens reaching your retina in a clean beam beats more lumens bouncing around in a dust cloud.
How Each Color Performs in Dust, Fog, Rain, and Snow
Every condition on the trail rewards a different wavelength, and knowing which one applies where saves you from guessing mid run.
- Heavy dust: Amber wins outright. Less backscatter means a cleaner beam and that 15 to 30 foot visibility gain mentioned above.
- Fog and light rain: Amber again, for the same scattering reason, plus it reduces glare bouncing off wet surfaces.
- Snow: Amber cuts the “wall of white” effect that cool LEDs create when snowflakes reflect light directly back at the driver.
- Clear, high-speed desert runs: White takes over. It delivers roughly 10 to 15% more usable range and renders color and texture far better, which matters when you need to spot a rock ledge at speed.
- Technical rock crawling: White’s superior color rendering helps you judge depth and surface texture on obstacles up close.
Group desert runs are where this gets interesting. The lead truck’s dust hangs in the air for the trucks behind it, and trailing rigs benefit disproportionately from amber ditch lights because that lingering cloud is exactly the condition amber handles best. Foggy coastal trail riders report the same pattern with amber ditch lights cutting through marine layer fog. On open, clear desert stretches at speed, white primary bars remain the better call, a pattern enthusiasts confirm across forum threads comparing real-world setups.
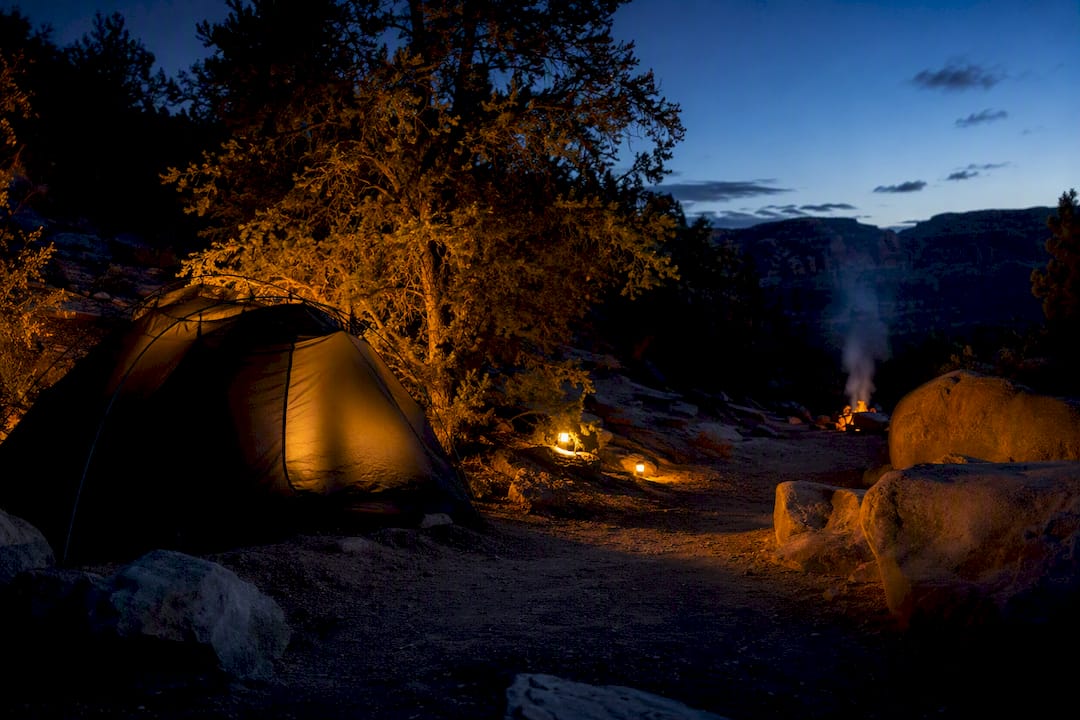
Pro Tip: If you camp on the trail, swap to amber for your living-zone lighting once you’re parked. Amber draws noticeably fewer insects than cool white and it’s easier on your night vision if you need to step outside the tent.
Where to Mount Amber and White Lights on Your Rig
Placement matters as much as color choice. A hybrid setup only works if each color sits where its strengths actually apply.
- Forward light bar: white. This is your primary distance light. Run a focused spot pattern here for maximum range on open terrain, similar to what you’d expect from a standard forward-mounted LED bar.
- Ditch and side pods: amber. Mount these low and angled outward, roughly 15 to 20 degrees off center, so they light the shoulder of the trail without throwing glare back into the cab during dust or fog.
- Underbody rock lights: white or amber diffused lenses. Use a flood or diffused beam pattern here rather than a spot. You need even ground coverage around tires and rock sliders, not throw distance.
- Fender and rocker mounts: Keep these angled downward and slightly forward to eliminate shadow gaps between the front and rear wheel wells.
For control, wire amber pods to a separate switch or a momentary override so you can flip them on the instant you hit dust without touching your primary white bar. Automotive lighting zones built this way, with distinct forward, ditch, and underbody circuits, give you the most flexibility on mixed-condition trips.
Wiring, Harnesses, and Durability That Actually Hold Up
A dedicated wiring harness beats running individual power leads to every light, mainly because it centralizes your fuses and switching in one clean setup instead of a tangle of splices under the dash. Rock lights live in the worst spot on your rig for water, mud, and rock strikes, so the hardware matters as much as the color.
- Choose a harness with fused circuits rather than daisy-chaining lights off a single unfused line.
- Decide early between a simple on/off switch and an RGBW or app-based controller if you want amber and white output from the same fixture, an approach some RGBW rock light kits support with a dedicated controller.
- Check IP ratings before you buy. Anything mounted low on the frame needs at least IP67 for dust and submersion resistance.
- Verify lens and housing material. Polycarbonate lenses in an aluminum or reinforced housing survive rock strikes far better than a bare plastic shell.
- Torque mounting hardware to spec. A loose bracket vibrates loose on washboard trails within a few outings.
What to Check Before You Buy Amber or White Rock Lights
Skip the spec-sheet guessing game and run through this list before you check out.
- Confirm color temperature matches your intended use: 2,700 to 3,000K for amber, 5,000 to 6,500K for white.
- Compare the claimed lumen output against independently measured figures, not just the marketing number on the box.
- Check beam pattern: spot for distance, flood or diffused for underbody and close-range coverage.
- Verify IP rating, lens material, and included mounting hardware.
- Look for a real warranty and a harness that’s sold separately or included.
- If you drive mixed conditions, which most overlanders do, default to a white primary bar paired with amber ditch or side pods rather than committing to a single color.
Spend the extra money on the housing and harness before you spend it on marginal lumen gains. A cracked lens or a corroded connector ends your trip faster than a slightly dimmer light ever will.
My Take After Running Both Colors on the Same Rig
I run white up front and amber in the ditch pods, and I’ve never regretted the extra switch on the dash. The mistake most first-time buyers make is picking one color for the whole rig instead of matching color to zone. DIY wiring works fine for a single harness kit; if you’re integrating a controller-based RGBW system, professional installation saves you a weekend of troubleshooting grounds.
— Christopher
Get Your Rig Set Up With Wheellightexpress
You don’t have to choose one color and live with it. Wheellightexpress designs every kit in Louisiana rather than sourcing overseas parts and relabeling them, and that includes hybrid-ready options that let you run white and amber from the same rig without cobbling together mismatched parts from different brands.

If you’re building out the setup described above, our wheel light ring and strip kits work well for underbody and rock light zones, and our wire harness leads give you the fused, dedicated wiring this kind of build needs instead of a patchwork of spliced connections. Add a remote for your harness if you want quick switching between white and amber circuits without reaching for separate toggles. Every order carries our satisfaction guarantee, and financing is available if you’d rather spread the cost of a full hybrid setup across a few payments. Browse the wheel light ring and strip page to start building your setup today.
Sources
- Amber vs White Off-Road Lights: Key Differences - Overlanding and Offroad articles
- Goldfields Campers — Advantages of amber lighting for camping