

Custom lighting integration is the process of aligning electrical, optical, and control specifications to upgrade or customize automotive lighting systems with precision. This is the technical discipline behind every clean LED strip install, headlamp retrofit, and auxiliary lighting build you see at car shows. Done right, it covers color temperature selection, wiring path planning, driver-controller matching, and regulatory compliance. Skip any one of those elements and you end up with flickering strips, blown drivers, or lights that fail inspection. This guide breaks down every layer of the process so you can plan and execute your build with confidence.
What is custom lighting integration in automotive builds?
Custom lighting integration, also called automotive lighting system design, is the structured process of specifying and combining LED modules, drivers, wiring harnesses, and control protocols into a single working system. The term covers everything from underbody LED strips and wheel lights to full headlamp upgrades and auxiliary driving lamps. What separates a professional build from a weekend hack job is the level of specification work done before the first wire is cut.
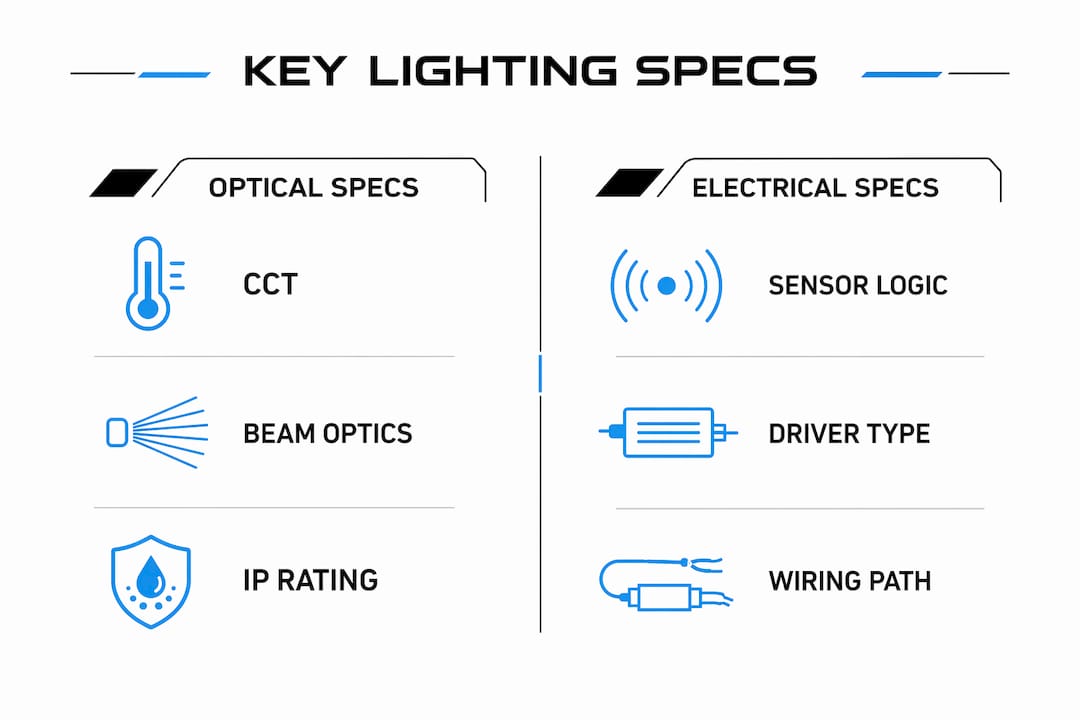
A solid integration plan defines six core elements: correlated color temperature (CCT), beam optics, sensor logic, housing and mounting, wiring paths, and certification requirements. Planning ahead prevents the most common failures, including inaccessible drivers, improper sensor placement, and missing compliance paperwork. Each element affects the others, so treating them as separate decisions is a mistake.
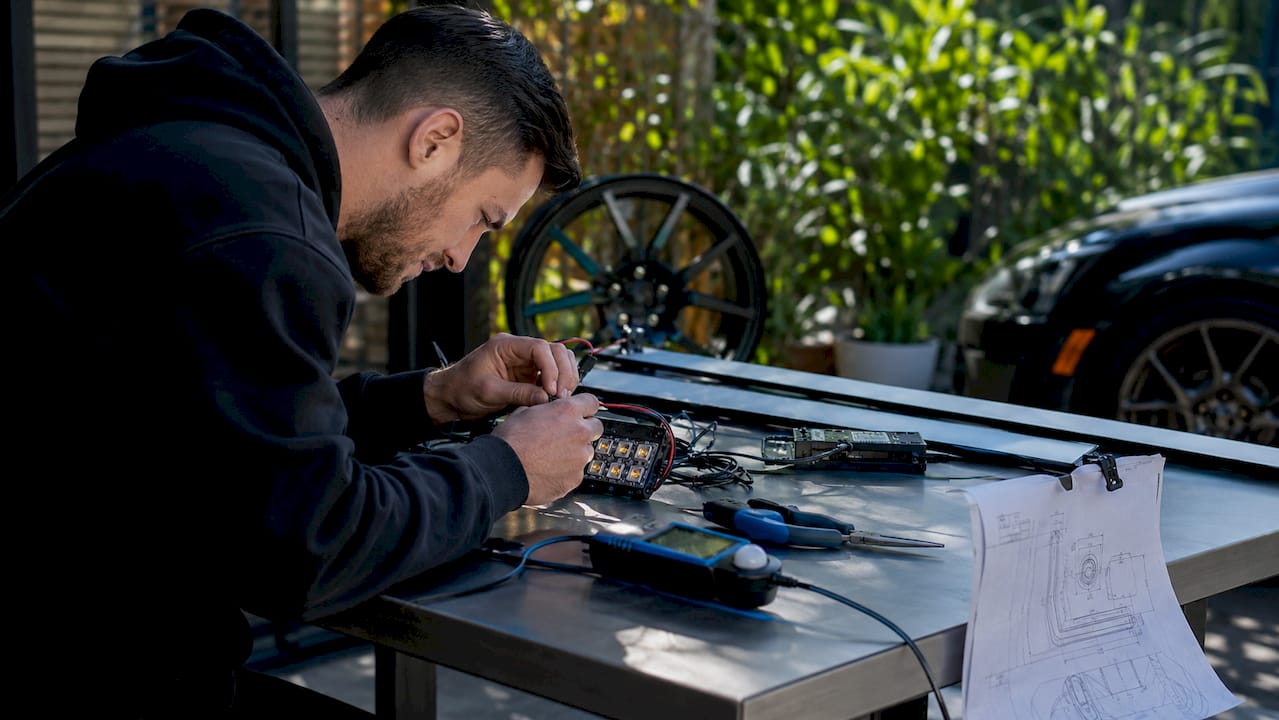
For automotive enthusiasts, the benefits of custom lighting go beyond looks. Properly integrated LED lighting improves visibility, reduces electrical load compared to halogen systems, and gives you precise control over color, intensity, and switching behavior. The types of automotive LED lighting available today range from simple plug-and-play strips to fully programmable RGB systems with wireless controllers.
What are the key technical specifications in custom automotive lighting?
Every successful lighting integration project starts with a written spec sheet. Skipping this step is the single most common reason builds fail at the installation stage.
CCT and Optical Design
CCT measures the color appearance of white light on the Kelvin scale. A 3,000K output looks warm and amber. A 6,500K output looks cool and blue-white. For headlamps, most OEM systems target 5,500K–6,000K to maximize road contrast. For interior or accent lighting, lower CCT values in the 2,700K–3,500K range produce a cleaner, more premium appearance. Choosing the wrong CCT for your application affects both aesthetics and driver visibility.
Beam optics define how light is distributed in front of the vehicle. A spot beam concentrates output for long-range visibility. A flood beam spreads light wide for close-range coverage. Projector housings use a lens and shield to produce a sharp cutoff line, which is required for legal low-beam operation in the U.S. and Europe.
Sensor Logic and Housing
Sensor logic covers any automated behavior in your lighting system. This includes ambient light sensors that activate lights at dusk, motion sensors for interior lighting, and interlock logic that ties auxiliary lamps to specific beam states. Defining this logic in your spec sheet before wiring prevents control conflicts later.
Housing material and mounting surface sealing determine how long your lights survive. Aluminum housings dissipate heat better than plastic. IP67-rated enclosures handle water immersion up to one meter. For underbody and wheel well installations, IP67 or higher is the minimum you should accept.
Here is a quick comparison of common housing and mounting considerations:
| Factor | Aluminum Housing | Plastic Housing |
|---|---|---|
| Heat dissipation | High | Low to moderate |
| Weight | Heavier | Lighter |
| Durability | High | Moderate |
| Cost | Higher | Lower |
| Best use | High-power LEDs | Low-power accent strips |
Pro Tip: Write your spec sheet before purchasing any components. List CCT target, beam type, IP rating, wiring path, and control protocol in one document. This single step eliminates most compatibility problems before they start.
How do you match electrical and control protocols for reliable lighting?
Electrical compatibility is where most DIY builds break down. The core issue is that LED drivers, controllers, and LED modules each have specific input and output requirements. Mismatching them causes flicker, premature failure, or complete system shutdown.
Constant Voltage vs. Constant Current
LED strips run on constant voltage systems, typically 12V or 24V DC. LED modules and high-power single emitters usually require constant current drivers that regulate amperage regardless of voltage fluctuations. Using a constant voltage driver on a constant current LED module will shorten the LED’s life significantly.
Dimming and Control Protocols
The four main protocols you will encounter in automotive and architectural lighting are:
- PWM (Pulse Width Modulation): The most common in automotive applications. The driver switches power on and off at high frequency to simulate dimming. Works well with most LED strips and is compatible with most 12V controllers.
- DALI (Digital Addressable Lighting Interface): A two-wire digital protocol that allows individual fixture addressing and precise dimming. More common in commercial builds but increasingly used in high-end custom automotive interiors.
- KNX: A building automation protocol sometimes used in luxury vehicle conversions for integrated control of lighting, climate, and other systems.
- Wireless (RF/Bluetooth/Wi-Fi): The most accessible option for enthusiasts. Bluetooth and RF controllers from brands like Govee or generic 12V RGB controllers allow smartphone or remote operation without additional wiring complexity.
Driver-controller-LED matching requires verifying driver input voltage, output type (PWM vs. constant current), and parameterization to prevent flicker and failure. A reliable system requires verifying all three components together, not evaluating each one in isolation.
Pro Tip: Before finalizing your component list, test your driver, controller, and LED module together on a bench with a multimeter and a load. Confirm stable voltage output under full load before installing anything in the vehicle.
What design strategies ensure stable power delivery for LED strip installations?
Voltage drop is the most underestimated problem in LED strip installations. It occurs when resistance in the wiring reduces the voltage reaching the far end of a strip, causing the LEDs there to appear dimmer than those near the power source.
Here is how to address it systematically:
- Calculate your load first. Determine the total wattage of your LED strip run. A standard 12V RGB strip draws roughly 14.4W per meter. A 5-meter run draws 72W, requiring at least a 6A driver at 12V.
- Choose the correct wire gauge. For runs up to 3 meters at 12V, 18 AWG wire is adequate. For longer runs or higher current loads, step up to 16 AWG or 14 AWG to reduce resistance.
- Inject power at regular intervals. For 12V strips, inject power every 3–5 meters. For 24V strips, you can extend that to every 7–10 meters before brightness loss becomes visible. Power injection means running a new wire from the power supply directly to a midpoint on the strip, not daisy-chaining from the previous endpoint.
- Keep voltage drop below 3%. Proper current calculation and power injection keep voltage drop within acceptable limits and produce consistent brightness across the full run.
- Test before closing panels. Power up the full strip run and visually inspect for brightness uniformity before securing any trim panels or finishing the install.
Here is a reference table for common strip configurations:
| System Voltage | Max Run Without Injection | Wire Gauge (Recommended) | Power Injection Interval |
|---|---|---|---|
| 12V | 3–5 meters | 18–16 AWG | Every 3–5 meters |
| 24V | 7–10 meters | 18–16 AWG | Every 7–10 meters |
For LED strip applications on custom vehicles, 24V systems are worth considering for longer runs because they cut current in half for the same wattage, which reduces voltage drop and allows thinner wire gauges.
How do automotive lighting regulations affect custom integration projects?
Compliance is not optional. Legal automotive lighting is defined by certified lamp behavior and robustness tests, not just light output. Retrofit projects that ignore this face inspection failures, insurance complications, and liability exposure.
Key regulatory frameworks you need to know:
- FMVSS 108 (U.S.): The Federal Motor Vehicle Safety Standard governing all forward and rear lighting on U.S. roads. It specifies photometric output, beam pattern, and installation requirements for headlamps, taillamps, and signal lamps.
- UNECE R112 (Europe): The European equivalent for headlamp beam pattern and photometric performance. If you are importing or exporting a modified vehicle, both standards may apply.
- SAE Standards: The Society of Automotive Engineers publishes specifications for auxiliary lamps, signal lamps, and reflective devices that many U.S. states reference in their vehicle codes.
- ISO 16750: Environmental and EMC testing under ISO 16750 covers temperature cycling, vibration, humidity, and electromagnetic compatibility. These tests confirm that your lighting system will not interfere with the vehicle’s CAN bus or other electronic systems.
“Compliance mindset for automotive lighting projects focuses on tested environmental endurance and EMC compatibility alongside optical performance.” — Carneon Lighting
Auxiliary lamp wiring has its own interlock requirements. Fog lamps must operate only with low beams active. Auxiliary driving lamps must link to high beams and dim or shut off when low beams engage. These rules prevent blinding oncoming traffic and align with state regulations across the U.S.
What practical steps help enthusiasts implement custom lighting successfully?
Translating specs into a working install requires discipline. Here is the process that produces clean, reliable results:
- Build your spec sheet first. Document CCT, beam type, IP rating, wiring path, control protocol, and compliance requirements before ordering anything. Specifying wiring paths and housing access upfront avoids costly rework and failures.
- Verify component compatibility on the bench. Connect your driver, controller, and LED module together before installing. Confirm stable output voltage and correct dimming behavior.
- Plan wiring paths for accessibility and heat. Route wires away from exhaust components and sharp edges. Leave service loops at connection points so you can disconnect and reconnect without cutting wire. Follow proper cable routing practices to protect against abrasion and heat damage.
- Apply power injection before finishing the install. Run injection wires to midpoints on long strip runs before closing any panels. Confirm brightness uniformity under full power.
- Program interlock logic for auxiliary lamps. Wire fog lamps through a relay that only activates when the low-beam circuit is live. Wire auxiliary driving lamps to the high-beam circuit with a dimming relay for low-beam engagement.
- Document everything. Photograph wiring paths, label connectors, and keep a copy of your spec sheet with the vehicle. This matters for warranty claims, future modifications, and resale.
Pro Tip: Use a signal relay for auxiliary lamp interlocks rather than wiring directly through the switch. Relays handle higher current loads cleanly and protect the vehicle’s factory wiring from overload.
Common pitfalls to avoid: using undersized wire for the actual current draw, mounting drivers in enclosed spaces without ventilation, and skipping the bench test before final installation.
Key takeaways
Successful custom lighting integration requires detailed upfront specification, verified component compatibility, and compliance with FMVSS 108 and auxiliary lamp interlock rules before a single wire is installed.
| Point | Details |
|---|---|
| Spec sheet is non-negotiable | Define CCT, optics, wiring path, and compliance requirements before purchasing components. |
| Match all three electrical components | Verify driver voltage, output type, and LED module specs together to prevent flicker and failure. |
| Inject power on long strip runs | Use power injection every 3–5 meters on 12V systems to maintain uniform brightness. |
| Compliance covers more than output | FMVSS 108, ISO 16750, and EMC testing determine legal and reliable operation, not just light intensity. |
| Interlock logic protects you legally | Wire fog and auxiliary lamps through relays tied to the correct beam circuits to meet state regulations. |
Why upfront planning is the real skill in custom lighting builds
I have seen more custom lighting builds fail at the installation stage than at the design stage. The lights look great on paper. The components are quality. But the driver ends up stuffed behind a panel with no airflow, the wiring runs directly over a hot exhaust component, and the installer discovers the strip is 2 meters too short because no one measured the actual run length in the vehicle.
The uncomfortable truth is that bench testing almost never reveals these problems. Wiring path, driver accessibility, and thermal management mismatches only show up once you are working inside the actual vehicle. That is why I push the spec sheet so hard. It forces you to think through physical constraints before you are committed to a component layout.
I also think the compliance conversation gets avoided too often in enthusiast circles. People treat FMVSS 108 and auxiliary lamp interlock rules as bureaucratic obstacles. They are not. They exist because improperly aimed or uncontrolled auxiliary lamps genuinely blind other drivers. Getting that logic right is both a legal requirement and a matter of respect for everyone else on the road.
My advice: spend twice as long on the spec sheet as you think you need to. Walk the wiring path in the vehicle before ordering wire. Test on the bench before installing. The builds that look effortless are the ones where all the hard thinking happened before the first tool came out.
— Christopher
Build your custom lighting setup with Wheellightexpress
If you are ready to move from planning to parts, Wheellightexpress has you covered. Designed in Louisiana and built for automotive enthusiasts who want original, quality results, the product lineup includes LED wheel light rings and strips, wire harness leads for clean power routing, remotes, self-tappers, fuses, and headlight adapters. Every product is designed with the kind of fit and finish that makes your install look factory.

Browse the full aftermarket lighting catalog to find LED strips, wheel lights, and wiring accessories matched to your build. Wheellightexpress also offers financing options so you can get the parts you need without waiting. A satisfaction guarantee backs every order.
FAQ
What is custom lighting integration in automotive terms?
Custom lighting integration is the process of specifying and combining LED modules, drivers, wiring harnesses, and control systems into a single, reliable vehicle lighting setup. It covers everything from color temperature selection to regulatory compliance.
How do i prevent voltage drop in LED strip installations?
Inject power every 3–5 meters on 12V systems and every 7–10 meters on 24V systems, and keep voltage drop below 3% by using the correct wire gauge for your current load.
What is FMVSS 108 and does it apply to aftermarket lighting?
FMVSS 108 is the U.S. federal standard governing photometric output, beam pattern, and installation requirements for all vehicle lighting. Aftermarket and retrofit lighting must meet these requirements to be street legal.
Do fog lamps need to be wired to a specific circuit?
Yes. Fog lamps must operate only when the low-beam circuit is active, and auxiliary driving lamps must link to the high-beam circuit and dim or shut off when low beams engage, per DOT and SAE interlock rules.
What wire gauge should i use for a 12v LED strip run?
Use 18 AWG wire for runs up to 3 meters and step up to 16 AWG or 14 AWG for longer runs or higher current loads to keep resistance and voltage drop within acceptable limits.