

Aluminum is the better housing material for rock lights in almost every trail scenario that matters. It dissipates heat faster, resists rock strikes and vibration fatigue better, and holds up longer in mud, water, and UV exposure than plastic. Plastic still has a place on budget builds, show trucks, or low-impact daily drivers where the pods rarely take a direct hit.
- Aluminum pros: better heat transfer, higher impact resistance, longer stable light output over time
- Plastic pros: lower cost, lighter weight, easier to mount in tight spots
- The nuance: engineered polymers and hybrid designs (plastic lens over an aluminum body, for instance) can close much of the durability gap if the thermal path is designed correctly.
Key Takeaways
Aluminum rock light housings outperform plastic on heat dissipation, impact resistance, and long-term stable brightness, making them the default choice for any truck or off-road rig that sees real trail use.
| Point | Details |
|---|---|
| Aluminum wins on heat | Die-cast aluminum keeps LED junction temperatures lower, preserving stable lux over long runs. |
| Plastic has a role | Reinforced plastic works for show trucks or light daily driving with a proper IP rating. |
| IP68 is the floor | Serious trail exposure calls for IP68 or higher, not just a marketing sticker. |
| Wiring fails first | Sealed connectors, dielectric grease, and a real harness matter as much as the housing. |
| Wheel Light Express fits the standard | Its U.S.-designed kits pair high-density modules with complete harnesses built to these specs. |
Table of Contents
- Aluminum vs Plastic Rock Lights: Durability and Impact Resistance
- Why Thermal Management Decides How Long Your Rock Lights Stay Bright
- IP Ratings, Lenses, and Seals That Actually Survive Mud
- Mounting, Wiring, and Connectors That Won’t Let You Down
- When to Choose Aluminum vs Plastic Rock Lights for Your Build
- How Wheel Light Express Builds to These Standards
- What Actually Matters When You’re Choosing Rock Light Housings
- Get Rock Lights Built for the Trail, Not Just the Spec Sheet
- Sources
Aluminum vs Plastic Rock Lights: Durability and Impact Resistance
Rock lights live where trucks least want to be gentle: wheel wells, rocker panels, skid plates. Die-cast aluminum housings shrug off the rock strikes, branch snags, and constant vibration that a trail run throws at them, and they resist the metal fatigue that eventually cracks weaker housings after months of washboard roads. Buyer guides for UTV and off-road lighting consistently point to die-cast aluminum with a polycarbonate lens and silicone gasket as the combination that holds up best over years of abuse, not just weeks.
Plastic housings aren’t automatically weak. Reinforced polymers with UV stabilizers and thicker wall sections can survive light trail use and daily driving without complaint. Where they fall apart is under direct impact from a kicked-up rock or a curb scrape, since most consumer-grade plastics crack rather than dent.
Corrosion matters just as much as impact. Aluminum housings need an anodized or powder-coated finish to prevent pitting near road salt, and any mounting screws should be stainless or plated to avoid the rust streaks that plague cheap hardware.
- Look for anodized or powder-coated aluminum, not bare cast metal
- Confirm stainless or zinc-plated mounting hardware
- Check whether the lens is polycarbonate (impact-resistant) or glass (scratch-resistant but more brittle)
Pro Tip: Tap the housing with a knuckle before you buy. A dull thud usually means solid die-cast aluminum; a hollow rattle often means a thin plastic shell dressed up to look heavier than it is.
Why Thermal Management Decides How Long Your Rock Lights Stay Bright
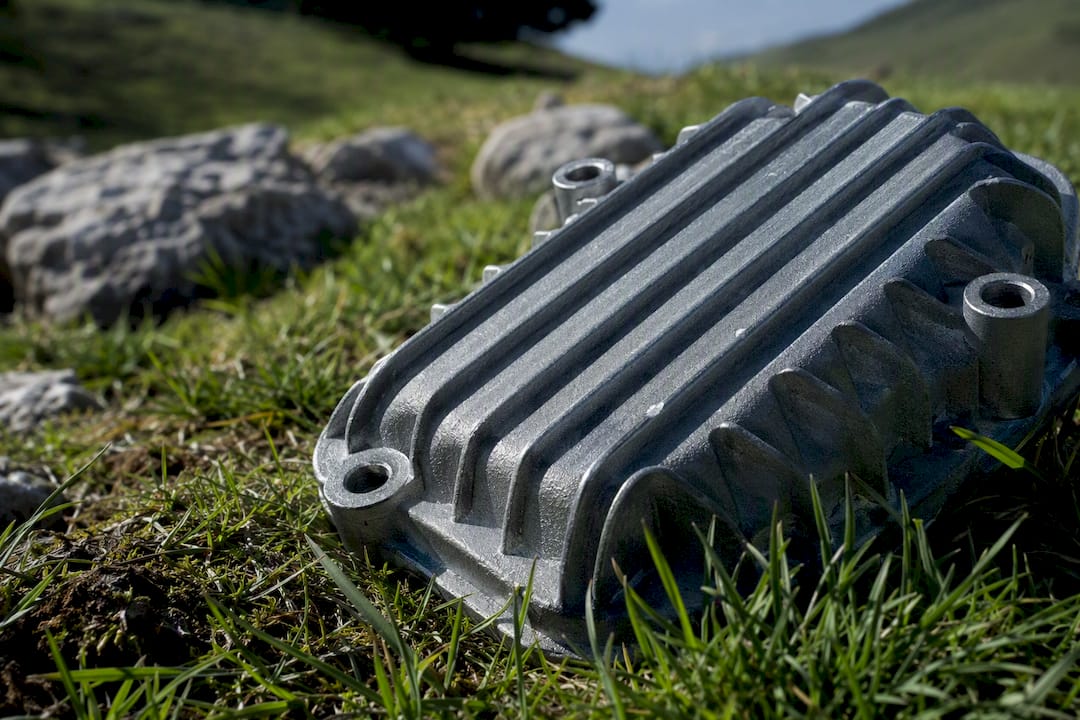
Heat is the silent killer of LED output, and housing material is the single biggest factor in how well a rock light pod manages it. Aluminum pulls heat away from the LED chip and spreads it across the housing surface, keeping the junction temperature low enough that the diode keeps producing near its rated lumen output. Plastic and resin housings, by contrast, act more like an insulated box: heat builds up around the chip with nowhere efficient to go.
Independent testing on Tacoma World backs this up directly. In side-by-side runs, aluminum-housed rock lights held a noticeably higher stable lux reading after 15 minutes of continuous operation, while smaller plastic-bodied pods lost more of their initial brightness as heat accumulated inside the shell. That gap between initial lumens (the bright flash you see the moment you flip the switch) and stable lumens (what you’re actually driving with ten minutes later) is the number that actually matters for trail visibility.
Design details can narrow that gap even in plastic housings:
- Thermal pads between the LED board and the housing wall
- Finned or ribbed exterior surfaces that increase surface area
- Fully potted electronics rather than a simple gasket seal
Vendor listings that mention potting or thermal pads on resin housings are signaling they’ve at least tried to engineer around plastic’s weaker heat transfer, and that’s worth checking on any spec sheet before you buy.
IP Ratings, Lenses, and Seals That Actually Survive Mud
An IP rating tells you how a pod handles dust and water, but the digits mean different things in practice. IP67 covers temporary submersion in still water, which is fine for rain and puddles but marginal for a deep water crossing. IP68 extends that protection to continuous or deeper submersion, and IP69K adds resistance to high-pressure, high-temperature washdowns, the kind of blast a pressure washer or a fire hose delivers.
- Treat IP68 as the floor, not the ceiling, for any pod mounted low on a truck or rig that sees mud, creek crossings, or regular pressure washing. Guides on functional off-road lighting recommend IP68 as the minimum standard for serious trail exposure.
- Compare lens materials carefully. UV-stabilized polycarbonate resists chipping and yellowing better than most consumer plastics, while tempered glass holds its clarity longer but cracks instead of flexing on a hard hit.
- Favor potted electronics over gasket-only sealing. A pod with the circuit board encased in resin keeps working even if the outer gasket eventually degrades, while a gasket-only design fails completely the moment that seal breaks down.
- Watch for vague IP claims with no hardware specs listed. A product page that skips the O-ring material or hardware grade is usually cutting corners somewhere you can’t see in a photo.
Mounting, Wiring, and Connectors That Won’t Let You Down
Housing material gets most of the attention, but wiring failures are the more common reason rock light kits die early. Forum consensus among off-road builders is blunt on this point: cheap kits skimp on wiring gauge and connector quality long before the housing itself ever fails, regardless of whether it’s aluminum or plastic.
A few habits protect the investment either way:
- Use stainless or zinc-plated mounting brackets, torqued snug but not overtightened against the housing
- Route wiring away from moving suspension parts and exhaust heat, and secure it every few inches with zip ties or clips
- Use automotive-grade sealed connectors (Deutsch or Weatherpack style) rather than open butt splices
- Pack dielectric grease into every connector before final assembly, and leave a small service loop for strain relief
A complete wiring harness with a proper relay and fuse built in outlives a bare pod wired with whatever’s in the toolbox, and it’s usually the cheapest insurance in the whole build.
Pro Tip: Dab a small amount of dielectric grease inside every connector before you seat it, even ones rated waterproof out of the box. It’s a five-second habit that prevents most of the corrosion-related failures owners report a year or two down the road.
When to Choose Aluminum vs Plastic Rock Lights for Your Build
The decision comes down to four questions: how much impact exposure the pod will see, how long it runs per session, how bright you actually need it, and what you’re willing to spend.
- Trail-ready rig: Choose die-cast aluminum, IP68 or higher, stainless hardware, and a complete sealed harness. This is the setup for anyone running rock crawling trails, mud, or water crossings regularly, where an aluminum vs plastic lighting decision has real consequences for uptime.
- Show truck or light daily driver: Plastic housings are acceptable here, provided they’re IP-rated and the electronics are shielded from direct road spray. Aesthetics and cost matter more than trail durability in this scenario.
- Budget build on a tight schedule: Plastic still works, but stick to reputable IP68-rated kits and avoid bargain-bin pods with no hardware specs listed anywhere.
- Work or recovery vehicle: Aluminum is close to mandatory here, since these rigs see the most cumulative abuse and the least tolerance for a pod failing mid-job.
Hybrid designs (an aluminum body with a polycarbonate lens, for example) often deliver the best balance of weight, cost, and thermal performance, and they’re worth a second look before you commit to one material across the board.
How Wheel Light Express Builds to These Standards
Wheellightexpress designs every kit in Louisiana rather than sourcing from overseas catalogs, which means the housing, lens, and harness specs on a product page reflect actual engineering decisions, not a repackaged import. That domestic design process, backed by a satisfaction guarantee and financing options for larger builds, aligns directly with the material and sealing recommendations covered above.
Wheellightexpress kits use high-density LED modules paired with purpose-built wiring harnesses, the same combination this guide flags as the difference between a pod that lasts one season and one that lasts five. Before buying any kit, from Wheellightexpress or elsewhere, check the product page for four things:
- Housing material (aluminum vs plastic, and whether it’s anodized or coated)
- IP rating, stated plainly with no vague language
- Lens material (polycarbonate vs glass)
- Whether a complete harness, relay, and fuse are included, and what the warranty covers
| Check Before You Buy | Why It Matters |
|---|---|
| Housing material listed clearly | Confirms aluminum vs plastic construction rather than a generic “durable” claim |
| IP rating stated numerically | IP68 or higher signals real water and dust protection for trail use |
| Harness and hardware included | A complete kit avoids the wiring failures that end most rock light problems |
What Actually Matters When You’re Choosing Rock Light Housings
Most buying guides treat aluminum vs plastic rock lights as a simple durability contest, and that framing undersells the real story. The bigger issue is thermal design, and plastic gets blamed for a problem that’s really about engineering effort. A plastic housing with a proper thermal pad and potted electronics can outlast a poorly designed aluminum pod with no internal heat path at all.
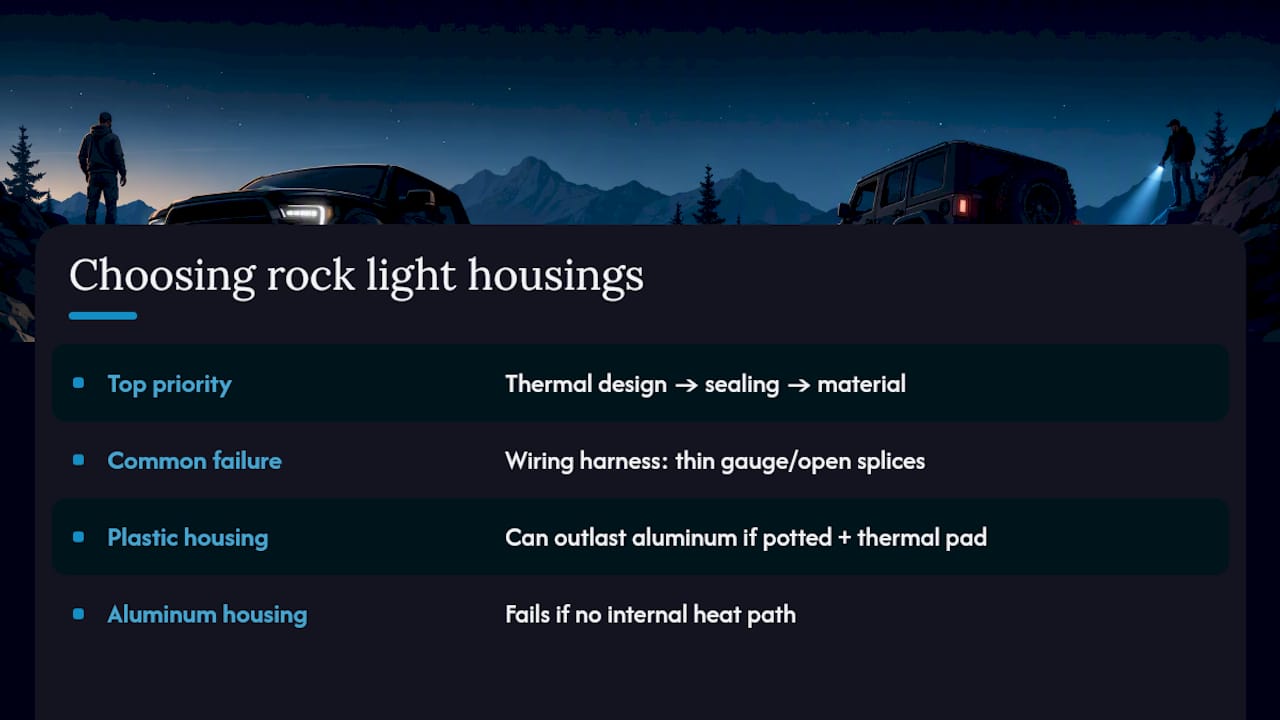
Where conventional advice falls short is treating IP ratings as the finish line. An IP68 sticker means nothing if the wiring harness behind it uses thin gauge copper and open splices, which forum threads on rock light failures confirm is the actual point of failure far more often than the housing itself.
If you’re building for real trail use, prioritize in this order: thermal design first, sealing second, housing material third. A well-engineered aluminum body with a mediocre harness will still let you down. Start with the wiring and the heat path, then let the housing material follow from there.
— Christopher
Get Rock Lights Built for the Trail, Not Just the Spec Sheet
Wheellightexpress designs its rock light kits in Louisiana specifically to avoid the two failure points covered throughout this guide: weak thermal paths and undersized wiring. Instead of a generic import housing with a vague IP claim, you get high-density modules matched to a purpose-built harness, backed by a satisfaction guarantee and financing options if you’re outfitting a full rig at once.

If your build fits the trail-ready scenario above, start with the Wheel Light Ring and Strip kit for a complete, U.S.-designed setup. Already running lights that need a wiring upgrade instead of a full replacement? Check the wire harness leads and wires built to handle the sealed-connector and strain-relief practices this guide recommends. Either page gives you a straightforward next step toward a setup that holds its brightness long after the first trail run.
Sources
Recommended
- Best Rock Light Placement for Trucks and Off-Road Rigs – Wheel Light Express
- Wheel Rings vs Rock Lights: What Truck Owners Need – Wheel Light Express
- Rock Lights vs. Portal Lights: Which One Fits Your Rig? – Wheel Light Express
- Best AlpharexUSA.com Alternatives for Truck Enthusiasts – Wheel Light Express