

Wheel light kits are aftermarket LED lighting systems mounted to your wheels, valve stems, or wheel wells to improve visibility and vehicle appearance. Choosing the right wheel light kit means matching your vehicle’s fitment requirements, your style preferences, and your daily driving conditions to the correct kit type. The market splits into two clear camps: pure white kits at 6500K deliver sharper nighttime visibility and a clean look, while RGB kits offer app-controlled color patterns and full personalization. Brands like Nilight and LEDGlow cover both ends of that spectrum, and the decision between them shapes every other choice you make.
How to choose the right wheel light kit: start with kit type
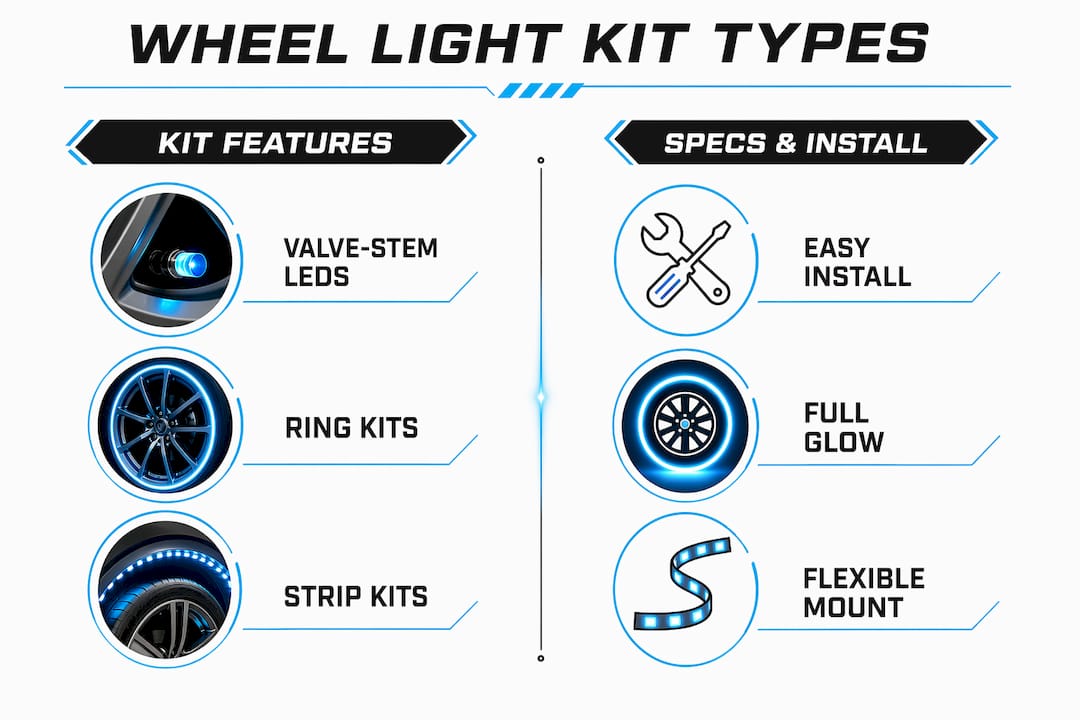
The three main categories of wheel light kits are valve-stem lights, ring kits, and strip kits. Each serves a different purpose and suits a different vehicle type.
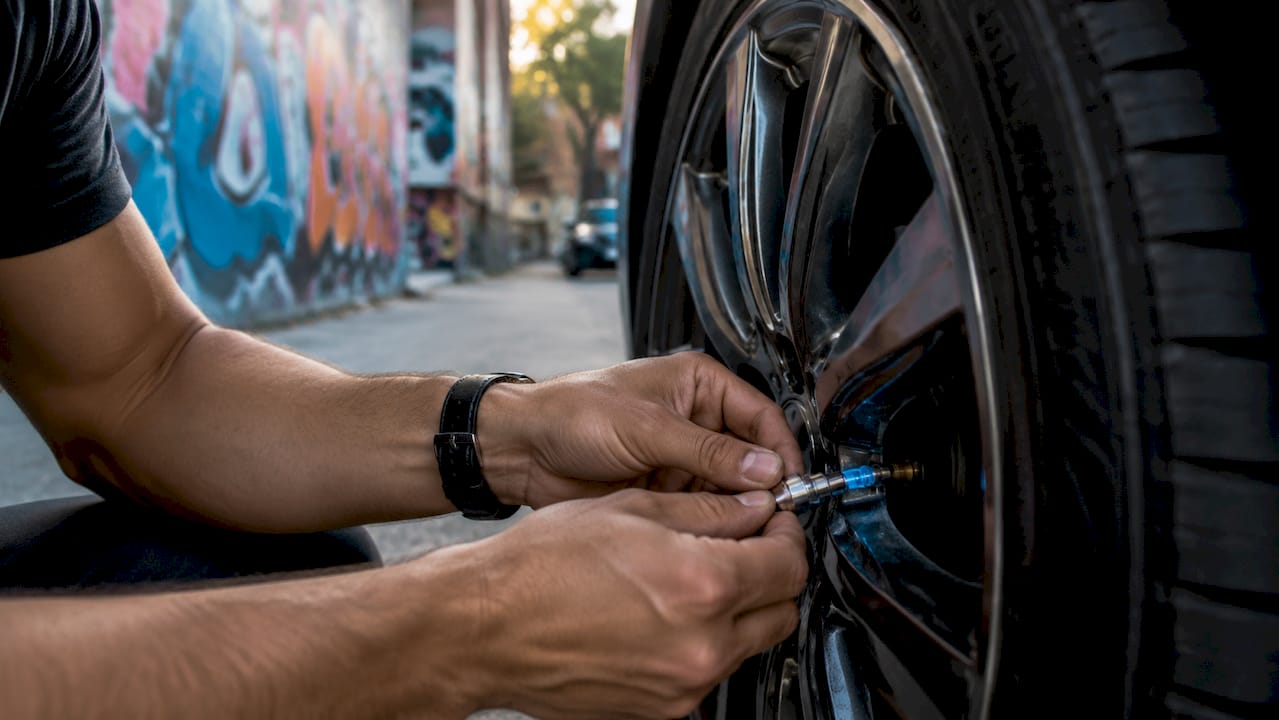
Valve-stem LED lights replace your existing valve caps with motion-activated LEDs. They require no wiring, install in minutes, and sit low-profile against the wheel. The trade-off is battery life. Motion sensor activation prevents constant drain, but you will still replace batteries every few months on a daily driver.
Ring kits mount directly to the inner barrel of the wheel and produce a full circular glow. They look more polished than valve-stem options and stay brighter at speed. Installation is more involved because you need to route wiring through the wheel hub, but the result is a stable, consistent light output that valve-stem caps cannot match.
Strip kits use flexible LED strips secured inside the wheel well or along the wheel rim. They offer the most mounting flexibility and work on nearly any vehicle. Durability varies by brand, so waterproof ratings matter more here than with ring kits.
| Kit Type | Install Difficulty | Wiring Required | Best Use Case |
|---|---|---|---|
| Valve-stem LEDs | Very easy | No | Quick accent lighting, daily drivers |
| Ring kits | Moderate to hard | Yes | Show builds, trucks, SUVs |
| Strip kits | Easy to moderate | Yes | Wheel wells, flexible fitment |
Pro Tip: If you want the look of ring kits without the full install commitment, start with a strip kit mounted inside the wheel well. You get a similar glow effect and can upgrade later without losing your initial investment.
How do you measure and check fitment for wheel light kits?
Fitment is the most skipped step in any wheel light installation guide, and it causes the most returns. Getting it right before you buy saves you time and money.
Follow these steps before ordering any ring or strip kit:
- Measure your brake rotor diameter. Most ring kits require a minimum 15-inch rotor. Use a tape measure across the rotor face and record the number in inches.
- Measure your wheel inner barrel diameter. This is the inside diameter of the wheel, not the tire size. The ring kit must clear the barrel without pressing against it.
- Check caliper clearance. Brake caliper interference is the most common fitment problem. Light units typically run 1–2 cm thick, and that gap disappears fast on performance vehicles with large calipers.
- Consult the manufacturer’s fitment chart. Every reputable kit includes one. Cross-reference your rotor size and wheel diameter before purchasing.
- Confirm wire routing paths. Measure the distance from your wheel hub to your planned control box location. Short wiring is the second most common installation complaint.
Pro Tip: If your vehicle has non-standard wheel sizing or oversized brake calipers, look for kits with adjustable mounting brackets. Several manufacturers offer bracket extensions that add 10–15mm of clearance without requiring custom fabrication.
Common mistakes include ordering by tire size instead of wheel inner diameter, skipping the caliper clearance check on lifted trucks, and assuming all kits fit all vehicles. None of those assumptions hold up.
What durability and performance features should you look for?
Durability separates a kit that lasts two seasons from one that fails after the first rainstorm. Three factors drive long-term performance: waterproof rating, housing material, and wiring quality.
Waterproof ratings follow the IP scale. IP68-rated kits withstand full submersion and are the right choice for off-road use, truck washes, or wet climates. IP67 handles temporary immersion and works fine for most street builds. Budget kits often carry only IP65, which resists water jets but not submersion. That difference matters the moment you drive through standing water.
Housing material is equally important. Aluminum housing dissipates heat better than plastic and resists physical damage from road debris. Die-cast aluminum is the standard in premium ring kits. Plastic housings are lighter and cheaper but degrade faster under the heat cycles that wheels experience during normal driving.
Key performance features to evaluate before buying:
- LED brightness: Pure white kits at 6500K outperform RGB in raw lumens. RGB kits trade brightness for color range.
- Connector quality: Sealed connectors resist corrosion. Unsealed connectors fail within one winter in northern climates.
- Wire gauge: Thicker wire handles higher current without overheating. Check that the kit includes an inline fuse.
- Battery type for valve-stem kits: CR2032 cells are widely available. Proprietary batteries are a long-term maintenance problem.
Pro Tip: For valve-stem LED kits, buy a 10-pack of CR2032 batteries when you buy the kit. You will need them within six months, and buying in bulk costs a fraction of what you pay for individual cells at a gas station.
Which control options matter when selecting a kit?
Control systems determine how you interact with your wheel lights every day. The right choice depends on how much customization you want versus how simple you need the operation to be.
Basic remote controls handle on/off switching and preset mode cycling. They work reliably, require no phone pairing, and suit drivers who want set-it-and-forget-it operation. The downside is limited color control on RGB kits.
Smartphone app control gives you full color customization, music sync, timer scheduling, and brightness adjustment from your phone. The trade-off is Bluetooth range and the occasional pairing issue. App-controlled kits are the right pick for show builds and enthusiasts who change their setup regularly.
Dual control systems combine a wireless remote with a hardwired rocker switch. The YISWHIS kit is one example of this approach. The rocker switch gives you a reliable backup if the remote battery dies or signal drops.
Extra functions worth considering:
- Turn signal integration: Some kits wire into your vehicle’s turn signal circuit so the wheel lights flash with your blinkers. This adds visibility and a custom look.
- Brake light integration: Brake-activated wheel lights flash when you press the brake pedal. The install is more complex but the safety benefit is real.
- Timer functions: App-controlled kits let you set lights to turn off automatically, which protects battery life on valve-stem setups.
For daily drivers, local laws often restrict red, blue, or flashing colors on public roads. Steady white or amber is the safe choice if you drive your vehicle on public streets regularly.
What does the installation process involve?
A clean install starts before you touch a single wire. The dry run phase is the most valuable step most people skip.
- Do a dry run first. Use masking tape to hold your lights in position and mock your wire routing before drilling or securing anything. This confirms cable lengths and mounting positions without any permanent commitment.
- Plan your wire routing path. Route cables from the wheel hub through the engine bay or firewall to your control box. Avoid routing near exhaust components or moving suspension parts.
- Install an inline fuse. Connect your power wire to the battery through a fuse rated for your kit’s amperage. This protects your vehicle’s electrical system if a short occurs.
- Mount the lights and secure wiring. Use zip ties every 6–8 inches along wire runs. Loose wiring vibrates against metal and fails at the insulation within months.
- Install valve-stem LEDs last. Deflate your tires 5–10 PSI before screwing on LED valve caps. Lower pressure reduces the risk of cross-threading, which can damage both the LED unit and the valve stem.
Before you finalize your install, check your local regulations on wheel lighting colors and flash patterns. Many jurisdictions prohibit red or blue lights on non-emergency vehicles, and flashing patterns may require specific placement to be street legal.
Pro Tip: Run your wires through split loom tubing anywhere they pass through the engine bay or near the wheel well. Split loom costs less than $10 for a 10-foot roll and adds years to your wiring’s lifespan.
For a deeper look at wiring techniques, the wheel light wiring guide at Wheellightexpress covers every skill level from beginner to experienced installer.
Key takeaways
Choosing the right wheel light kit requires matching kit type, fitment measurements, waterproof rating, and control method to your specific vehicle and driving habits.
| Point | Details |
|---|---|
| Match kit type to your goal | Valve-stem lights suit quick installs; ring kits deliver the best visual impact for show builds. |
| Measure before you buy | Check brake rotor diameter, wheel inner diameter, and caliper clearance to avoid fitment failures. |
| Prioritize IP68 for durability | IP68-rated kits withstand submersion and outlast IP65 budget options in wet or off-road conditions. |
| Choose controls for your lifestyle | Daily drivers benefit from simple remotes; show builds gain more from app-controlled RGB systems. |
| Do a dry run before final install | Taping lights and mapping wire paths before drilling prevents cable length errors and wasted time. |
What i’ve learned after years of wheel light builds
I have installed a lot of wheel light kits across a wide range of vehicles, from daily commuters to weekend show trucks, and the pattern I see most often is buyers choosing based on looks alone. They pick the brightest RGB kit in the catalog, skip the fitment check, and then wonder why the brackets hit the caliper or the wiring falls short by six inches.
My honest recommendation for most drivers is to start with a white or amber kit. White and amber steady lights keep you street legal in nearly every state, and a quality white ring kit at 6500K looks sharper in person than most RGB setups running at half brightness. Save the RGB for a dedicated show vehicle where you control the environment.
On the durability side, I will not install a kit without aluminum housing and IP67 or better waterproofing. Plastic housings look fine in the box and fail fast on the road. The extra cost for aluminum pays back within the first year.
The installation tip I give everyone is the dry run. Mapping your wire routes with tape before you commit to anything takes 20 minutes and saves hours of backtracking. I have seen experienced builders skip this step and regret it every time.
Finally, align your kit choice with how you actually drive. A show-quality ring kit on a daily driver that sees rain, road salt, and car washes needs IP68 protection and sealed connectors. A weekend-only build can get away with slightly less. Know your use case before you spend.
— Christopher
Find your next wheel light kit at Wheellightexpress
Wheellightexpress designs every lighting solution in Louisiana, which means you get original wire harnesses, LED strips, and ring kits built for real driving conditions rather than catalog photos. Whether you are starting with a basic strip setup or moving up to a full ring kit with remote control, the full range of aftermarket lighting options covers every vehicle type and budget.

You will also find replacement parts, including wire harness leads and remotes, so your setup stays running long after the initial install. Wheellightexpress backs every purchase with a satisfaction guarantee, and financing options mean you do not have to wait to get the look you want. Browse the full catalog and build your setup with confidence.
FAQ
What is the easiest wheel light kit to install?
Valve-stem LED lights are the easiest option because they require no wiring and install in under five minutes per wheel. The only tool you need is your hands.
How do i know if a wheel light kit fits my vehicle?
Measure your brake rotor diameter and wheel inner barrel diameter, then compare those numbers against the kit’s fitment chart. Most ring kits require a minimum 15-inch rotor and 1–2 cm of caliper clearance.
Are colored wheel lights legal on public roads?
Many jurisdictions prohibit red, blue, or flashing wheel lights on non-emergency vehicles. Steady white or amber lighting is street legal in most states, but you should verify your local regulations before installing any colored kit.
What waterproof rating should i look for in a wheel light kit?
IP68 is the best rating for off-road use or wet climates because it withstands full submersion. IP67 works well for standard street driving. Avoid kits rated below IP65 for any outdoor vehicle application.
Do wheel lights drain my car battery?
Hardwired ring and strip kits draw power only when activated and use minimal current. Valve-stem LED kits run on replaceable batteries, so they have no impact on your vehicle’s electrical system at all.