
LED strip applications in custom vehicles are defined as the use of flexible, adhesive-backed LED tape to add accent lighting, functional illumination, and dynamic visual effects to any part of a car, truck, or specialty vehicle. The industry term for this practice is automotive LED modification, and it covers everything from simple footwell glow to fully addressable RGBIC underglow systems synchronized to your music. LED strips provide low-power, long-lasting light for interior accents, exterior highlights, and audio visualizations. Whether you are building a show car or just want a cleaner cabin at night, this guide covers every major application, the right components to use, and how to install them correctly the first time.
1. LED strip applications for custom vehicles: the top uses
The most popular LED strip uses in cars fall into seven distinct categories, each with its own placement strategy, strip type, and wiring approach. Knowing which application fits your build goals saves time and money before you buy a single component.
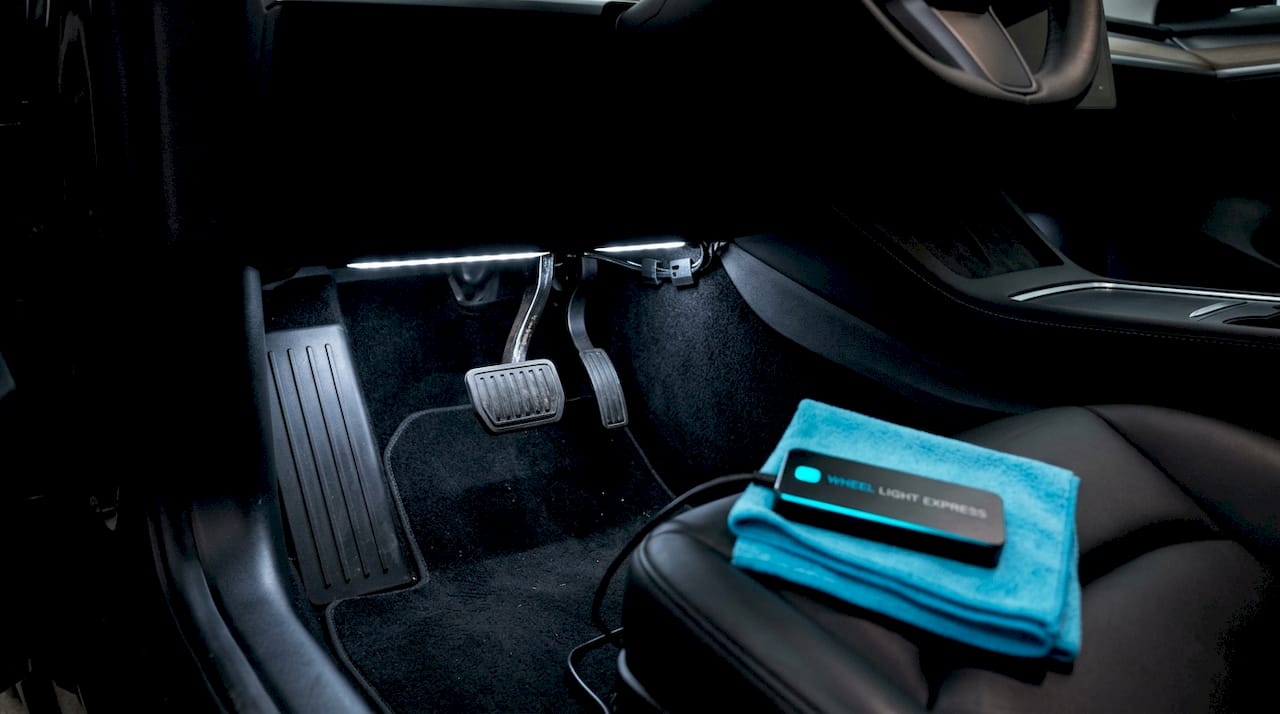
- Interior ambient lighting. Footwells, door panels, and under-dash strips create a subtle glow that makes any cabin feel custom. Single-color or RGB strips work well here, and the install is straightforward using an accessory plug or a fuse tap with switched power for automatic on/off with the ignition.
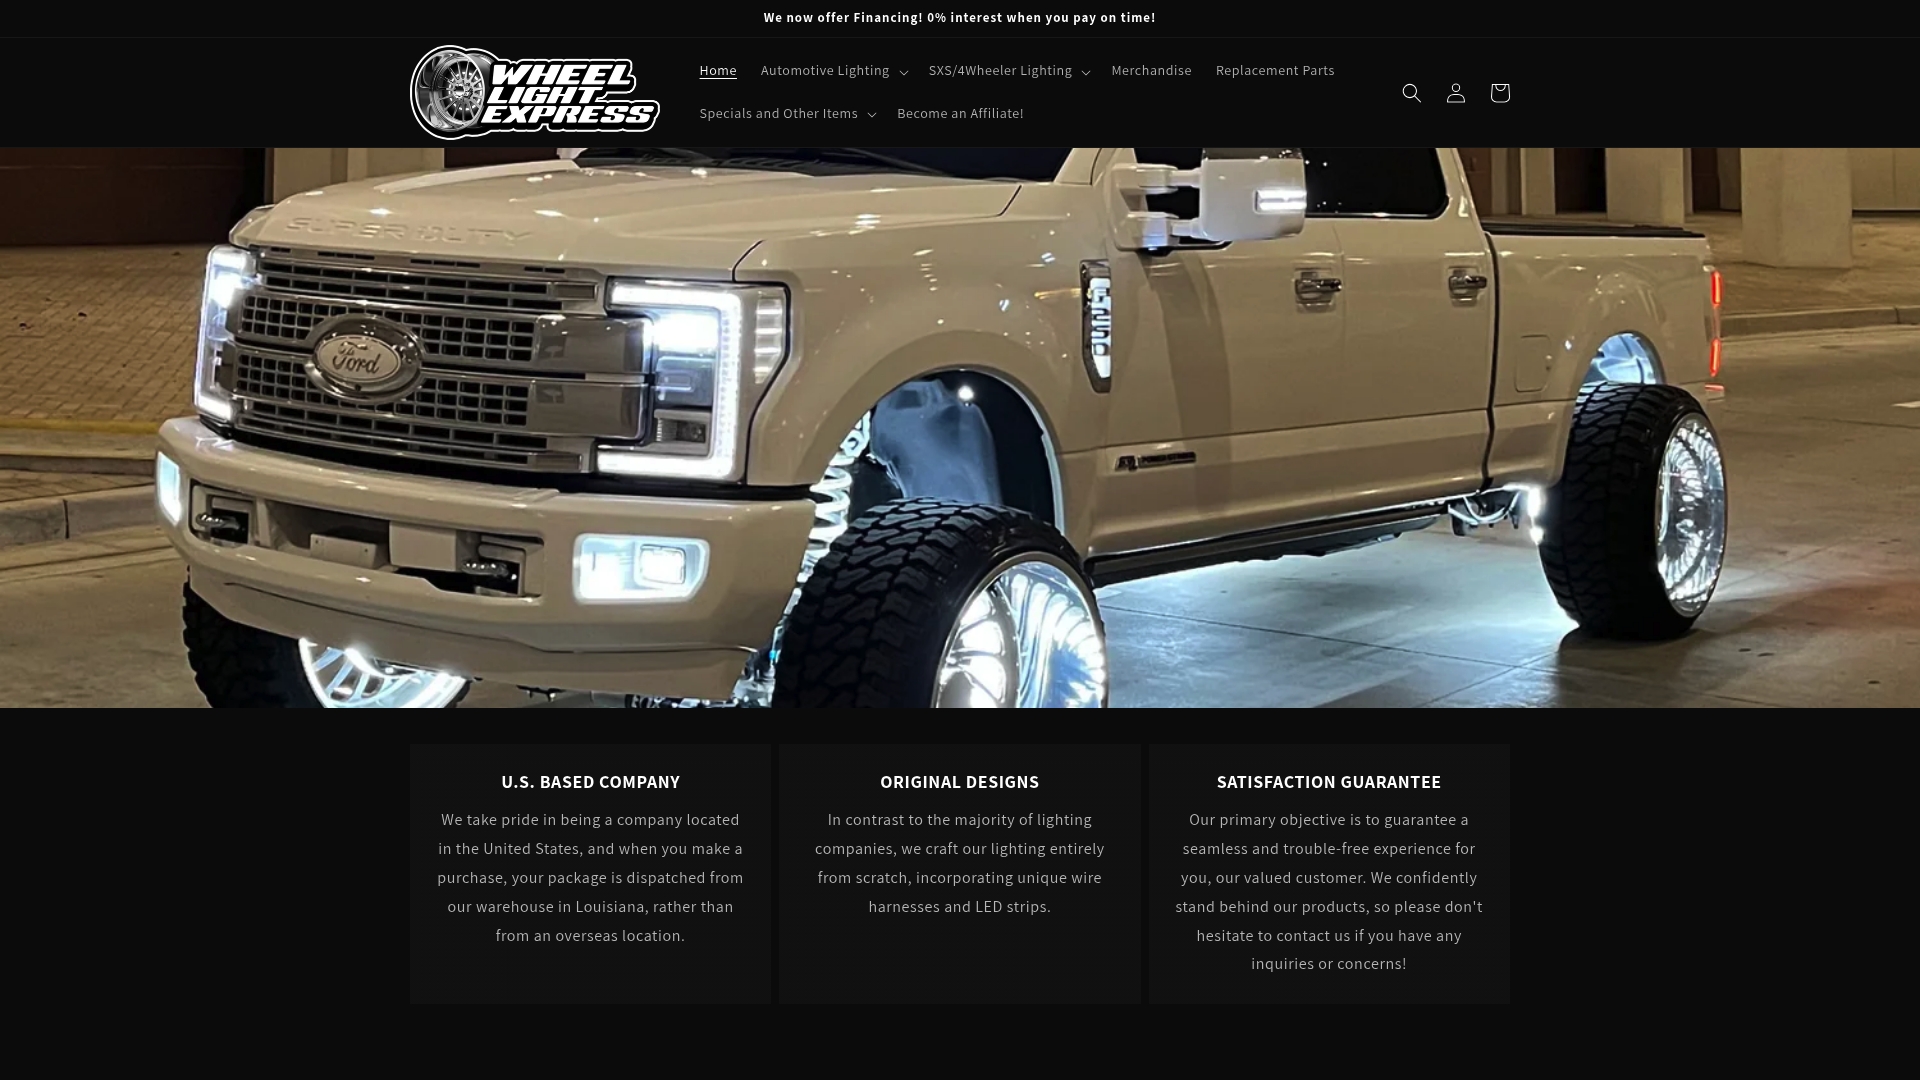
- Exterior underglow. Strips mounted to the undercarriage produce the signature ground-effect look seen on show cars and custom trucks. This application demands IP65 or IP67 waterproof ratings to survive road spray, mud, and moisture.
- Engine bay illumination. White or cool-blue strips mounted along the firewall and strut towers make maintenance easier and turn any engine bay into a display piece at car shows. Use heat-resistant mounting clips and keep strips away from exhaust components.
- Trunk and cargo area lighting. A strip wired to the trunk light circuit replaces dim factory bulbs with bright, even illumination across the full cargo floor. This is one of the most functional LED strip uses in cars and takes under an hour to complete.
- Grille and headlamp accents. Thin strips tucked behind grille slats or around headlamp housings add a distinctive front-end look. RGBIC strips here allow color-shifting effects that make the vehicle recognizable at night.
- Audio-synced LED effects. Addressable RGBIC strips connected to a controller with a built-in microphone or audio line-in input react to music in real time. This is the most visually dramatic application and the one that draws the most attention at shows and meets.
- Custom signage and branding. Strips shaped around logos, letters, or custom panels inside or outside the vehicle create personalized displays. This works especially well on vans, food trucks, and competition builds.
Pro Tip: Start with interior footwell lighting before attempting exterior underglow. Interior installs teach you fuse tapping, grounding, and controller pairing without the complexity of waterproofing or undercarriage routing.
2. Choosing the right LED strips and controllers
Selecting the wrong strip type is the most common and most expensive mistake in automotive LED modifications. The decision starts with voltage.
Automotive-rated 12V LED strips are the correct choice for any vehicle with a standard 12V electrical system. Using 5V addressable strips designed for home use creates instability, flicker, and potential damage to the strip or controller. Always match the strip voltage to the controller output.
| Feature | Standard RGB strips | Addressable RGBIC strips |
|---|---|---|
| Color zones | Single color across full strip | Independent zones per LED cluster |
| Effect types | Solid, fade, strobe | Chase, pixel wave, music sync, animations |
| Controller requirement | Basic RGB remote or app | Dedicated RGBIC controller with Bluetooth 5.x |
| Best use | Footwells, trunk, engine bay | Underglow, grille accents, audio sync |
| Price range | Budget to mid-range | Mid-range to premium |
Bluetooth 5.x controllers with audio line-in or microphone sync are the current standard for dynamic builds. They pair with iOS and Android apps for color presets, scheduling, and scene control. For exterior installs, confirm the strip carries an IP65 rating at minimum. IP67 is better for undercarriage use where direct water contact is possible. Size your LED driver at 120% of total strip wattage to prevent overheating and premature failure. You can compare lumen output and voltage ratings across strip types before committing to a purchase.
Pro Tip: For underglow on a full-size truck or SUV, calculate your total strip length before buying a controller. Most single-channel controllers max out at a specific wattage, and exceeding that limit causes heat buildup and shortened controller life.
3. Best practices for installing LED strips safely
The biggest challenge in any LED strip install is wiring, not the strips themselves. Vehicle CAN bus security requires careful isolation and relay use to avoid triggering fault codes or damaging sensitive electronics.
Divide every install into three clean sections: power, ground, and control. This structure makes troubleshooting fast and keeps the build organized for future changes.
- Fuse the power circuit at the source. Run your positive wire directly from the battery or fuse box and add an inline fuse within six inches of the power source. Fusing close to the battery protects the entire circuit from short circuits and prevents wiring fires.
- Use an add-a-fuse tap for ignition-switched power. Tapping into a switched fuse slot means your LED strips turn on and off with the ignition automatically. This eliminates the risk of draining the battery when the vehicle sits.
- Ground to bare metal. Find a factory ground bolt on the chassis, remove it, clean the contact surface, and reinstall with your ground wire under a lock washer. A poor ground causes flicker and color inconsistency across the strip.
- Add noise suppression components for RGBIC strips. Ferrite beads, decoupling capacitors, and series resistors on the data line reduce electromagnetic interference and prevent controller glitches. This step is skipped by most beginners and causes most of the flicker complaints seen in online forums.
- Test before you mount. Power the strips on the bench and verify every zone and controller input before applying adhesive or running wire through panels. Remounting sealed strips is labor-intensive and often damages the adhesive backing.
- Use waterproof connectors and wire loom. Any wiring that runs through doors, under the vehicle, or near wheel wells needs protection. Split-loom conduit and heat-shrink connectors keep moisture and abrasion from cutting through insulation over time.
- Avoid tapping directly into CAN bus signals. Modern vehicles use the CAN bus to manage dozens of systems. Connecting LED controllers to these lines without proper isolation can trigger warning lights or disable safety features.
A replacement wire harness simplifies the power and control wiring for most custom builds, especially when running multiple strip zones from a single controller.
Pro Tip: Use a relay for any LED circuit drawing more than five amps. The relay keeps high current away from your switch or controller, extending the life of both components significantly.
4. Creative and emerging LED strip applications
Creative LED vehicle designs are moving well beyond static underglow and footwell accents. The next generation of automotive LED modifications uses networked control, high-density arrays, and app-based automation to create effects that were impossible just a few years ago.
- Networked lighting architectures. CAN-FD-based protocols like NIO’s Open System allow thousands of individually controlled LEDs across an entire vehicle with minimal wiring complexity. This technology is filtering into the aftermarket through addressable strip controllers that communicate over a single data bus.
- High-density pixel arrays. Builders are now using strips with 144 LEDs per meter to create smooth, cinema-quality animations along door sills, rooflines, and wheel arches. The effect looks like a continuous display rather than a string of individual lights.
- Music-synchronized light shows. RGBIC strips paired with audio line-in controllers create real-time visualizations that react to bass, treble, and rhythm independently. This is the most requested feature at custom car shows and the one that generates the most social media attention.
- App control and automation. Bluetooth 5.x controllers paired with apps like Magic Home or manufacturer-specific apps allow geofencing triggers, voice commands through Google Assistant or Siri, and time-based mood presets. Your underglow can switch to a specific color every time you pull into your driveway.
- Solar-powered LED setups for specialty vehicles. Golf carts and off-grid builds use small solar panels to power LED strips without drawing from the main battery. The Termite LED Edition golf cart is a production example of factory-integrated underglow on an electric vehicle, showing how accessible this technology has become.
- Custom logos and interior signage. Strips shaped into letters or brand logos and mounted behind frosted acrylic panels create backlit displays inside vans, trucks, and competition builds. This application is growing fast in the food truck and mobile business space.
High-density arrays and CAN-FD-based protocols represent the direction the entire automotive lighting industry is heading. Builders who learn addressable strip control now are ahead of where the aftermarket will be in two years.
Key takeaways
LED strip applications in custom vehicles deliver the most impact when you match the right strip type to each location, wire every circuit with proper fusing and grounding, and test the full system before final mounting.
| Point | Details |
|---|---|
| Match voltage to application | Use 12V automotive-rated strips to avoid instability and controller damage in any vehicle build. |
| Choose strip type by effect goal | RGBIC addressable strips are required for music sync and pixel animations; standard RGB works for solid accent lighting. |
| Wire in three sections | Separate power, ground, and control wiring to simplify troubleshooting and protect vehicle electronics. |
| Test before mounting | Bench-test every strip and controller input before applying adhesive to avoid costly rework. |
| Waterproof exterior installs | IP65 is the minimum for underglow; IP67 is recommended for undercarriage and wheel arch placements. |
What I’ve learned from years of watching LED builds go right and wrong
I’ve seen hundreds of custom vehicle lighting builds, and the pattern is consistent. The ones that look great six months later all started with clean wiring. The ones that flicker, drop zones, or blow fuses all skipped the fundamentals: a fused circuit at the source, a solid bare-metal ground, and noise suppression on the data line.
The advice I give every builder who is starting out is to resist the urge to go straight to a full underglow and audio-sync setup. Interior ambient lighting teaches you everything you need to know about fuse tapping, controller pairing, and app setup without the added complexity of waterproofing and undercarriage routing. Once you have one clean interior install, the exterior work becomes much more manageable.
The other thing most guides skip is firmware. Addressable RGBIC controllers from reputable brands receive firmware updates that add new effects, fix sync bugs, and improve Bluetooth stability. Buying a controller from a brand that actively supports its products means your lighting system gets better over time rather than becoming obsolete.
My honest recommendation: spend 20% more on quality components and a proper wire harness setup and you will spend 80% less time troubleshooting. The builds that impress people at shows are not the most complex ones. They are the ones where every detail is executed cleanly.
— Christopher
Upgrade your build with Wheellightexpress
Wheellightexpress designs every product in Louisiana specifically for automotive enthusiasts who want original, quality lighting without sourcing parts overseas. Their catalog covers everything you need for a complete custom vehicle lighting build, from RGBIC-compatible strips to wire harnesses, fuse kits, and remote controllers.
The aftermarket lighting collection includes strip kits and accessories built to automotive standards, with a satisfaction guarantee and financing options that make quality accessible without upfront costs. Whether you are starting with a simple footwell install or planning a full exterior underglow system, Wheellightexpress has the components and the support to get it done right. Visit the store and find the right kit for your build.
FAQ
What LED strips work best for car underglow?
Waterproof RGBIC or RGB strips rated IP65 or higher are the correct choice for exterior underglow. They must be 12V automotive-rated to match your vehicle’s electrical system and resist road moisture.
How do I install LED strips inside my car without damaging the wiring?
Use a fuse tap on a switched circuit so the strips turn on and off with the ignition, and ground to a bare-metal bolt on the chassis. Avoid tapping into CAN bus lines or sensitive factory signals.
Can LED strips drain my car battery?
LED strips wired to a switched ignition circuit will not drain the battery because they shut off when the vehicle is off. Strips wired directly to constant power without a switch or relay are the cause of most battery drain issues.
What is the difference between RGB and RGBIC LED strips for vehicles?
RGB strips display one color across the entire strip at a time, while RGBIC addressable strips control individual LED zones independently. RGBIC is required for chase effects, pixel animations, and music-synchronized lighting.
Do I need a relay for LED strip installations?
A relay is recommended for any LED circuit drawing more than five amps. Relay setups for battery-powered vehicles protect your switch and controller from high current loads and extend the life of the entire system.