

For most aftermarket vehicle LED lighting, an IP67 automotive-grade connector is your baseline. Reserve IP68 or IP69K for confirmed submersion or high-pressure washdown situations. Pick your connector family, whether Deutsch, Weather Pack, or Metri-Pack, based on ampacity, available space, and how easily you’ll need to service it later. None of that matters, though, if the terminal crimp and seal aren’t done correctly. That single step decides whether your connector actually keeps water out for years or fails at the first car wash.
TL;DR:
- Choosing connectors rated at least IP67 is essential for most LED lighting setups, but reserve IP68 or IP69K for submersion or high-pressure wash situations.
- Proper crimping with a dedicated ratcheting tool and correct seal installation is critical to maintaining water resistance and preventing corrosion over time.
- Select the connector family based on current load, space constraints, and future accessibility, with Deutsch DTP for high current and Metri-Pack for tight spaces.
- IP69K testing measures resistance to high-pressure jets, but does not guarantee immersion protection unless explicitly dual-rated for both IP68 and IP69K.
- Wire gauge must be sized at least 20 percent above the actual current draw to avoid heat damage that compromises seal integrity.
Table of Contents
- Which waterproof lighting connectors work best for LED setups?
- What do IP67, IP68, and IP69K actually test?
- How do you match ampacity, wire gauge, and pin count?
- How do you crimp and seal a connector correctly?
- How should you route and mount LED lighting harnesses?
- How do you diagnose a leaking or corroded connector?
- Why crimp quality matters more than the sticker on the box
- Ready-to-install harnesses and parts for your build
- Standards and datasheets worth checking before you order
- Sources
Which waterproof lighting connectors work best for LED setups?
Choosing the right connector family comes down to three things: how much current runs through it, how much room you have to work with, and whether you’ll ever need to open it back up. Here’s how the main automotive families stack up for LED lighting work.
- Deutsch DT/DTM/DTP series. These use compression-molded cavity seals around each pin, and they shrug off mud, vibration, and repeated connect/disconnect cycles better than almost anything else in the aftermarket world. DT connectors run around 13 amps per pin, while the DTP variants handle higher current for light bars or multi-circuit feeds. If you’re wiring a rock light setup that lives inches off the ground, this is the family built for that abuse.
- Aptiv Weather Pack connectors. Instead of one cavity seal, Weather Pack connectors seal each wire individually, and they’re commonly rated up to about 20 amps per terminal across 1 to 6 wire configurations. Because they’ve been an OEM standard for decades, replacement terminals and seals are easy to find, which makes field repairs simple.
- Metri-Pack and smaller sealed connectors. For marker lights, low-draw LED strips, or anywhere space is tight, these compact sealed families do the job without the bulk of a full Deutsch housing.
For LED strips and marker lights, Metri-Pack or small Weather Pack connectors usually fit the bill. For light bars and high-current feeds, step up to DT or DTP.
What do IP67, IP68, and IP69K actually test?
These ratings measure specific, repeatable lab conditions, not marketing promises. IP67 means a connector survives 1 meter of water for 30 minutes. IP68 goes deeper, but the depth and duration are set by the manufacturer, not a fixed standard, so always ask what “IP68” means for the specific part you’re buying. IP69K tests resistance to high-pressure, high-temperature jets, around 80°C at 80 to 100 bar, closer to a commercial pressure washer than a garden hose, according to ISO 20653 guidance.
Here’s the detail most buyers miss: IP69K does not automatically mean a connector survives immersion. It’s a jet-spray test, not a submersion test. If your rig sees both scenarios, off-road water crossings and regular pressure washing, look for a connector explicitly dual-rated for IP68 and IP69K rather than assuming one rating covers both.
- PA66 housings offer strong impact resistance but absorb more moisture over time.
- PBT housings resist moisture better and hold their shape more consistently in heat.
- Glass-fiber reinforced polymers handle vibration and temperature swings better than unreinforced plastic.
- Gold or nickel-plated contacts resist corrosion far longer than plain tin in salt-exposed environments, which matters if your truck ever sees winter roads.
How do you match ampacity, wire gauge, and pin count?
Getting the electrical side right is what actually keeps water out long term, because an undersized wire running hot will degrade its seal from the inside before moisture ever gets a chance to. Work through it in this order:
- Calculate your actual current draw. Add up the amp draw of every LED component on that circuit.
- Add a 20 percent margin. Sizing your connector about 20 percent above the calculated load gives you headroom for voltage drop and future add-ons without re-wiring.
- Match wire gauge to that adjusted load. A single rock light might run comfortably on 18 gauge, while a full light bar pulling several amps per lamp needs 14 or 12 gauge feeder wire.
- Pick pin count with room to spare, and cap any unused cavities with the manufacturer’s cavity plugs so you don’t leave an open path for moisture.
- Check for locking features. Terminal position assurance (TPA) and connector position assurance (CPA) keep pins seated and housings mated even under constant vibration.
- Confirm physical clearance for the mated connector before you commit to a mounting location.
Pro Tip: Don’t just size your wire for today’s setup. If there’s any chance you’ll add a second light bar or auxiliary driving lights down the road, size the harness and connector for that future load now. Rewiring a finished install is a lot more work than running slightly heavier wire the first time.
How do you crimp and seal a connector correctly?
The IP rating stamped on a connector’s housing is only half the story. The crimp is what actually creates the weathertight seal, and a proper crimp tool enforces the exact geometry the terminal needs to compress evenly around both the wire and the seal in one motion, according to assembly guidance from automotive connector specialists. A crimp that compresses the terminal and seal together in a single cycle creates the redundant barrier that stops moisture from wicking down the conductor strand by strand.
Tools worth owning or borrowing:
- A ratcheting crimp tool matched to the terminal manufacturer’s die specification, not a generic universal crimper.
- A terminal extraction tool for removing pins without damaging the housing cavity.
- A digital caliper for verifying wire strip length before crimping.
For Weather Pack style terminals specifically, the wire seal has to be slid onto the wire before you crimp the terminal, since there’s no way to add it afterward.
Pro Tip: After every crimp, give the wire a firm tug test before it goes into the housing. A properly crimped terminal won’t budge. If it slips even slightly, cut it off and start over rather than trusting it in a wet wheel well.
Common mistakes that undo an otherwise good connector: installing the seal backwards, skipping the TPA lock entirely, and over-crimping until the seal deforms and loses its grip on the wire jacket.
How should you route and mount LED lighting harnesses?
Where you run the harness matters almost as much as the connector itself. Route wiring away from exhaust components and away from low points where water naturally pools, and secure the harness every 12 to 18 inches to prevent chafing against frame edges or suspension parts.
- Use split loom or automotive conduit anywhere the harness crosses near moving suspension components.
- Secure runs with P-clamps rather than relying on zip ties alone for anything near a wheel well.
- Adhesive mounts work fine on flat, clean body panels but shouldn’t be your only support on a long run.
- Choose sealed pigtail connectors when you expect to swap lights occasionally, and fixed sealed harnesses when the install is permanent and rarely touched.
- Apply a light coat of dielectric grease inside connector housings during assembly. It doesn’t replace a proper seal, but it helps displace moisture and eases future disconnection.
A protective boot mat or splash barrier can also help keep harness runs in cargo areas away from direct water and debris exposure.
How do you diagnose a leaking or corroded connector?
Green or white crust on a pin, a dim or flickering light, or a connector that feels damp to the touch all point to water ingress. Confirm it with a continuity check across the terminal and a voltage drop test under load before you tear anything apart.
- Disconnect the connector and inspect both halves for moisture or corrosion residue.
- Dry everything thoroughly with compressed air, then clean corroded pins with an electrical contact cleaner.
- Replace individual seals or terminals if the housing itself is intact.
- Replace the entire connector assembly if the housing is cracked or a pin is pitted beyond cleaning.
- In salt-prone or winter climates, inspect exterior lighting connectors at least once a year, ideally at the start of the season.
If corrosion keeps returning at the same connector after a repair, that’s usually a sign the seal or crimp was compromised from the start, not a one-time fluke.
Why crimp quality matters more than the sticker on the box
Most buying guides treat IP ratings like a purity seal, as if a higher number always means a better outcome. It doesn’t. An IP69K-rated connector with a sloppy crimp will let water past the seal just as fast as a cheap IP54 part, because the rating describes the housing test, not the joint you make in your driveway. The realistic baseline for exterior vehicle lighting is IP67, and reserving IP68 or IP69K for genuinely specialized cases, submersible sensors, vehicle-mounted cameras, frequent pressure washing, keeps you from overpaying for protection you’ll never use.
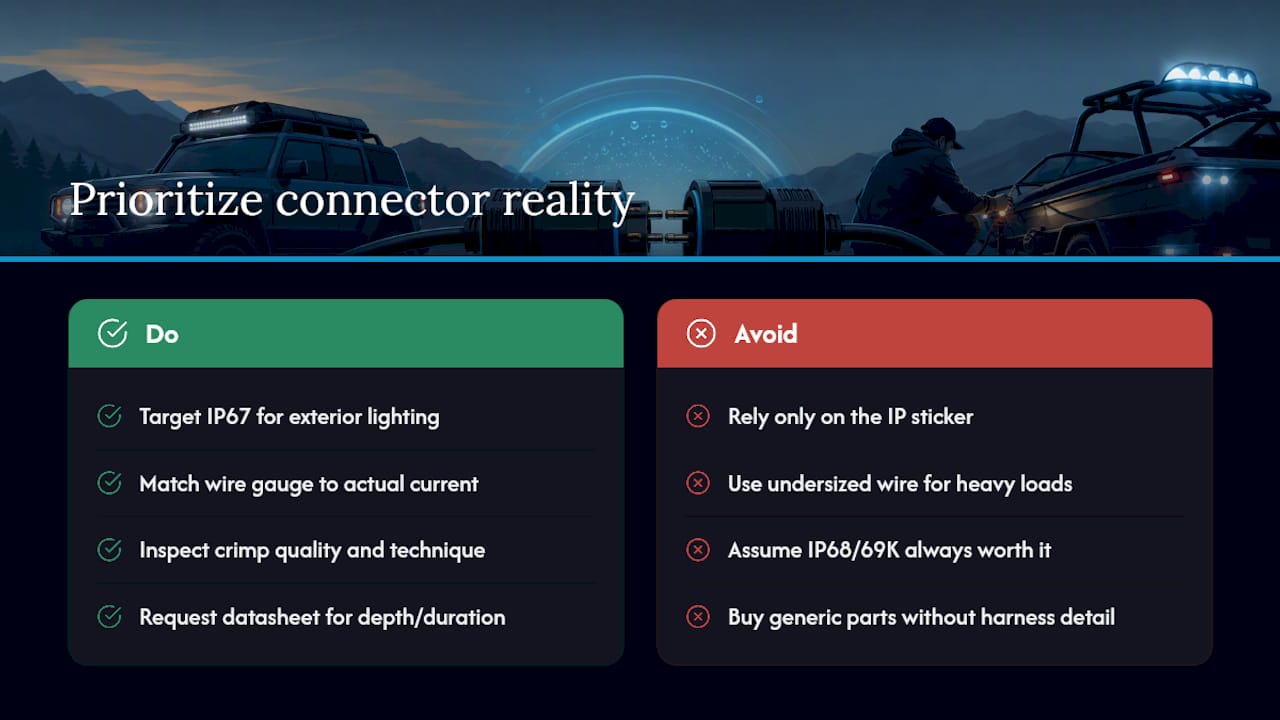
What gets underestimated constantly is wire gauge. Builders will spend real money on a Deutsch connector rated for heavy loads, then feed it with wire that’s one size too small for the actual current draw. That mismatch generates heat, and heat is what breaks down seals from the inside long before UV or road salt ever gets a chance. If you request one thing from a connector supplier before buying, ask for the datasheet showing the exact IP68 depth and duration, not just the marketing number on the packaging.
This lighting company designs its products domestically rather than sourcing generic overseas parts, which lines up with this same philosophy: the details in the harness and the connector matter more than a badge on the box. The company’s wire harnesses and LED strips are built specifically for enthusiasts who want lighting that looks original and holds up outside, not just something that lights up once in the driveway.
— Christopher
Ready-to-install harnesses and parts for your build
Skip the guesswork of sourcing individual connectors, terminals, and seals from three different suppliers. Wheel Light Express sells complete wire harness leads and wires built specifically for aftermarket vehicle LED lighting, along with replacement strips, remotes, and adapters designed to work together instead of being pieced together from mismatched parts.

Before you order, check the product page for the IP rating, confirm the wire gauge matches your load, and note the pin count against your lighting setup. Every harness ships with installation notes and is backed by a satisfaction guarantee, and financing options may be available to help spread costs. If you need a drop-in fix rather than a full custom build, the replacement wire harness for all lighting page covers common failure points without requiring you to rewire the whole vehicle. Browse the current lineup and confirm compatibility with your lighting before you check out.
Standards and datasheets worth checking before you order
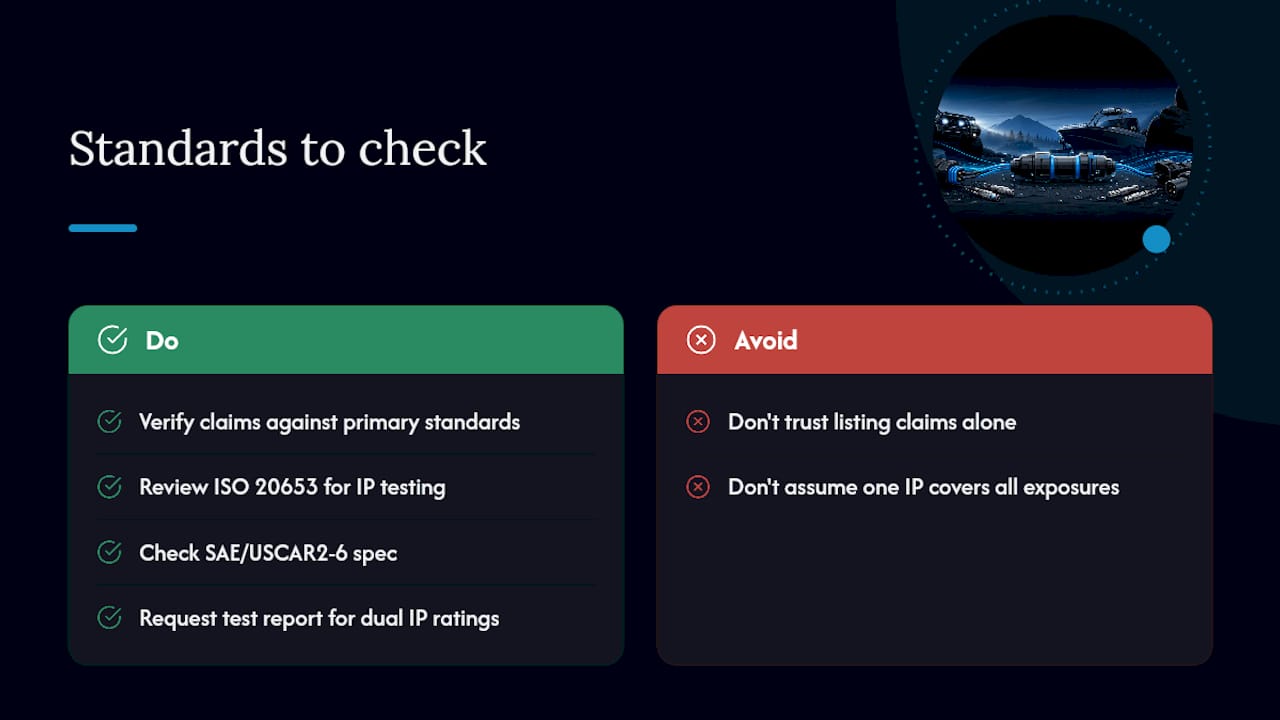
Verify claims against the primary standards rather than taking a listing’s word for it. Review ISO 20653 guidance on IP testing for what IP67 and IP69K actually measure, and check the SAE/USCAR2-6 performance specification for how automotive connector systems are tested and documented. When in doubt, ask the supplier for a test report showing dual IP ratings if your build faces both immersion and pressure-wash exposure.
Sources
- ISO standard description (ISO 20653 / related IP guidance)
- SAE / USCAR2-6 performance specification
- CZT connector blog: automotive connector IP ratings and assembly tips