
A high lumen strip light install is the process of mounting and wiring powerful LED strips on your vehicle to deliver superior brightness, sharper visibility, and a clean custom look. These strips, known in the industry as high-output LED ribbon lights, produce anywhere from 675 to 1,019 lumens per foot on top-tier products. That output level transforms underbody lighting, wheel wells, interior accents, and engine bay setups from dim afterthoughts into genuinely functional illumination. This guide covers every step of a successful install, from component selection to final testing, with the specific detail automotive DIYers need to get it right the first time.
What components and tools do you need for a high lumen strip light install?
Getting the parts right before you touch your vehicle saves hours of rework. Here is what every automotive LED strip install requires.
LED strips
Not every strip light qualifies as high-output. Check lumen-per-foot specs rather than wattage alone, since wattage is a poor proxy for actual brightness. For automotive use, look for strips rated at a minimum of 500 lumens per foot. Also confirm the IP rating: IP65 or higher for exposed locations like underbody or wheel wells, IP44 for protected interior runs. You can compare lumen output across automotive-grade strips before committing to a purchase.

Power supply and driver
The power supply must be sized to at least 120% of your total strip wattage. Sizing to 120% wattage prevents thermal stress and extends the driver’s lifespan. A practical example: five meters of 14.4W/m strip draws 72W total, so you need a minimum 86.4W supply. Round up to a 100W unit. Under-sizing is the single most common cause of premature driver failure on automotive builds.
Mounting hardware and wiring tools
| Item | Purpose |
|---|---|
| Aluminum mounting channels | Dissipate heat and protect the strip from vibration |
| Mechanical mounting clips | Secondary hold when adhesive fails under heat or vibration |
| Isopropyl alcohol (90%+) | Surface prep to prevent adhesive failure |
| Multimeter | Verify voltage and polarity before final sealing |
| Soldering iron and solder | Create low-resistance, permanent wire joints |
| Wire strippers and crimpers | Prepare and terminate wiring runs cleanly |
| Heat shrink tubing | Insulate and protect all solder joints |
Pro Tip: Buy 18 AWG wire for runs under three meters and 16 AWG for anything longer. Undersized wire causes resistive heating and voltage drop that dims your strips even with a correctly sized driver.
How do you plan and prepare your vehicle for high brightness strip lights?
Solid planning prevents the two most common failures: voltage drop and adhesive peel. Follow these steps before mounting anything.
-
Measure your total LED run length. Use a flexible tape measure to trace the exact path of each strip. Add 10% to account for corners and routing curves. Mark cut points only at the designated cut lines printed on the strip itself. Cutting elsewhere destroys the circuit.
-
Plan your wiring route. Map the path from each strip back to your power source. Shorter wire runs reduce resistance and voltage drop. Route wires away from exhaust components and moving parts. Use grommets wherever wires pass through metal panels.
-
Choose your voltage. 24V systems reduce voltage drop on longer runs compared to 12V, because higher voltage means lower current for the same power output. If your total run exceeds three meters, 24V is the smarter choice for consistent brightness end to end.
-
Plan your feed points. For runs longer than approximately five meters, plan parallel wiring feeds or feed power from both ends. This keeps brightness uniform across the full length of the strip.
-
Clean all mounting surfaces. Wipe every surface with isopropyl alcohol and let it dry completely. Failing to clean surfaces before applying adhesive backing is the leading cause of strips peeling loose within weeks of installation.
-
Decide on mounting method. Adhesive alone works for short, protected interior runs. For underbody, wheel wells, or any vibration-prone location, aluminum channels with mechanical clips are required. Adhesive is a starting point, not a final solution, in automotive environments.
Pro Tip: Test-fit your strips dry before peeling any adhesive. Lay them in place with tape to confirm routing, length, and connector positions. Repositioning a strip after the adhesive contacts a surface is difficult and often damages the strip.
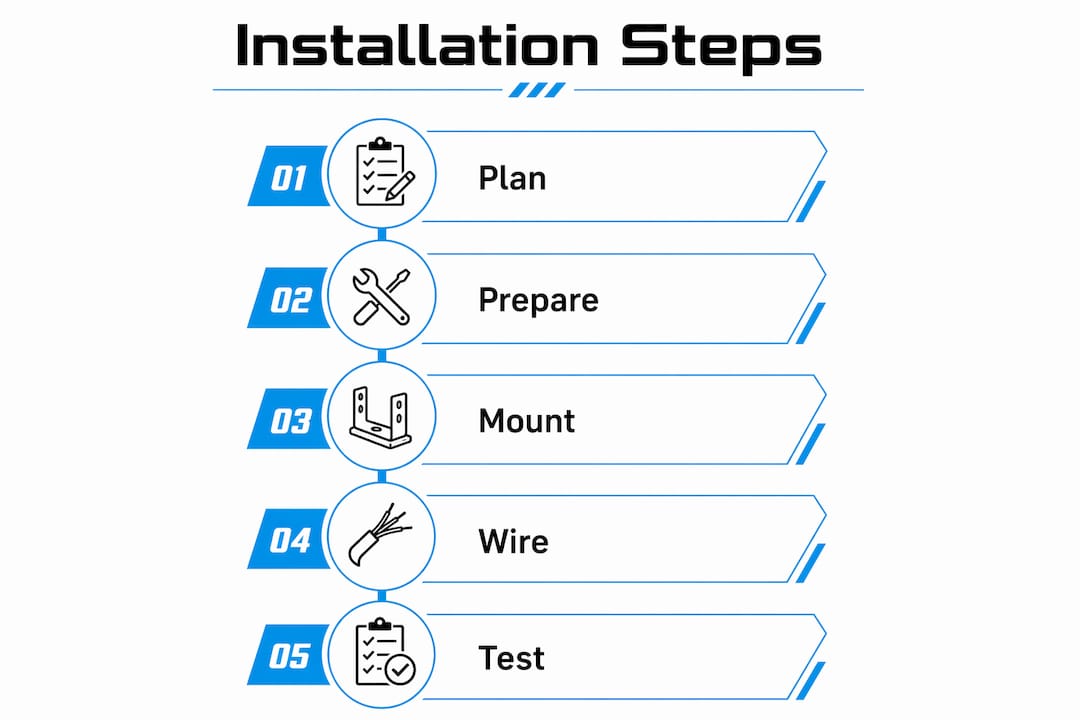
What are the step-by-step instructions for installing high lumen strip lights?
This is where the install comes together. Work through each step in order and do not skip the testing phase.
-
Peel and mount the strip. Remove the adhesive backing and press the strip firmly along the prepared surface. Apply steady pressure for 30 seconds per foot. For aluminum channels, seat the strip inside the channel first, then mount the channel to the vehicle.
-
Add mechanical clips. Space mounting clips every 12 to 18 inches along any run exposed to vibration. Automotive installs require mechanical supports plus aluminum channels to combat vibration and heat, because adhesive alone fails over time on vehicles.
-
Run and connect your wiring. Route wires along planned paths and secure them with zip ties every six inches. Connect wires to the strip using either soldered joints or high-quality push-in connectors. Soldered joints or quality connectors reduce resistance and prevent localized heating that causes early failures.
-
Match driver voltage to strip voltage. Driver voltage must match the strip’s rated voltage exactly. A 24V strip connected to a 12V driver produces dim output. A 12V strip on a 24V driver burns out immediately. Verify both labels before connecting power.
-
Test before sealing. Connect power and test the full run with the strip exposed. Testing before final sealing prevents rework caused by wiring mistakes. Reversed polarity will not damage the LEDs, but they will not light. Swap the leads if the strip stays dark.
-
Seal and secure. Once the strip lights correctly, apply silicone sealant over any exposed solder joints on outdoor runs. Tuck wiring into looms or conduit and secure all clips and channels.
Pro Tip: Dim output at the far end of a strip almost always signals voltage drop, not a faulty strip. Before replacing anything, try feeding power from both ends of the run or switching to a 24V system.
| Symptom | Likely Cause | Fix |
|---|---|---|
| Strip stays dark | Reversed polarity or blown fuse | Swap leads, check fuse |
| Dim at far end | Voltage drop | Parallel feed or upgrade to 24V |
| Strip flickers | Loose connector or undersized driver | Resolder joints, upsize driver |
| Strip peels off | Poor surface prep | Clean with isopropyl alcohol, add clips |
What common mistakes should you avoid during your strip light installation?
Most failed installs come down to the same handful of errors. Knowing them in advance puts you ahead of the majority of DIYers.
-
Under-sizing the power driver. A driver running at 100% capacity generates excess heat and fails early. Always size to 120% of total strip wattage. This is not optional on automotive builds where ambient temperatures are already elevated.
-
Mixing voltages. Never connect a 12V strip to a 24V driver or vice versa. The result is either immediate burnout or severely degraded output. Confirm voltage ratings on both the strip and the driver before any connection.
-
Skipping surface prep. Adhesive backing bonds to clean, dry, grease-free surfaces. Automotive panels carry road grime, wax residue, and oils that destroy adhesion. Isopropyl alcohol at 90% concentration or higher is the correct prep agent.
-
Using undersized wire. Thin wire on long runs creates resistance that drops voltage before it reaches the strip. The strip dims, the wire heats up, and the driver works harder than it should. Match wire gauge to run length.
-
Poor connector quality. Cheap push-in connectors corrode and loosen under vibration. Connection quality directly affects resistance levels and local heating at joints. Solder where possible, and use weatherproof connectors on any exterior run.
Voltage drop causing dimming is a wiring or feed problem, not a strip defect. Fix it with thicker wire, shorter runs, center or parallel feeding, or by switching from 12V to 24V. Replacing the strip solves nothing if the wiring is the root cause.
Pro Tip: If you are running strips in a wheel well or underbody location, apply a thin bead of clear silicone over every solder joint after testing. Water intrusion into a joint causes corrosion that kills the connection within one season.
How do you enhance durability and brightness over the long term?
A well-installed strip that fails in six months is not a success. These practices extend both performance and lifespan.
-
Use aluminum channels with diffusers. Aluminum conducts heat away from the LED chips, which directly extends their rated lifespan. Diffusers also spread light more evenly, eliminating the hot-spot effect common on bare strips. For any high-output automotive install, channels are worth the added cost.
-
Verify IP ratings for the install location. IP65 is the minimum for any location exposed to water spray. Wheel wells and underbody runs should use IP67 or IP68 rated strips. An IP44 strip in a wheel well will fail within a few months.
-
Select strips with verified lumen output. Performance depends on lumen output and color quality, not just watts. Buy from suppliers who publish lumen-per-foot data, not just total wattage. Strips without published lumen specs are almost always lower quality than advertised.
-
Use center feeding on long runs. Feeding power from the center of a long run rather than one end cuts the effective wire length in half. This reduces voltage drop and produces more even brightness across the full strip. For longer runs and voltage drop mitigation, center feeding combined with 24V is the most reliable approach.
-
Inspect connections annually. Automotive vibration loosens connectors over time. A quick annual check of all joints, clips, and wire terminations catches problems before they cause failures.
Pro Tip: For off-road vehicles or trucks that see regular trail use, check out flexible LED strip durability strategies specifically designed for rough-road conditions. The mounting and wiring approach differs meaningfully from street builds.
Key takeaways
A successful high lumen strip light install depends on correct power sizing, matched voltages, clean surface prep, and mechanical mounting support, not just the quality of the strip itself.
| Point | Details |
|---|---|
| Size your driver correctly | Use 120% of total strip wattage to prevent heat and early failure. |
| Match voltages exactly | Driver and strip voltage must be identical to avoid burnout or dim output. |
| Prep surfaces thoroughly | Clean with 90%+ isopropyl alcohol before applying any adhesive backing. |
| Use mechanical supports | Add aluminum channels and clips on all vibration-prone automotive locations. |
| Plan for voltage drop | Use 24V systems and parallel feeds on runs longer than five meters. |
What I have learned from doing these installs
I have seen more failed automotive LED installs than I can count, and the pattern is almost always the same. Someone buys a quality strip, skips the driver sizing math, uses whatever wire was in the garage, and wonders why the far end of the run is noticeably dimmer than the near end two months later.
The single most underrated upgrade in any high-output strip install is moving to 24V. Most DIYers default to 12V because it matches the vehicle’s battery voltage and feels simpler. But 24V cuts the current in half for the same power, which means thinner wire, less heat, and dramatically more consistent brightness across long runs. The physics are straightforward, and the real-world difference is visible.
My other strong recommendation is to never skip the dry test-fit. Lay the strip along its intended path with temporary tape before peeling the adhesive. Check that every connector lines up, every cut point falls on a marked line, and the wire routing clears all heat sources and moving parts. Fixing a routing mistake before the adhesive sets takes five minutes. Fixing it after takes an hour and usually damages the strip.
The installs that hold up over years of driving are the ones where someone took the time to clean the surface properly, size the driver correctly, and add mechanical clips alongside the adhesive. Those three steps alone separate a professional-looking, long-lasting install from one that starts peeling and dimming before the first oil change.
— Christopher
Upgrade your vehicle lighting with Wheellightexpress
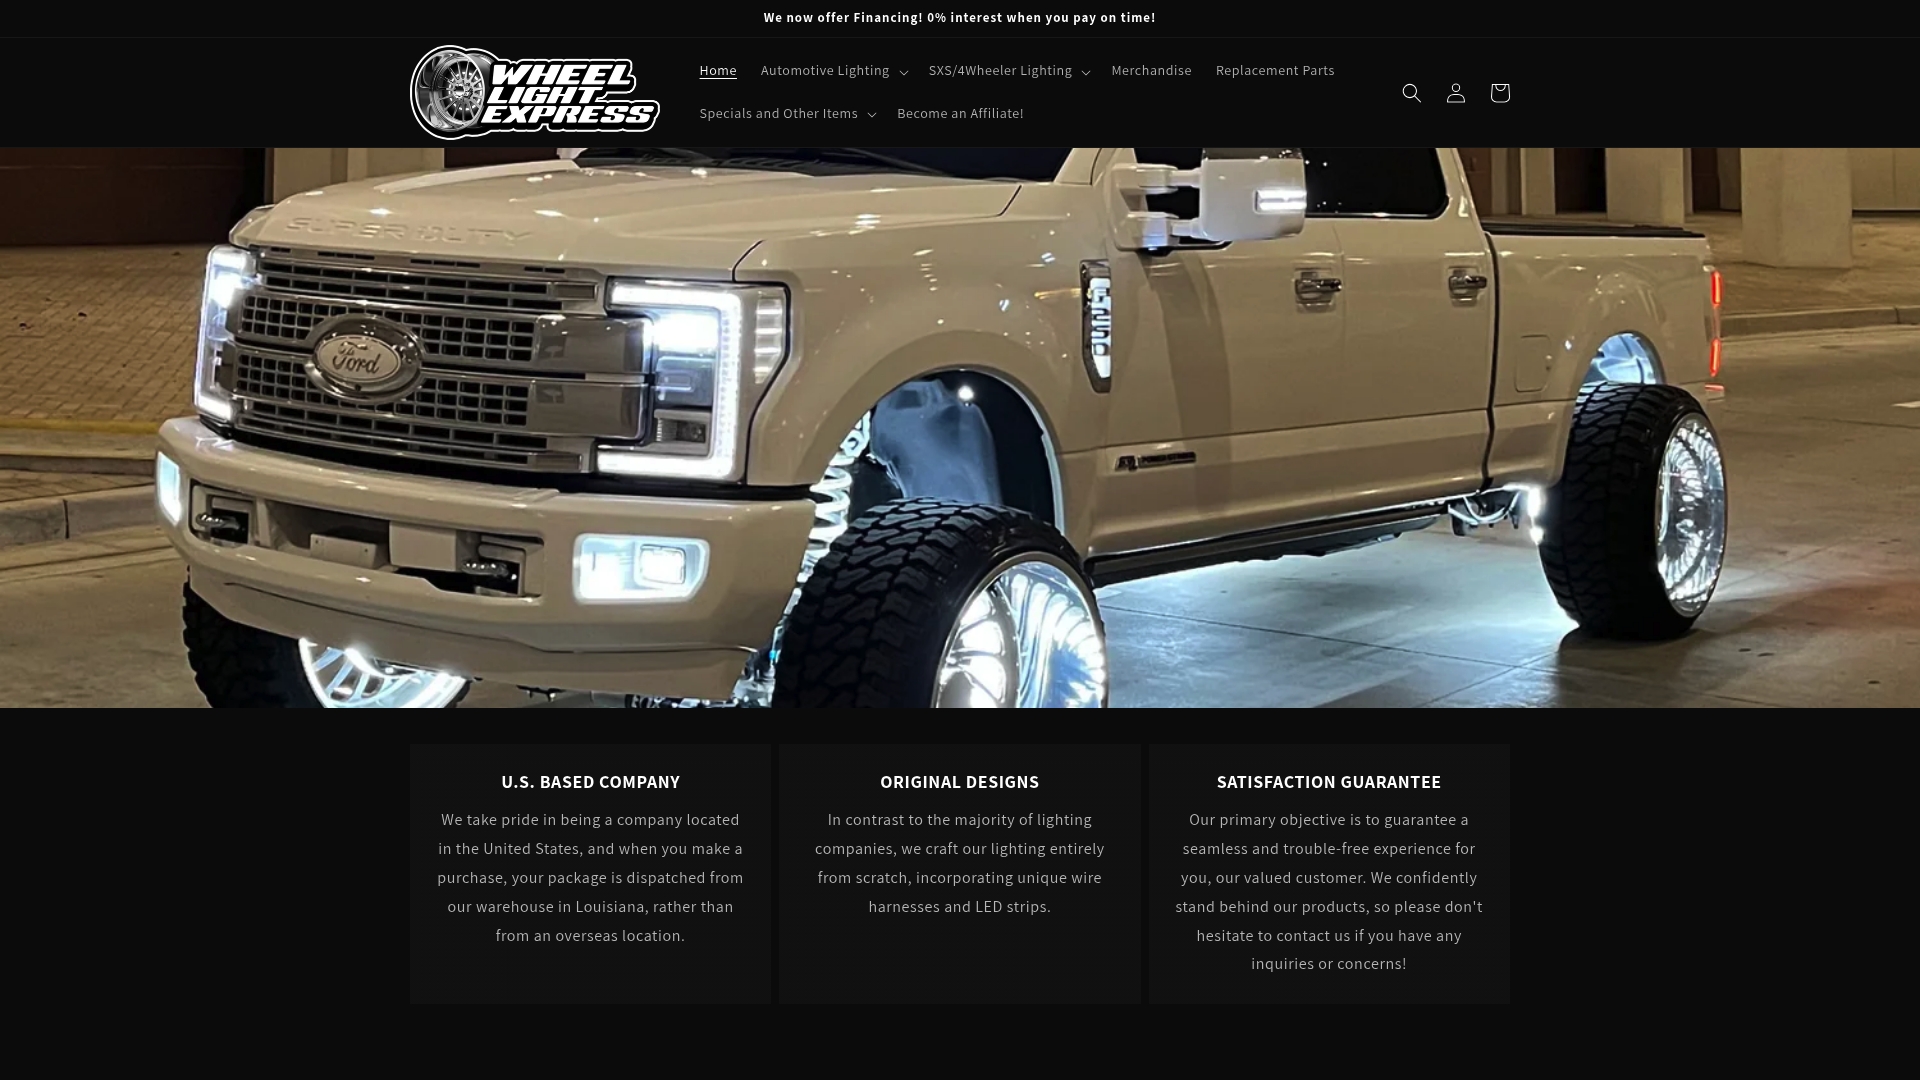
Wheellightexpress designs all of its automotive lighting products in Louisiana, specifically for enthusiasts who want real brightness and lasting quality. If you are ready to build out your install, the automotive lighting collection covers high-output LED strips, mounting hardware, and complete kits built for vehicle use. For wiring your build correctly, the wire harness leads are designed to pair directly with Wheellightexpress strips, eliminating the guesswork on connector compatibility. Not sure what size you need? The wheel light sizing guide walks you through length and power requirements before you buy. Financing options are available, so you can get the full setup without waiting.
FAQ
What lumen output qualifies as high for automotive LED strips?
High-output automotive LED strips measure approximately 675 to 1,019 lumens per foot. Always check lumen-per-foot specs rather than total wattage, since wattage alone does not indicate actual brightness.
How do I size the power supply for my LED strip install?
Multiply your total strip wattage by 1.2 and select a driver at or above that number. For example, five meters of 14.4W/m strip requires at least an 86.4W driver, so a 100W unit is the correct choice.
Why are my strip lights dim at the far end of the run?
Dim output at the far end signals voltage drop caused by wire resistance. Fix it by using thicker wire, feeding power from both ends of the run, or switching from a 12V to a 24V system.
Do I need aluminum channels for an automotive install?
Aluminum channels are strongly recommended for any automotive location exposed to vibration or heat. Adhesive alone fails over time in these conditions, and channels also improve heat dissipation to extend strip lifespan.
Can I install high lumen LED strips myself without professional help?
Yes. A DIY strip light installation is achievable with basic wiring skills, a multimeter, a soldering iron, and the correct components. Following a proper strip light installation guide and testing before final sealing covers the majority of failure points.