

Interior show lighting is defined as the deliberate use of light to reveal, enhance, and direct attention to a vehicle’s interior during a showcase or exhibition. The role of interior show lighting goes far beyond simple illumination. It shapes how judges and enthusiasts perceive your leather seats, carbon fiber trim, custom stitching, and every detail you spent months perfecting. CRI 90+ is the minimum standard for show-quality displays, and without it, reds appear orange and whites look yellow. Wheellightexpress designs its LED strips and wire harnesses specifically for car owners who understand that lighting quality is not optional at a serious show.
What is the role of interior show lighting in vehicle presentation?
Interior show lighting controls what viewers see first, what they remember, and how they judge your build’s quality. Show lighting’s primary role is visual hierarchy. It directs attention to key vehicle details and prevents the interior from fading into the background. Attendees form impressions within seconds, so your lighting must guide their eye before they even lean in for a closer look.
Poor lighting does not just look bad. It actively misrepresents your work. A hand-stitched leather seat under low-CRI light looks flat and dull. The same seat under properly calibrated show lighting looks rich, textured, and expensive. That difference is the entire argument for treating interior lighting as a core part of your show preparation, not an afterthought.
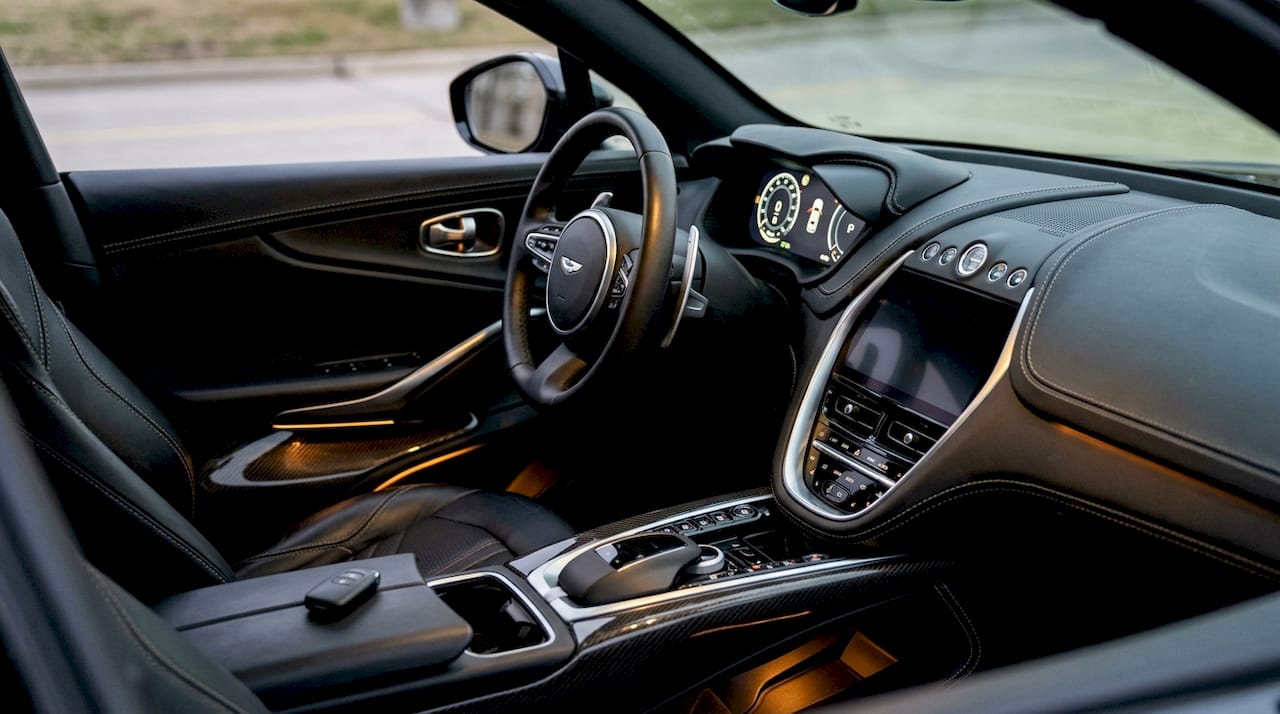
Color temperature also plays a direct role in how your interior reads to viewers. Neutral white around 4500K is the most versatile choice for shows because it renders most interior materials accurately without pushing a warm or cool bias. Warm tones below 3000K suit classic and luxury builds, while cooler tones above 5000K work well for sport and modern performance vehicles.
How lighting quality affects vehicle interior appearance
Color Rendering Index, known as CRI, measures how accurately a light source reveals the true color of objects compared to natural daylight. A CRI of 100 is perfect daylight. A CRI of 70 is a gas station parking lot. Below CRI 90, colors shift noticeably, and that shift costs you credibility with every judge and enthusiast who walks past.
The impact on interior materials is direct and measurable. Carbon fiber loses its weave depth. Alcantara looks like cheap fabric. Custom paint on interior panels reads as a different shade entirely. Color rendering is crucial to make specialized interior materials like leather, stitching, and carbon fiber appear authentic and premium.
Light distribution matters just as much as CRI. 35–65% indirect lighting produces more balanced perceived brightness and higher viewer preference compared to direct-only spotlights. Indirect light wraps around surfaces and reduces harsh shadows, which makes the interior feel spacious and well-crafted. Direct-only lighting creates hot spots and deep shadows that flatten three-dimensional details.
Pro Tip: Test your lighting setup at home before the show. Photograph the interior under your planned lights and compare it to a photo taken in natural daylight. If the colors shift noticeably between the two images, your CRI is too low.
| Lighting factor | Recommended standard | Effect if ignored |
|---|---|---|
| Color Rendering Index | CRI 90 or higher | Colors shift; materials look inauthentic |
| Color temperature | 4000K–5000K neutral white | Warm bias yellows whites; cool bias flattens warm tones |
| Indirect light ratio | 35–65% indirect | Direct-only creates harsh shadows and hot spots |
| Certification | UL or ETL listed | Non-certified lights may be removed at the venue |
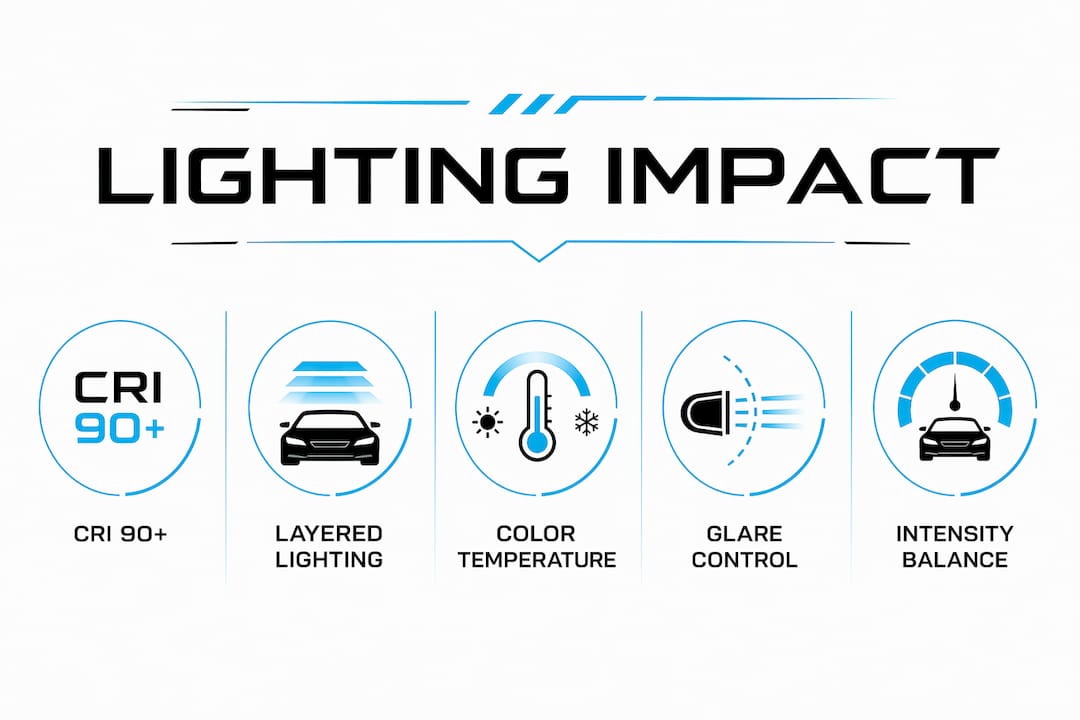
Why does lighting intensity and layering matter at shows?
Lighting intensity directly affects how long viewers stay engaged with your vehicle. Increasing illuminance from 500 lx to 1000 lx reduces psychological fatigue and enhances alertness and task performance. Applied to a show environment, that means viewers spend more time studying your build instead of moving on after a quick glance.
Layered lighting is the technique that separates professional show vehicles from amateur setups. A layered approach uses three distinct light types working together:
- Ambient light fills the interior evenly and eliminates dark corners. It sets the baseline brightness that makes the space feel open and inviting.
- Accent light targets specific surfaces like door panels, the dashboard, or seat bolsters. It creates contrast and draws the eye to your best work.
- Product light hits focal points directly, such as a custom shift knob, embroidered headrests, or a bespoke center console. It tells the viewer exactly where to look.
Without layering, interiors look flat or washed out at shows. Flat lighting removes the depth cues that make materials look three-dimensional. A layered setup creates contrast, and contrast is what makes textures pop. You can learn more about LED strip applications to understand how different strip placements contribute to each lighting layer.
Glare control is the part most car owners overlook. Reflective surfaces like gloss carbon fiber, polished metal trim, and glass instrument clusters bounce direct light straight into the viewer’s eyes. Diffused or indirect sources eliminate that problem and keep the focus on the vehicle, not the light source.
Pro Tip: Use a separate dimmer for each lighting layer. Adjusting ambient, accent, and product lights independently lets you fine-tune the setup for different show environments without rewiring anything.
What are the best practices for show lighting design?
Professional show lighting is repeatable. Consistent beam angles and color consistency prevent an amateur appearance and build trust in the craftsmanship on display. If your setup looks different at every show because you are improvising the placement, judges notice. Discipline in your lighting plan is as important as discipline in your build.
Follow these steps to build a repeatable, professional interior lighting setup:
- Map your focal points first. Identify the three to five interior details you want judges to notice. Every lighting decision should serve those focal points.
- Choose beam angles of 30°–45°. Narrower beams concentrate light on specific surfaces. Wider beams work for ambient fill. Mixing both creates the layered effect described above.
- Set your indirect-to-direct ratio. Aim for 35–65% indirect light as a starting point, then adjust based on the specific materials in your interior.
- Verify certification before the show. UL or ETL certification is required by most US exhibition venues. Non-certified lights can be removed on site, leaving your display dark.
- Document your setup. Photograph the fixture positions, note the dimmer settings, and record the color temperature of every source. Recreating the setup at the next show takes minutes instead of hours.
- Build in adaptability. Modular LED systems let you add or remove strips based on the venue’s existing lighting conditions. A setup that works perfectly under a dark warehouse ceiling may need adjustment under bright convention center lights.
Avoiding over-brightness is as important as avoiding under-brightness. More light is not the goal. Contrast, rhythm, and layering make vehicles feel three-dimensional and professional. A vehicle blasted with maximum brightness from every angle looks flat and clinical. Controlled light with intentional shadows creates depth and makes the interior feel alive. For a deeper look at light distribution and beam angles, Wheellightexpress covers the specifics for custom automotive builds.
How does lighting create mood and elevate vehicle presentation?
Lighting is visual communication. It tells a story about your vehicle before anyone reads a placard or hears you describe the build. Lighting designers emphasize rhythm and contrast over sheer brightness to communicate and engage the viewer. The rhythm comes from the pattern of light and shadow moving across surfaces. The contrast comes from the difference between your brightest accent and your darkest fill.
The materials in your interior respond differently to light, and your setup should account for that:
- Leather and suede reveal grain and texture under raking light placed at a low angle to the surface. Direct overhead light flattens both.
- Carbon fiber shows its weave depth best under a single directional source that creates a moving reflection as the viewer shifts position.
- Stitching and embroidery become visible under tight accent light aimed across the surface rather than straight down onto it.
- Gloss paint and polished metal need diffused light to avoid harsh reflections that distract from the finish itself.
Color temperature choice reinforces the vehicle’s identity. A classic muscle car with tan leather and wood trim reads as warm and powerful under 3000K light. A modern track build with carbon fiber and Alcantara reads as focused and technical under 5000K light. Matching your color temperature to your vehicle’s style is one of the most effective and least discussed show lighting design tips available to car owners. The relationship between wheel design and overall aesthetics follows the same principle: every visual element should reinforce the same story.
Key Takeaways
Interior show lighting works because CRI, layering, and controlled intensity together shape how every material, texture, and detail reads to judges and enthusiasts at a show.
| Point | Details |
|---|---|
| CRI 90+ is non-negotiable | Below CRI 90, colors shift and materials look inauthentic to judges and viewers. |
| Layer ambient, accent, and product light | Three-layer setups create depth and guide the viewer’s eye to your best work. |
| Match color temperature to vehicle style | Neutral 4500K suits most builds; warm or cool tones reinforce specific vehicle identities. |
| Certify your equipment | UL or ETL certification keeps your lights on the floor at US exhibition venues. |
| Repeatability wins shows | Documented beam angles and dimmer settings produce consistent results at every event. |
What I’ve learned about interior show lighting after years on the floor
The biggest mistake I see car owners make is treating lighting as the last item on the prep list. They spend months on the build and two hours on the lighting. The result is a stunning vehicle that looks ordinary under flat, uncalibrated light.
The second mistake is chasing brightness. I have watched owners add strip after strip until the interior looks like a hospital exam room. Bright is not the same as good. The vehicles that stop people mid-stride are the ones with controlled contrast, where the shadows are as deliberate as the highlights.
High-CRI light instantly elevates perceived craftsmanship. I have seen judges spend twice as long at a vehicle simply because the lighting made the stitching visible from six feet away. That is not luck. That is planning. Planning your lighting scenes for different show environments, from dark warehouse floors to bright convention halls, is what separates the owners who win from the ones who wonder why they did not.
Restraint is the hardest skill to develop. One well-placed accent light on a custom door panel communicates more than five strips pointed at the same surface. Less, placed correctly, always wins.
— Christopher
Wheellightexpress show-grade lighting for your next build
Car owners who take their show preparation seriously need lighting equipment that performs consistently and meets venue requirements.

Wheellightexpress designs its wheel light rings and strips in Louisiana specifically for automotive enthusiasts who want original, show-ready results. The product line includes replacement LED strips built for interior applications and wire harness systems that support clean, safe installations. Every product is designed with quality and customer satisfaction in mind, and financing options make it possible to build a complete show lighting setup without paying everything upfront. Browse the full catalog at Wheellightexpress and find the right components for your vehicle.
FAQ
What is the minimum CRI for show vehicle interior lighting?
CRI 90 is the minimum standard for show-quality displays. Below that threshold, colors shift noticeably and materials like leather and carbon fiber lose their authentic appearance.
What color temperature works best for most show vehicles?
Neutral white around 4500K is the most versatile choice for shows. It renders interior materials accurately without pushing a warm or cool color bias.
Why does layered lighting matter more than brightness?
Layered lighting creates the contrast and depth that make interiors look three-dimensional. A single bright source flattens surfaces and removes the texture cues that make craftsmanship visible.
Do I need certified lighting equipment for car shows?
UL or ETL certification is required by most US exhibition venues. Non-certified equipment can be removed on site, leaving your display without lighting during the event.
How do I make my interior lighting setup repeatable across shows?
Document your fixture positions, beam angles, dimmer settings, and color temperatures after each show. That record lets you recreate the same professional result at every event without guessing.
Recommended
- Custom Lighting Integration Explained for Car Enthusiasts – Wheel Light Express
- Lighting Best Practices for Custom Automotive Builds – Wheel Light Express
- Sequential Lighting How It Works: A DIY Car Guide – Wheel Light Express
- Why US-Designed Lighting Differs for Auto Enthusiasts – Wheel Light Express