

What’s the best way to set up an underbody glow kit on your truck?
A clean underbody glow kit truck setup comes down to two things: where you mount the LED strips and how well you wire them. Get both right, and you’ll have a diffused, professional-looking glow that holds up through rain, road grit, and highway miles. Rush either one, and you’re looking at flickering lights or strips dangling from your frame.
Here’s what a solid setup requires:
- LED strip placement: Mount strips slightly back from the frame edges so the light reflects off the ground rather than shining the diode hotspots directly at viewers. This creates a smooth, diffused glow instead of a harsh, spotty look.
- Mounting hardware: Use a combination of double-sided tape, heavy-duty zip ties, and brackets or screws. Combining mounting methods gives you far better adhesion under harsh road conditions than tape alone.
- Power source and grounding: Connect to the battery with a clean, secure terminal connection. The ground wire must attach to bare metal on the chassis, not painted or rusted surfaces.
- Fuse protection: Install an inline fuse close to the battery. This single step protects your entire circuit from shorts and potential fire risk.
- Control module placement: Mount the module in a cool, dry section of the engine bay, away from heat sources and moisture.
- Weatherproofing: Wrap exposed wire connections with electrical tape or heat shrink tubing to block moisture and road salt.
For trucks specifically, the extra ground clearance works in your favor. You have more room to position strips for maximum ground reflection, and more frame real estate to route wiring cleanly.
How do you install underbody lights on a truck, step by step?
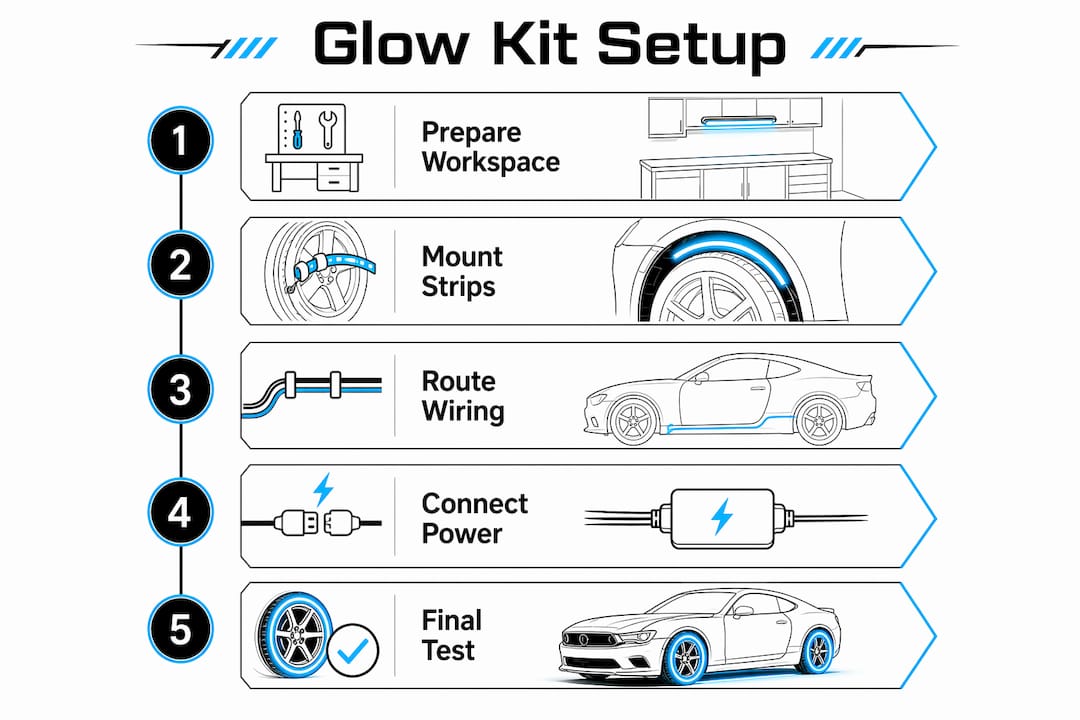
Prepare your workspace and test components first
Park on flat concrete, engage the parking brake, and place wheel chocks behind the rear tires. Use a hydraulic floor jack with sturdy jack stands to lift the truck safely. Before mounting anything, test your LED strips by connecting the power wire to the battery positive and the ground to the negative. Finding a dead strip now saves you from pulling everything apart later.
Pro Tip: Lay out all components beside the truck before you start. Confirm every strip lights up, the controller responds, and the wiring harness has no damaged sections.
Mount the LED strips
Clean the mounting surface with a microfiber cloth to remove grease and dirt. Peel back the tape backing gradually, pressing each strip section by section against the frame. Space zip ties roughly every foot along each strip for a secure hold, and use factory holes or solid brackets when available. If your kit includes screws and brackets, drill small pilot holes and use them. Brackets and screws hold strips firmly regardless of weather or speed bumps.
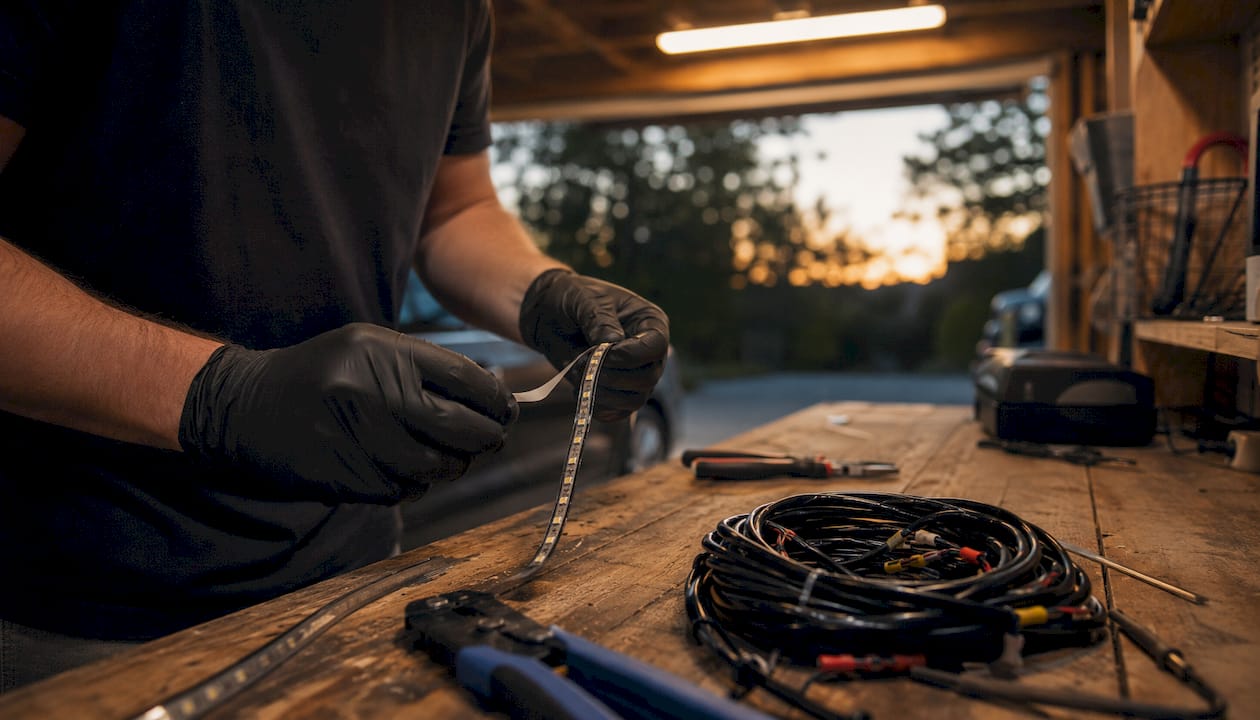
Route the wiring to the engine bay
Gather all wires from each strip and route them toward the engine bay. Follow the path of your truck’s brake lines or existing electrical harnesses to keep everything tidy and protected. Keep wires away from hot exhaust pipes, spinning axles, and moving suspension components. Zip tie every few inches so nothing flaps loose. Pass wires through the firewall using an existing grommet rather than cutting new holes.
Connect power and mount the control module
Mount the control module in a cool, dry spot in the engine bay, secured with zip ties or mounting tape. Connect the color-coded wires from each strip to the correct ports on the module until you hear a click. Run the main power wire from the module to the battery, and splice in an inline fuse a few inches from the battery terminal. Connect the red ring terminal to the positive post and the black to a clean chassis ground point.
Final test and wire cleanup
With the truck still raised, switch the ignition to accessory mode and power on the underglow. Walk around the truck and check every strip for consistent brightness and color response. Secure any loose wiring and trim zip tie tails. Only lower the truck once everything checks out.
How do you wire underbody lights to prevent flickering?
Flickering is almost always a grounding problem. Poor ground connections to painted or rusted metal interrupt current flow, and the lights respond with an unstable, annoying flicker. A clean bare-metal contact point on the chassis solves this in most cases.
Pro Tip: Sand the grounding contact area down to bare metal before attaching the ground terminal. Even a thin layer of paint or surface rust is enough to cause resistance and flickering.
Follow these wiring practices for a stable, long-lasting setup:
- Strip wire ends cleanly: Use proper wire strippers, not scissors or a knife. A clean strip gives you a solid crimp connection.
- Crimp, don’t just twist: Twisted connections loosen over time from vibration. A crimped connection holds.
- Cover every exposed connection: Electrical tape works, but heat shrink tubing is better. It seals out moisture and road salt completely.
- Route away from heat and movement: Keep wires clear of exhaust components, the radiator, and any suspension parts that shift during driving.
- Install the inline fuse near the battery: This protects the circuit from shorts. Skipping it is a risk not worth taking.
- Connect positive and negative terminals correctly: Red to positive, black to a clean chassis ground or the battery negative post. Proper ground quality is just as critical as the positive connection for stable illumination.
For trucks with lifted suspensions, pay extra attention to wire slack at suspension attachment points. The chassis flexes more than on a stock ride height, and tight wires can pull loose or chafe over time. Check out the lighting best practices guide from Wheellightexpress for more on wiring custom builds.
What does Wheellightexpress recommend for a quality glow setup?
Wheellightexpress designs all of its LED strips and wire harnesses in Louisiana, with truck and automotive enthusiasts specifically in mind. The focus is on original designs built to last, not generic kits sourced overseas and repackaged.
From an installation standpoint, a few principles consistently separate a professional result from a frustrating one:
- Placement drives the aesthetic. Strips mounted slightly inward from the frame edge reflect light downward onto the ground rather than outward at eye level. The result is a smooth, ambient glow rather than visible diode dots.
- Flickering is preventable. The majority of lighting failures in underbody setups trace back to weak ground connections. Clean metal contact and a properly crimped terminal eliminate most of these issues before they start.
- Control options matter for customization. A quality remote control system lets you switch colors, adjust brightness, and cycle lighting modes without touching the wiring. Extend the control module antenna fully so it receives signal even with the hood closed.
- **LED lighting for trucks should balance brightness, weather resistance, and energy efficiency](https://www.leer.com/lighting) for reliable performance in all driving conditions.
For lifted trucks, the added clearance gives you more flexibility in strip positioning and makes the ground glow effect even more visible. The Wheellightexpress guide on underbody lights for lifted trucks covers kit selection and placement strategies specific to raised builds.
Get your truck’s glow kit right the first time

Wheellightexpress offers LED strips and wire harness leads designed specifically for truck underbody setups, with original designs built in Louisiana and a satisfaction guarantee behind every order. If you’re ready to build a custom truck glow setup that actually holds up, start with components made for the job. Browse the Wheel Light Ring and Strip to find the right fit for your build.
Key Takeaways
A successful underbody glow kit truck setup depends on precise LED placement, clean grounding, and secure wiring that holds up under real driving conditions.
| Point | Details |
|---|---|
| LED placement drives glow quality | Mount strips slightly inward from frame edges so light reflects off the ground for a diffused, professional look. |
| Clean grounding prevents flickering | Connect ground wires to bare metal on the chassis; painted or rusted surfaces interrupt current and cause unstable light. |
| Combine mounting methods | Use double-sided tape, zip ties, and brackets together for strips that stay put through weather and rough roads. |
| Inline fuse protects your circuit | Install a fuse close to the battery terminal to guard against shorts and prevent component damage. |
| Test before lowering the truck | Power on the system in accessory mode while the truck is still raised to catch any issues before hitting the road. |
Recommended
- Best Lighting Setups for Show Trucks: 2026 Guide – Wheel Light Express
- Truck Lighting Kit Components Explained for Enthusiasts – Wheel Light Express
- Underbody Lights for Lifted Trucks: Role and Benefits – Wheel Light Express
- Remote Control Lighting Trucks: What You Need to Know – Wheel Light Express